Introduction to Red Velvet Dream Cake
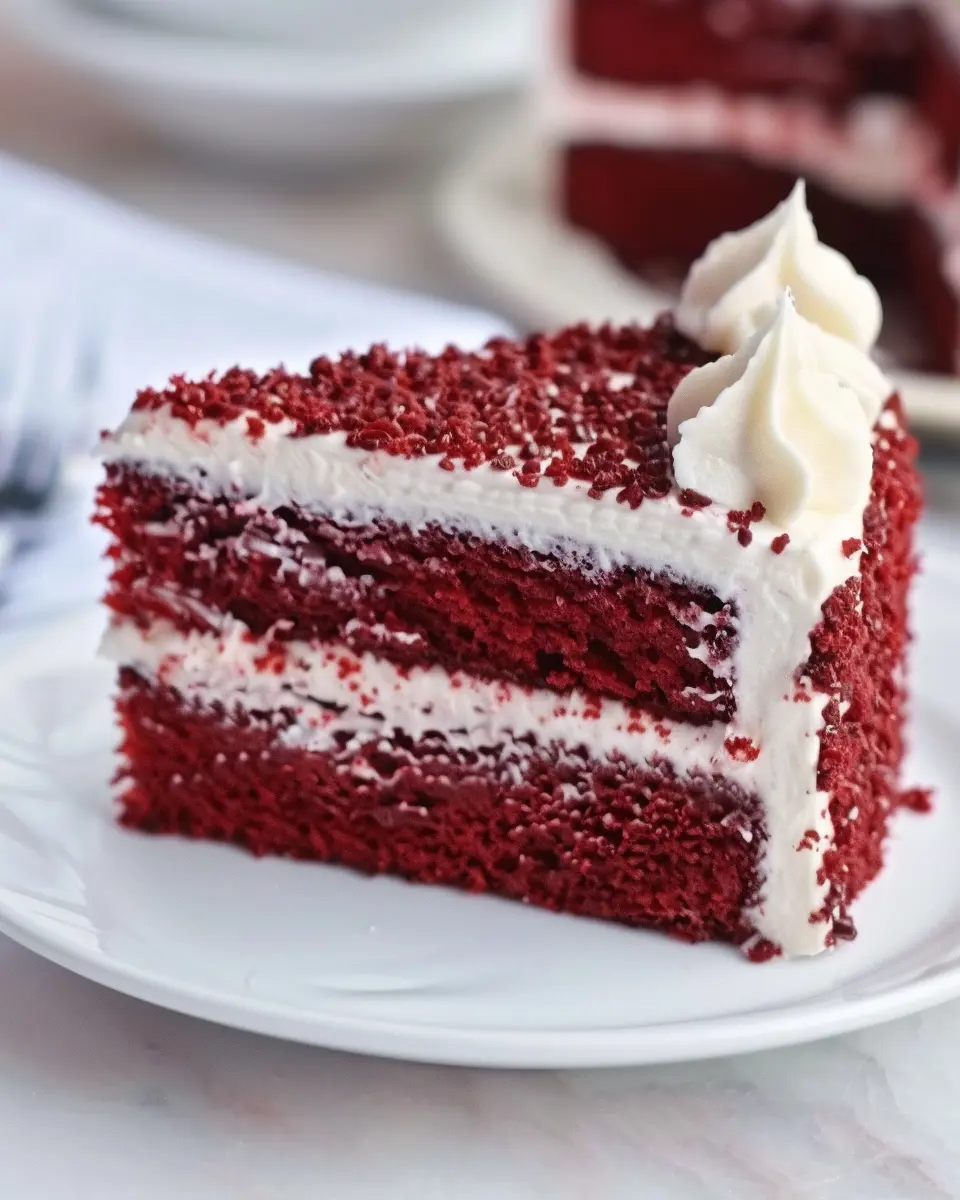
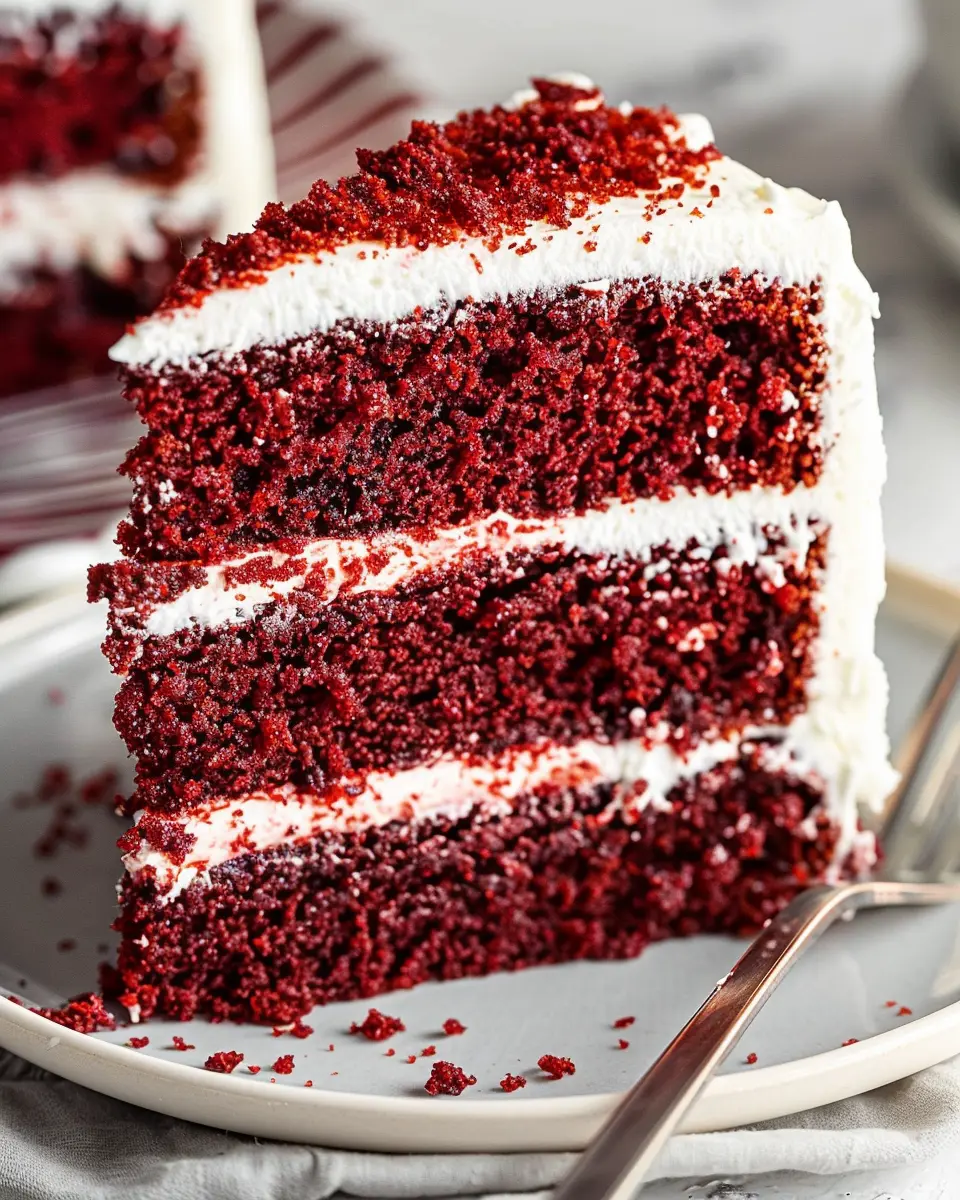
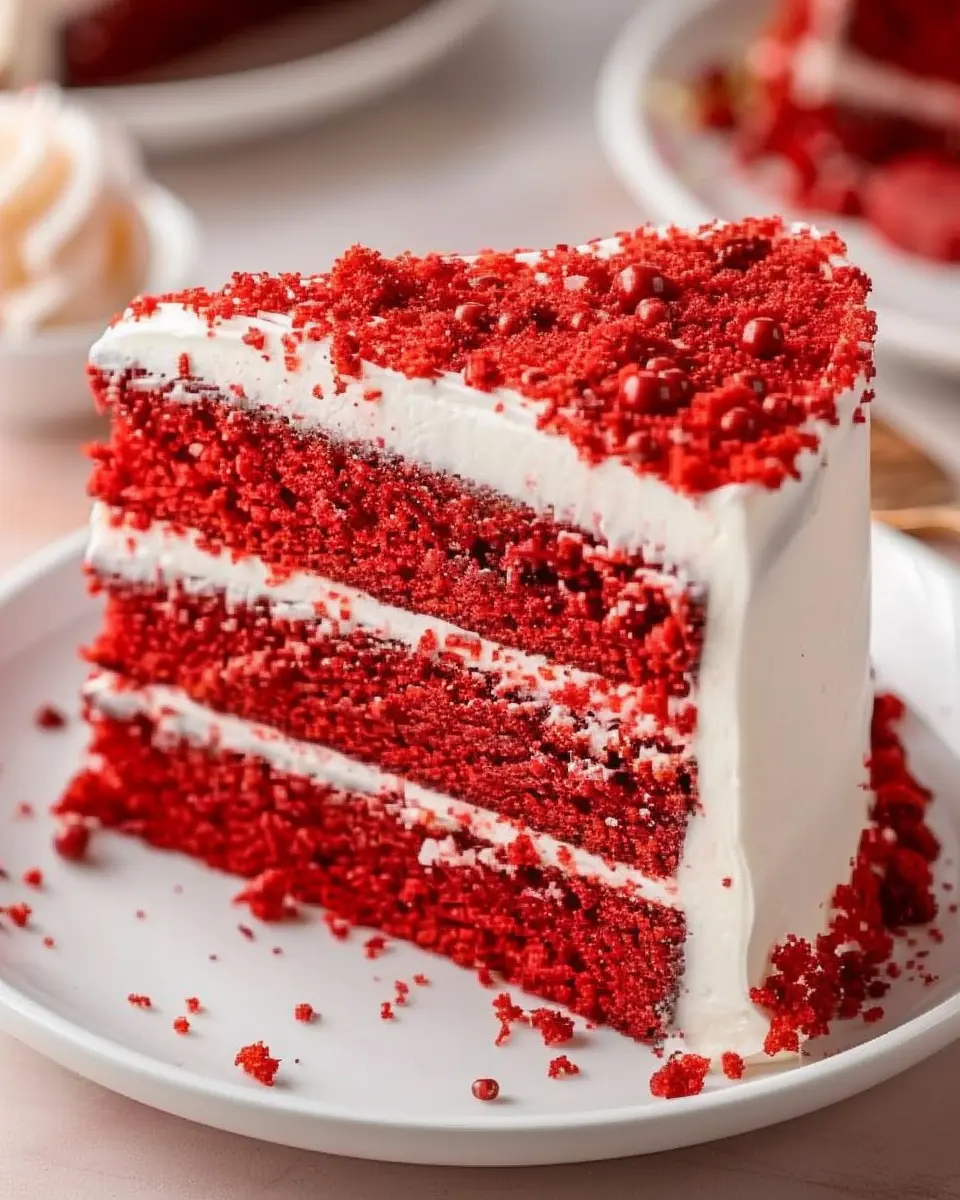
Red Velvet Cake has become one of those classic desserts that never goes out of style. With its striking red hue and luscious cream cheese frosting, it’s more than just a feast for the eyes—it’s a culinary experience! This decadent treat has found its way into countless celebrations, from birthday parties to weddings, delighting taste buds and creating sweet memories everywhere.
But what exactly makes red velvet cake a timeless favorite? First, let’s delve into its history. Originally, this cake gained notoriety in the Southern United States during the 1920s, touted for its unique flavor profile that combines hints of cocoa with a buttery richness. According to food historians, the reddish tint of the cake stemmed from the interaction of the cocoa powder with the acid in buttermilk, producing a beautiful color that captivated bakers and dessert lovers alike. Over the decades, this classic evolved, embracing vibrant colors and sumptuous layers that make it a standout dessert at any gathering.
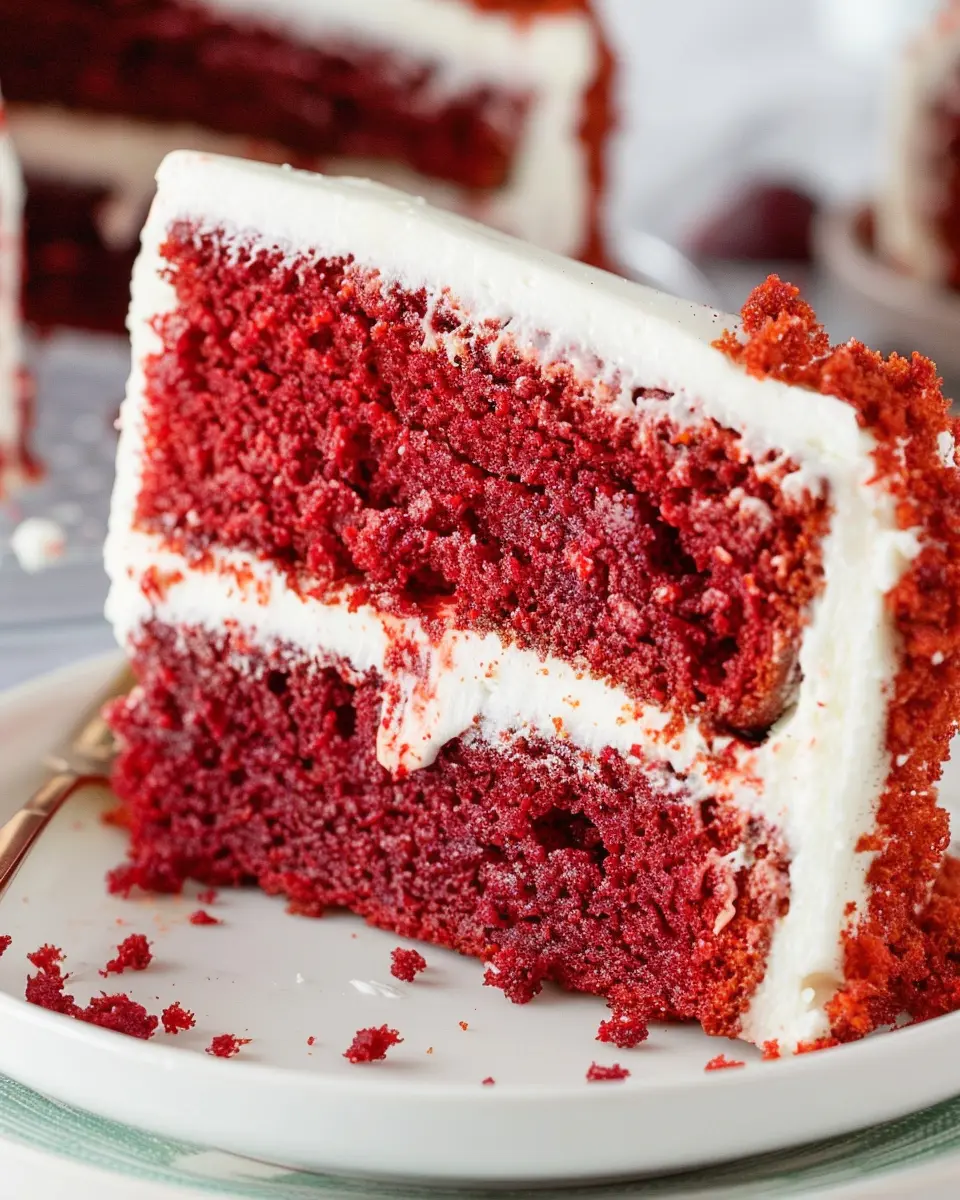
Now, let’s talk about why the red velvet dream cake is more than just another cake. Its versatile flavor makes it an excellent match for various occasions. Whether you’re hosting a casual get-together or a more formal event, the rich, velvety texture, paired with the tangy cream cheese frosting, offers a delightful balance that people can’t resist. As you slice through the layers, you’re met with a moist and fluffy crumb that’s perfect alongside a cup of coffee or a refreshing glass of iced tea.
If you’re the type who loves to impress guests with your baking skills or simply indulge in something delicious, this cake is your go-to. Did you know that making a red velvet dream cake from scratch can be surprisingly easy? Plus, there’s something incredibly satisfying about using quality ingredients, as showcased in many top baking blogs, from flour to sugar. So why not gather your ingredients and dive into the world of red velvet?
For more inspiration and tips on baking, check out resources like The Kitchn and Serious Eats. Get ready to create your own red velvet dream cake—it’s definitely a recipe worth trying!
Ingredients for Red Velvet Dream Cake
When it comes to baking a delightful red velvet dream cake, gathering the right ingredients is half the fun! Below, we’ll break it down into cake and icing components, so you can whip up this luscious dessert in no time.
Cake Ingredients
For the cake, you’ll need:
- 2 ½ cups all-purpose flour
- 1 ½ cups granulated sugar
- 1 teaspoon baking soda
- 1 teaspoon salt
- 1 tablespoon unsweetened cocoa powder
- 1 ½ cups vegetable oil
- 1 cup buttermilk, room temperature
- 2 large eggs
- 2 tablespoons red food coloring
- 1 teaspoon vanilla extract
- 1 teaspoon white vinegar
Finding high-quality cocoa powder and buttermilk can enhance the richness of your cake, so don’t skip on those!
Icing Ingredients
Now, let’s talk about that heavenly icing:
- 1 cup unsalted butter, softened
- 4 cups powdered sugar
- 1 ½ teaspoons vanilla extract
- 8 oz cream cheese, softened
You can experiment with the ratio of sugar to cream cheese for a richer or lighter taste. Check out this article on cake decorating tips for more inspiration!
With these ingredients, you’re well on your way to creating a spectacular red velvet dream cake. Happy baking!
Preparing Red Velvet Dream Cake
Baking a Red Velvet Dream Cake can feel daunting, but with a step-by-step approach, you’ll find it’s not only manageable but also incredibly satisfying. Let’s dive into the process so you can impress friends and family with your baking prowess!
Prepping the Oven and Pans
Before you even whisk your first ingredient, it’s essential to ensure that your baking setup is ready. Start by preheating your oven to 350°F (175°C). This allows your cake to bake evenly and rise perfectly, giving you that signature soft texture.
While the oven is warming up, take a moment to prepare your cake pans. You can use two 9-inch round cake pans for this recipe. Here’s how:
- Grease the Pans: Use a non-stick spray or butter to coat the insides, preventing sticking.
- Flour the Surfaces: After greasing, dust the pans with flour to ensure easy removal after baking. You can also line the bottom with parchment paper for good measure.
This preliminary step is crucial and often overlooked, so don’t skip it!
Mix Dry Ingredients
Now on to combining the dry elements of your Red Velvet Dream Cake. In a medium mixing bowl, combine the following:
- 2 ½ cups all-purpose flour
- 1 ½ cups granulated sugar
- 1 teaspoon baking powder
- 1 teaspoon baking soda
- 1 teaspoon salt
- 2 tablespoons unsweetened cocoa powder
Whisk these ingredients together until blended. This creates a uniform mixture, and whisking helps eliminate lumps, leading to a smoother batter. Remember, even a small lump of cocoa could disrupt the even coloring of your cake. For more insights on ingredient functions, consider resources like Baking 101.
Combine Wet Ingredients
Next up is mixing your wet ingredients, which play a vital role in giving your cake its delightful moistness. In a large mixing bowl, combine:
- 1 cup vegetable oil (or melted coconut oil for a twist)
- 1 cup buttermilk (the secret to richness!)
- 2 large eggs
- 2 tablespoons red food coloring (don’t skip this for that luscious hue)
- 1 teaspoon vanilla extract
- 1 teaspoon distilled white vinegar
Use an electric mixer on medium speed, or whisk vigorously by hand until everything is combined and smooth. The buttermilk is crucial—it activates the baking soda and helps your cake rise while providing a tender texture.
Combine Wet and Dry Ingredients
Once your wet and dry mixes are prepared, it’s time to bring them together. Carefully add the dry mixture to the wet mixture in three additions, stirring gently after each addition. This avoids overmixing, which can lead to a tough cake.
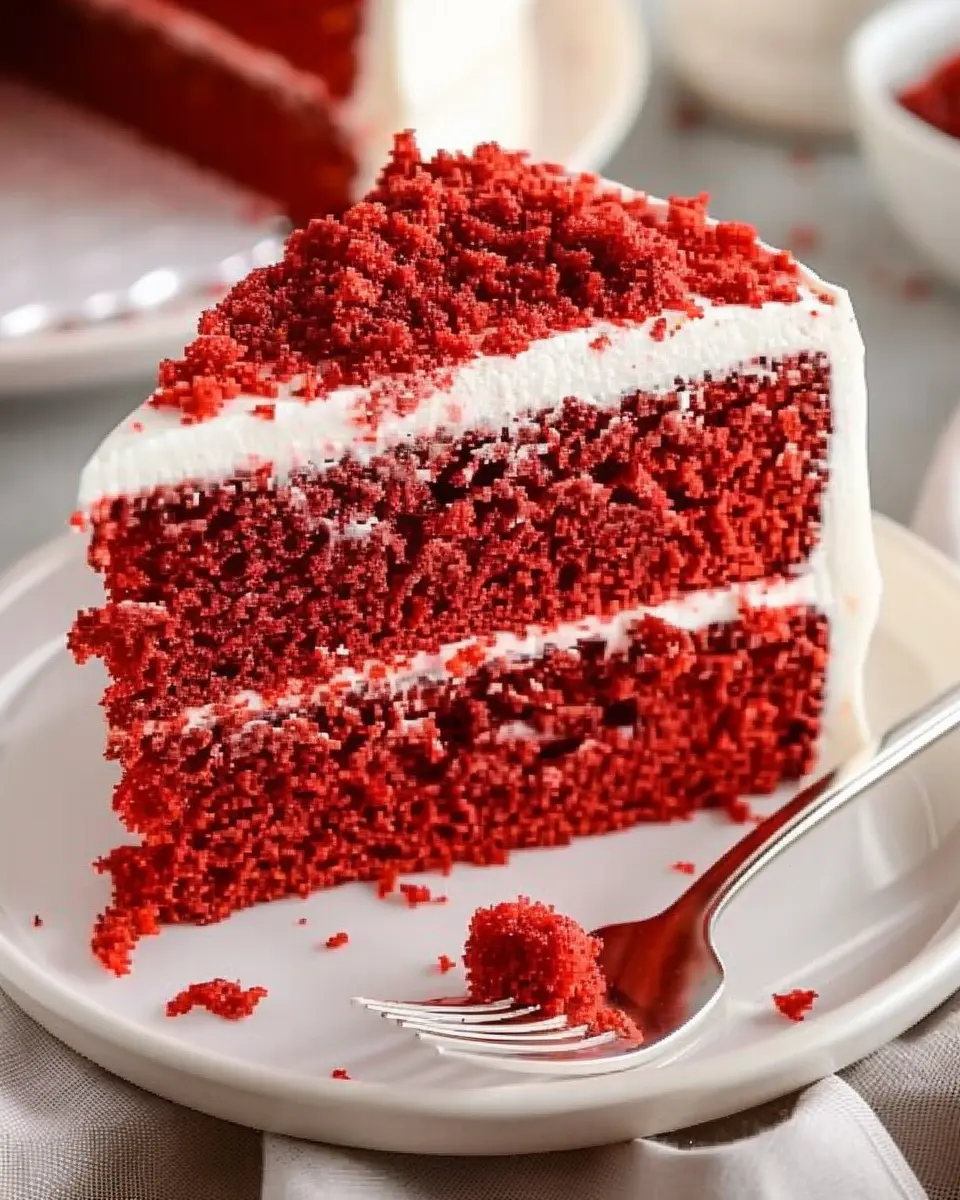
The result should be a beautifully colored batter with a velvety sheen. Take a moment to admire the vibrant red before you pour it into the prepared pans!
Bake the Cake Layers
Now it’s time for the moment of truth: baking your Red Velvet Dream Cake. Divide the batter evenly between the two prepared pans, smoothing the tops with a spatula. Place them in your preheated oven and set a timer for 25-30 minutes.
To check for doneness, insert a toothpick into the center of the cakes. If it comes out clean or with a few crumbs attached, your cakes are ready. The aroma that fills your kitchen during baking is nothing short of heavenly!
After the cakes are done, let them cool in the pans for about 10 minutes before transferring to a wire rack to cool completely. This helps prevent sogginess and keeps the structure intact, setting the stage for decorating.
And there you have it! With these steps, you’re well on your way to showcasing your culinary skills. Whether you’re baking for a special occasion or just to satisfy a sweet tooth, this Red Velvet Dream Cake recipe is sure to impress. Want to explore more cake recipes? Check out Taste of Home for a range of delectable options! Happy baking!
Variations on Red Velvet Dream Cake
When it comes to baking, variations can make a world of difference! By experimenting a little, you can enjoy a delightful twist on the classic red velvet dream cake that fits specific dietary needs and tastes. Here are some enticing variations to consider.
Gluten-Free Red Velvet Cake
If you’re looking for a gluten-free alternative without sacrificing flavor, you’re in luck! Simply substitute the regular flour with a gluten-free blend. Many commercial blends work beautifully, especially those that include almond or coconut flour. Just be sure to check that cocoa powder and baking soda are also certified gluten-free.
- Tip: Add a bit of xanthan gum to the mix for a fluffier cake!
- Note: A gluten-free red velvet dream cake can be just as moist and delightful as its traditional counterpart—honest!
For extra inspiration, check out resources from the Gluten Intolerance Group, which offers tips and recipes for gluten-free baking.
Vegan Red Velvet Cake
Craving a plant-based version of the iconic red velvet dream cake? You can achieve that rich red hue and decadent taste by swapping out eggs and dairy. Use flaxseed meal mixed with water as an egg replacer; about one tablespoon of flaxseed mixed with three tablespoons of water works great. Coconut oil or a dairy-free yogurt can replace butter.
- Ingredient swaps include:
- Almond milk or coconut milk instead of regular milk
- Vegan cream cheese for frosting
With the right ingredients, your vegan red velvet dream cake can be just as luscious, ensuring everyone can enjoy a slice! If you want more tips on vegan baking, check out the resources on Vegan Society.
Feel free to explore these delightful adaptations, and experience the joy of baking a red velvet dream cake that everyone can enjoy!
Baking Tips for Red Velvet Dream Cake
Baking the perfect red velvet dream cake can be a delightful journey, but it comes with its share of pitfalls. Here are some tips to ensure your cake turns out beautifully.
Common Mistakes to Avoid
- Overmixing the Batter: It’s easy to get carried away, but overmixing can lead to a dense cake rather than the light, airy texture you want. Mix until just combined.
- Using the Wrong Type of Cocoa Powder: Ensure you use unsweetened cocoa powder—Dutch-processed or natural varieties alter the cake’s flavor and color.
- Neglecting to Sift Dry Ingredients: Sifting helps eliminate lumps, ensuring a smooth batter. This simple step can make a huge difference in texture.
Tools for Successful Baking
Utilizing the right tools can simplify your baking process. Here are some essentials:
- Quality Mixing Bowls: Opt for glass or stainless steel for durability.
- Stand Mixer: If you love to bake, a stand mixer is a worthy investment for consistent mixing.
- Cake Tester: This handy tool ensures your red velvet dream cake is baked perfectly by checking for doneness.
For more baking insights, check out this guide on cake baking tips. Happy baking!

Serving Suggestions for Red Velvet Dream Cake
Pairing with Beverages
To truly savor your red velvet dream cake, consider pairing it with delightful beverages. A classic option is a steaming cup of coffee or a rich hot chocolate, both of which complement the cake’s velvety texture and sweet cream cheese frosting beautifully. For a non-caffeinated choice, try a refreshing mint-infused lemonade or a fruity herbal iced tea. These beverages offer a perfect balance to the cake’s indulgent richness without overwhelming your palate.
Creative Presentation Ideas
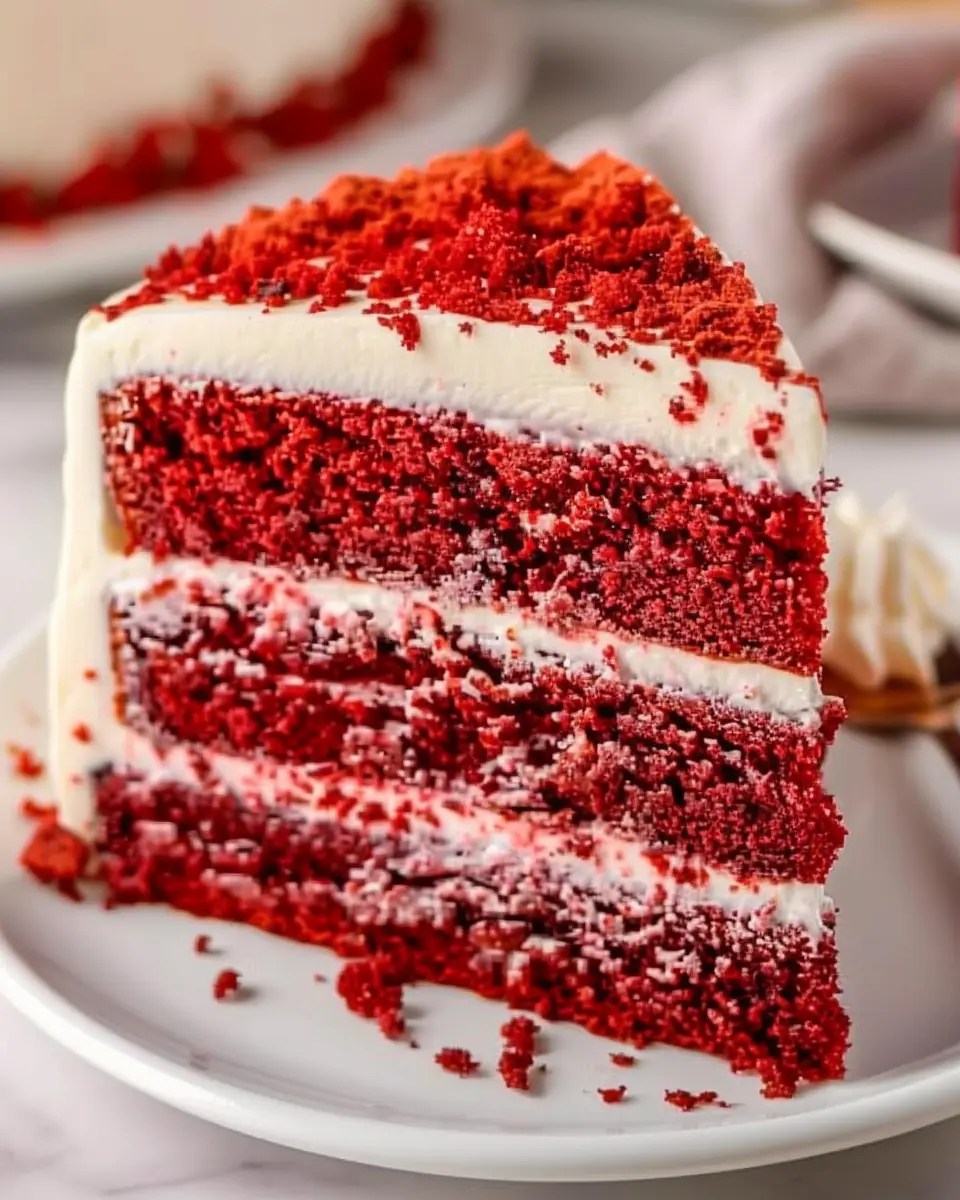
Let’s talk style! The presentation of your red velvet dream cake can elevate your dessert experience. Here are a few fun ideas:
- Layered Display: Slice the cake into cubes and serve in individual glasses layered with whipped cream and berries for a fun twist.
- Edible Garnishes: Decorate with fresh raspberries or a sprinkle of coconut flakes to enhance its visual appeal.
- Themed Platters: For parties, use a themed cake stand that ties into your gathering, making the cake the center of attention.
Elevating your red velvet dream cake with thoughtful presentation and pairing will ensure it’s memorable for all! For more ideas, check out The Dessert Blog.
Time Breakdown for Red Velvet Dream Cake
When you’re ready to dive into the delightful world of a red velvet dream cake, understanding the time commitment can make all the difference. Here’s how the timings break down for this delicious treat:
Preparation Time
The foundation of any great cake starts with preparation. Set aside about 20-25 minutes to gather ingredients and blend them into a smooth batter. You’ll want to ensure everything is ready before you turn on the oven.
Baking Time
Once your batter is prepped and poured into the cake pans, it’s time for some oven magic! Bake your red velvet dream cake for 25-30 minutes. This is the moment when your kitchen will start smelling heavenly.
Total Time
In total, you’re looking at about 1 hour from start to finish. This includes both prep and baking times, allowing you to enjoy the process without feeling rushed.
With these simple time guidelines, you’ll be able to plan your baking adventure with ease! Want to learn more tips on baking? Check out resources from Baker’s Journal for expert insights.
Nutritional Information for Red Velvet Dream Cake
Calories per Slice
Indulging in a slice of red velvet dream cake is certainly a treat! On average, each slice contains about 350 calories. This luscious dessert is perfect for special occasions but remember, moderation is key—your taste buds will thank you!
Important Nutritional Facts
When you’re enjoying your sweet slice, here are some important nutritional facts to consider:
- Total Fat: Approximately 18 grams
- Saturated Fat: About 8 grams
- Carbohydrates: Roughly 45 grams
- Sugar: Close to 30 grams
- Protein: Around 4 grams
While this cake is rich and delightful, balancing it with healthier foods throughout the day can keep your diet on track. If you want more insight into dessert nutrition, you might find resources at American Heart Association helpful. Remember, balance is everything!
FAQs about Red Velvet Dream Cake
How Do I Get the Perfect Red Color?
Getting that signature bright red color in your Red Velvet Dream Cake can be a bit of an art. Here are some tips:
- Use Quality Food Coloring: Opt for gel food coloring instead of liquid; it provides a vibrant hue without altering your cake’s texture.
- Acidity Matters: The cocoa powder you use can impact the cake’s color. Make sure it’s unsweetened and Dutch-processed for the best results. Learn more about cocoa varieties from reputable sources like Serious Eats.
- Don’t Skimp on the Color: Follow the recipe closely. If it calls for two tablespoons of red food dye, don’t cut back thinking you’ll save some for later.
Can I Freeze Leftover Red Velvet Cake?
Absolutely! Freezing your Red Velvet Dream Cake is a great way to enjoy it later. Here’s how:
- Cool Completely: Make sure the cake is cool before freezing to prevent condensation.
- Wrap It Up: Use plastic wrap or aluminum foil to securely wrap the cake slices. Then place them in an airtight container.
- Best Usage: The cake can be frozen for up to three months. When ready to enjoy, thaw it in the fridge overnight and let it sit at room temperature for a bit before serving.
What Can I Use Instead of Buttermilk?
If you don’t have buttermilk on hand, don’t worry! You can easily make a substitute:
- Milk and Vinegar: Combine one cup of milk with one tablespoon of white vinegar or lemon juice. Let it sit for about 5-10 minutes.
- Yogurt or Sour Cream: You can also use plain yogurt or sour cream diluted with a little milk to achieve a similar consistency and tanginess.
These substitutions will keep your Red Velvet Dream Cake moist and delicious. Check out more buttermilk alternatives from The Kitchn.
With these FAQs covered, you’re on your way to baking a stunning Red Velvet Dream Cake with confidence!
Conclusion on Red Velvet Dream Cake
Final Thoughts and Encouragement to Bake
Making a red velvet dream cake is more than just baking; it’s about creating memories and spreading joy. This cake, with its rich color and delicious flavor, is perfect for celebrations or just a cozy evening at home. Don’t shy away from trying this recipe—it’s simpler than you might think!
As you embark on this baking journey, remember to enjoy the process. Maybe play your favorite playlist, call a friend over to help, or even share your results on social media. If you need tips or variations, check out this baking guide for inspiration. Happy baking!
PrintRed Velvet Dream Cake: An Indulgent Homemade Delight
A decadent dessert perfect for special occasions.
- Prep Time: 30 minutes
- Cook Time: 30 minutes
- Total Time: 1 hour
- Yield: 12 servings
- Category: Dessert
- Method: Baking
- Cuisine: American
- Diet: Vegetarian
Ingredients
- 2 cups all-purpose flour
- 1 and ½ cups granulated sugar
- 1 teaspoon baking soda
- 1 teaspoon salt
- 1 cup vegetable oil
- 1 cup buttermilk
- 2 large eggs
- 2 tablespoons cocoa powder
- 2 tablespoons red food coloring
- 1 teaspoon vanilla extract
Instructions
- Preheat the oven to 350°F (175°C).
- In a bowl, mix dry ingredients: flour, sugar, cocoa powder, baking soda, and salt.
- In another bowl, combine wet ingredients: vegetable oil, buttermilk, eggs, red food coloring, and vanilla extract. Mix well.
- Gradually add the dry ingredients to the wet ingredients, mixing until just combined.
- Pour the batter into prepared cake pans and bake for 25-30 minutes.
- Let the cakes cool before frosting with cream cheese frosting.
Notes
- For a richer flavor, let the cake sit overnight before serving.
- Pair with a glass of milk or a hot beverage.
Nutrition
- Serving Size: 1 slice
- Calories: 350
- Sugar: 30g
- Sodium: 350mg
- Fat: 18g
- Saturated Fat: 5g
- Unsaturated Fat: 10g
- Trans Fat: 0g
- Carbohydrates: 45g
- Fiber: 1g
- Protein: 4g
- Cholesterol: 40mg