Introduction to Red Velvet Cake
Red velvet cake—what an indulgent treat! But what exactly makes this cake so special, and why has it garnered a massive following over the years? Let’s delve into its unique charm and explore why it has earned a special place in the hearts (and taste buds) of many.
What is red velvet cake and why is it so popular?
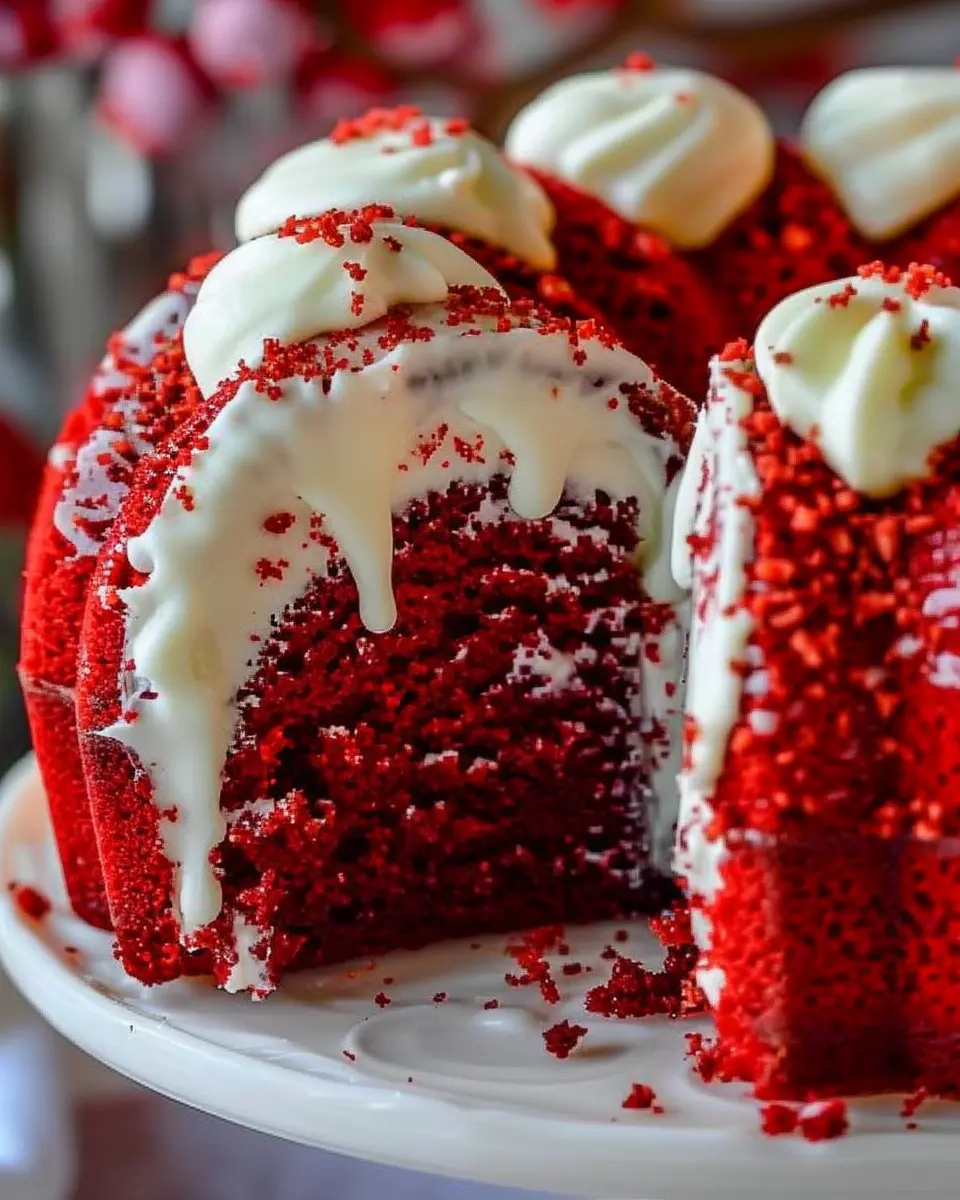
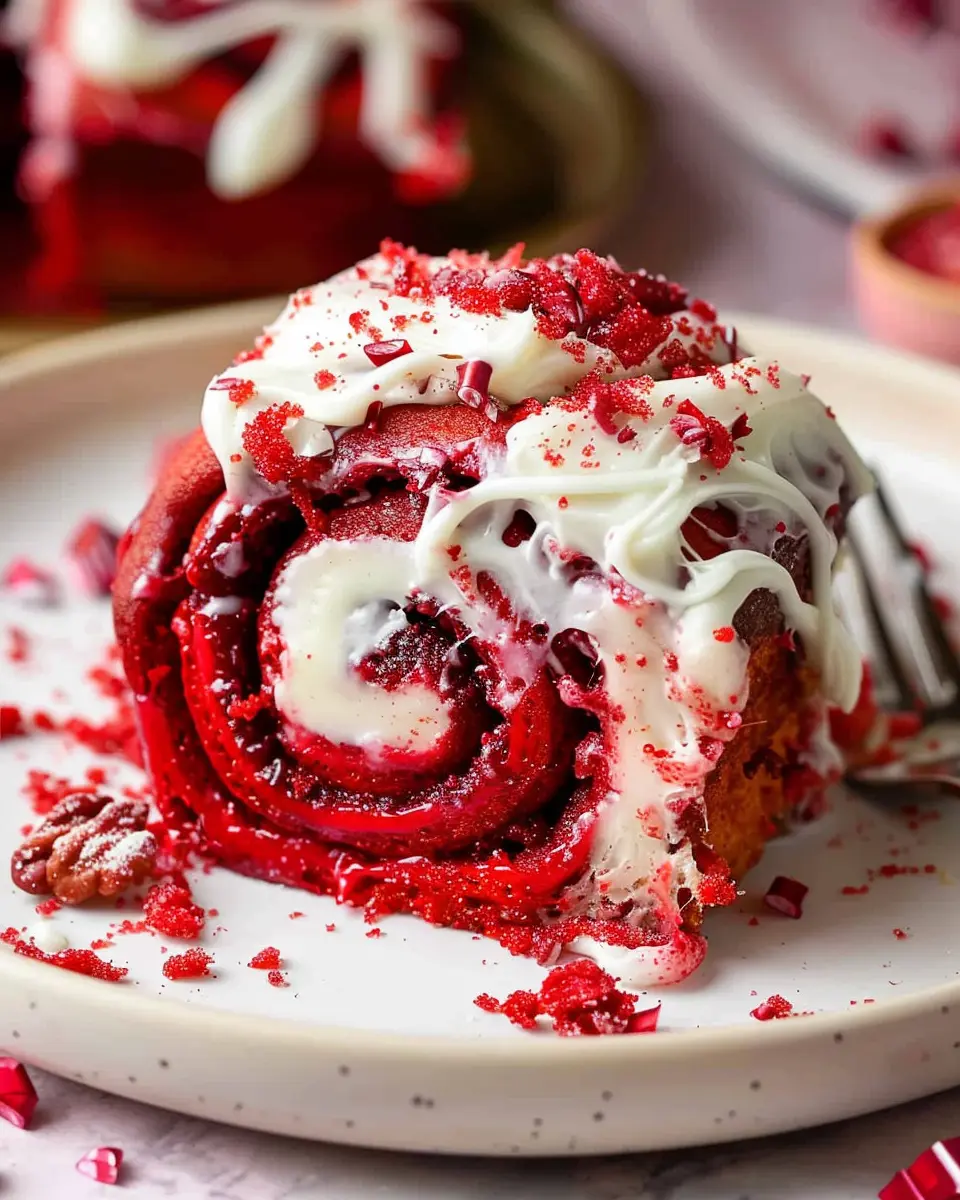
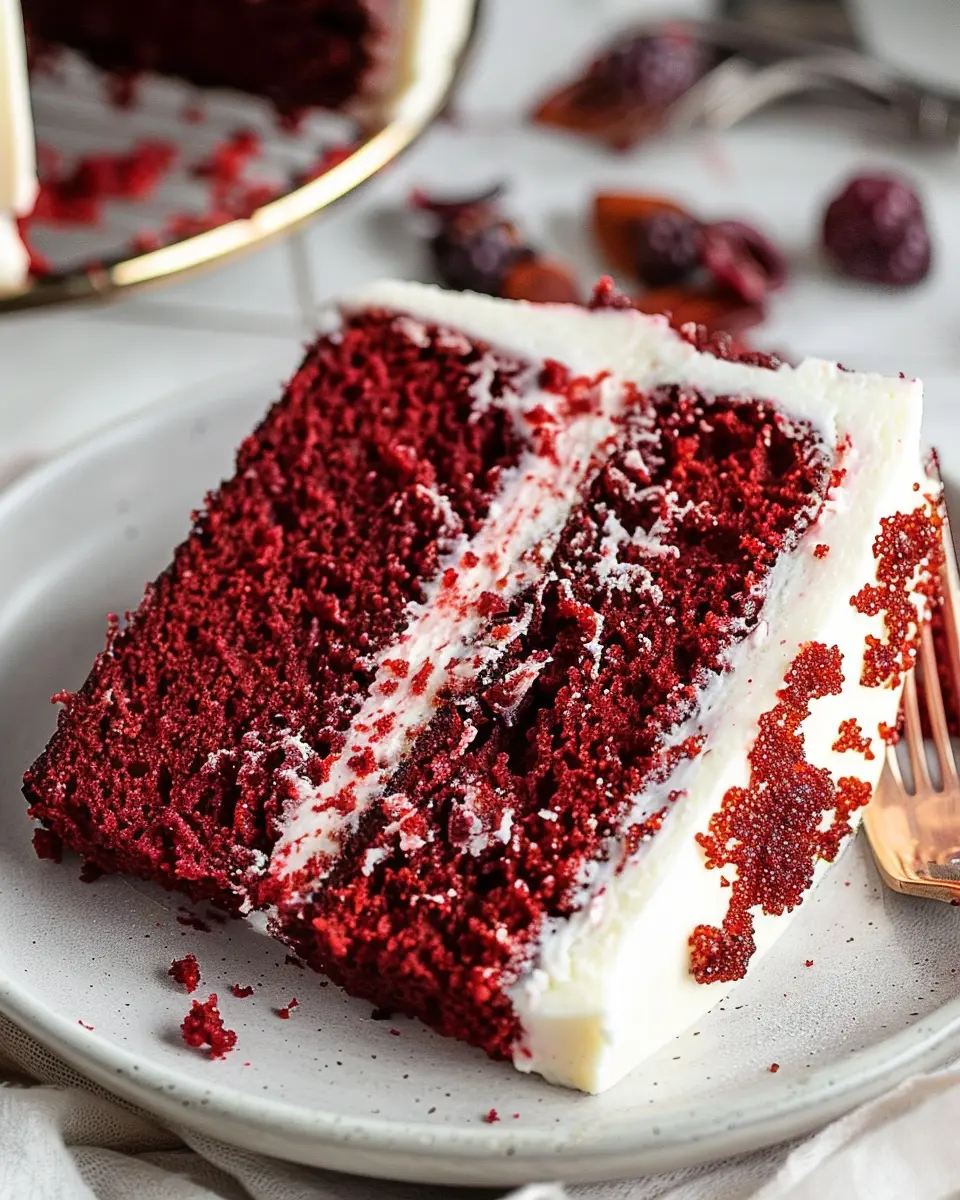
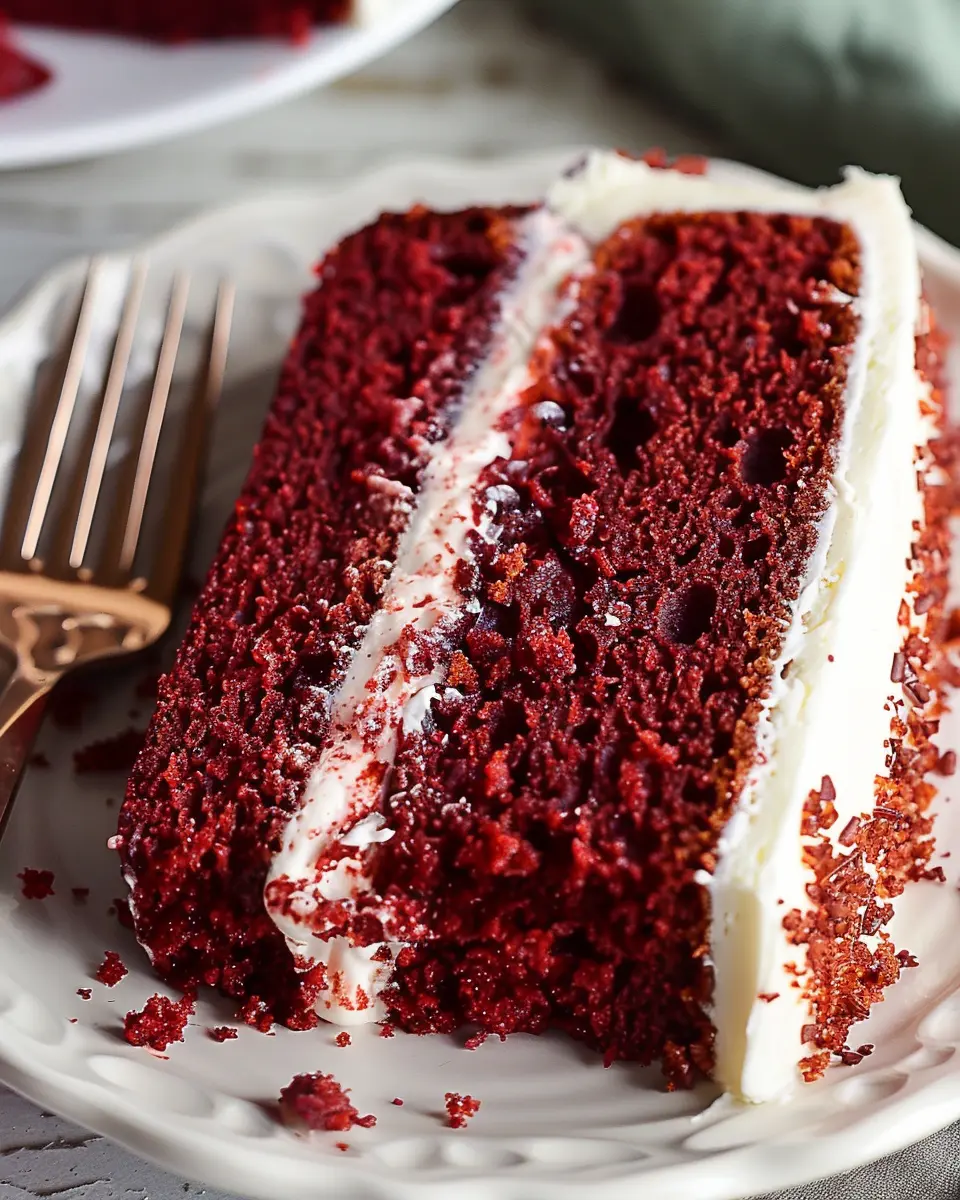
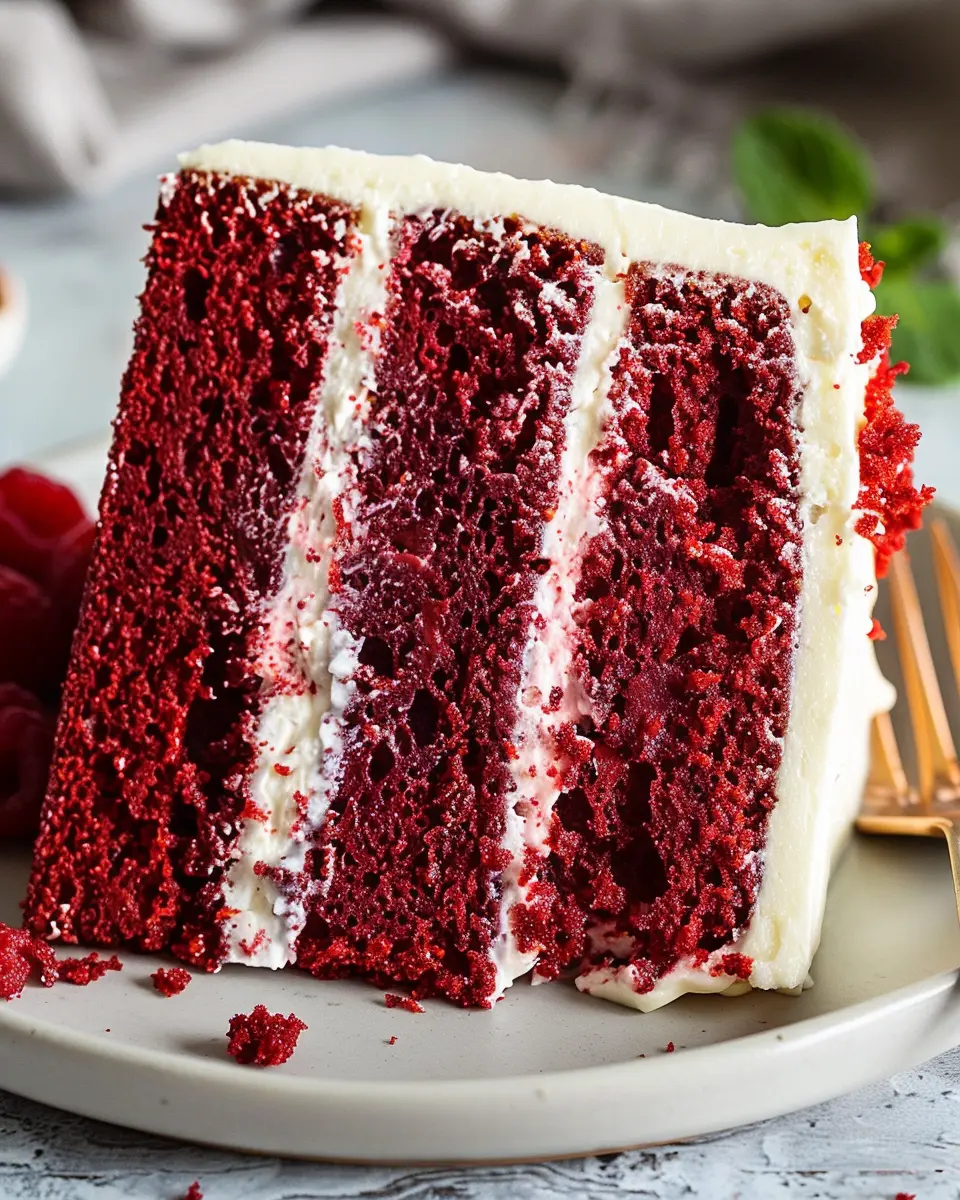
At first glance, red velvet cake might simply appear as a stunning slice of vibrant red dessert, but it’s so much more than that. Traditionally, this cake is layered with velvety cream cheese or buttercream frosting, creating a delightful contrast to the rich, moist texture of the cake itself. The flavor is primarily that of cocoa, but the subtle tang from buttermilk and the kick of vinegar set it apart from your average chocolate cake.
One of the reasons for its popularity is its striking appearance. The bright red hue not only makes it visually appealing but also makes it a showstopper at celebrations—think weddings, birthdays, and even holiday gatherings. According to a survey by the American Baking Company, red velvet cake has consistently ranked among the top choices for special occasions, often standing out among traditional desserts due to its unique color and flavor profile.
Plus, it has a sweet history! Originating in the American South, red velvet cake has evolved over time, merging classic recipes with modern twists. Its rise to fame can be credited to various media portrayals and the popularity of its aesthetic on platforms like Instagram. Just a slice garnished with some sprigs of mint or fresh berries can create an Instagram-worthy moment.
You might also be curious about how to bake a red velvet cake that stands out. Thankfully, there are countless tips and tricks available, from choosing the right cocoa powder to perfecting that cream cheese frosting. For a deeper dive into red velvet cake baking secrets, you can check out Serious Eats.
Embrace your culinary adventure with this delightful cake that promises to captivate both your guests’ eyes and palates. Are you ready to create your own red velvet masterpiece? Let’s explore the recipe together!
Ingredients for Red Velvet Cake
Creating a delightful red velvet cake is all about using the right ingredients. Let’s dive into what you’ll need to bake this stunning dessert, starting with the essentials for the cake itself.
Essential Ingredients for the Cake
- All-purpose flour: 2 cups – This forms the cake’s base and structure.
- Granulated sugar: 1.5 cups – For sweetness and moisture.
- Cocoa powder: 1 tablespoon – Just a hint adds depth to the flavor.
- Baking soda: 1 teaspoon – A leavening agent that helps the cake rise.
- Salt: 1 teaspoon – Enhances the sweetness.
- Vegetable oil: 1 cup – Keeps the cake moist and tender.
- Buttermilk: 1 cup – It not only adds tang but also activates the baking soda.
- Eggs: 2 large – Acts as a binding agent for the batter.
- Vanilla extract: 1 teaspoon – For an aromatic touch.
- Red food coloring: 2 tablespoons – The signature hue of the cake!
Key Ingredients for the Cream Cheese Frosting
A red velvet cake is incomplete without its luscious cream cheese frosting. Here’s what you need:
- Cream cheese: 8 ounces, softened – The creamy base that gives it a rich flavor.
- Unsalted butter: 1/2 cup, softened – Adds velvety richness.
- Powdered sugar: 4 cups – For a sweet and creamy texture.
- Vanilla extract: 1 teaspoon – Boosts the flavor profile.
With these foundational ingredients, you’re well on your way to impressing your friends and family. Consider checking out this article on the science of baking for tips on perfecting your technique! Happy baking!
Preparing Red Velvet Cake
There’s something undeniably irresistible about a beautiful red velvet cake. With its rich color and delectable flavor, this stunning dessert is perfect for any occasion or simply to treat yourself! Let’s walk through each step together to ensure your cake turns out perfectly.
Gather and prep the ingredients
Before you dive into baking, it’s important to gather all the necessary ingredients. This not only streamlines the process but also makes baking less stressful. Here’s what you’ll need:
-
For the cake:
-
2 ½ cups all-purpose flour
-
1 ½ cups granulated sugar
-
1 teaspoon baking soda
-
1 teaspoon salt
-
1 tablespoon unsweetened cocoa powder
-
1 ½ cups vegetable oil
-
1 cup buttermilk (you can make your own with milk and vinegar)
-
2 large eggs
-
2 tablespoons red food coloring (gel works best)
-
1 teaspoon vanilla extract
-
1 teaspoon white vinegar
-
For the cream cheese frosting:
-
8 oz cream cheese, softened
-
½ cup unsalted butter, softened
-
4 cups powdered sugar
-
1 teaspoon vanilla extract
By the way, make sure your ingredients are at room temperature for even mixing!
Create the cocoa mixture
In a small bowl, combine the unsweetened cocoa powder with the vegetable oil and food coloring. This cocoa mixture will add depth to the flavor and the signature hue of red velvet cake. Make sure you mix well to achieve a smooth consistency.
Mix the dry ingredients
In a large mixing bowl, whisk together your dry ingredients. This includes the all-purpose flour, sugar, baking soda, salt, and the cocoa mixture. Mixing the dry ingredients thoroughly ensures an even distribution of the flavors, which is key to achieving a delicious cake.
Combine wet ingredients
In another large bowl, whisk together the buttermilk, eggs, vanilla extract, and vinegar. Once these ingredients are combined, add in the cocoa mixture you prepared earlier. Mixing these wet ingredients first helps in creating an airy batter, leading to a lighter cake texture.
Combine wet and dry ingredients then bake
Now it’s time for the fun part! Gradually whisk the dry ingredients into the wet mixture until just combined. Be cautious not to overmix; a few lumps are okay. Pour the batter evenly into two greased and floured cake pans (9-inch is ideal) and bake at 350°F (175°C) for about 25-30 minutes. You can check for doneness by inserting a toothpick into the center—if it comes out clean, your cake is ready!
Cool and prepare for frosting
Once baked, allow your red velvet cake to cool in the pans for about 10 minutes before transferring it to a wire rack. Cooling the cake well is crucial; frosting a warm cake can lead to messy results. While waiting, take the time to prepare your cream cheese frosting.
Make the cream cheese frosting
For the frosting, beat the softened cream cheese and butter together until smooth and creamy. Gradually sift in the powdered sugar and add the vanilla extract. Keep mixing until you reach a fluffy consistency that will hold its shape on the cake.
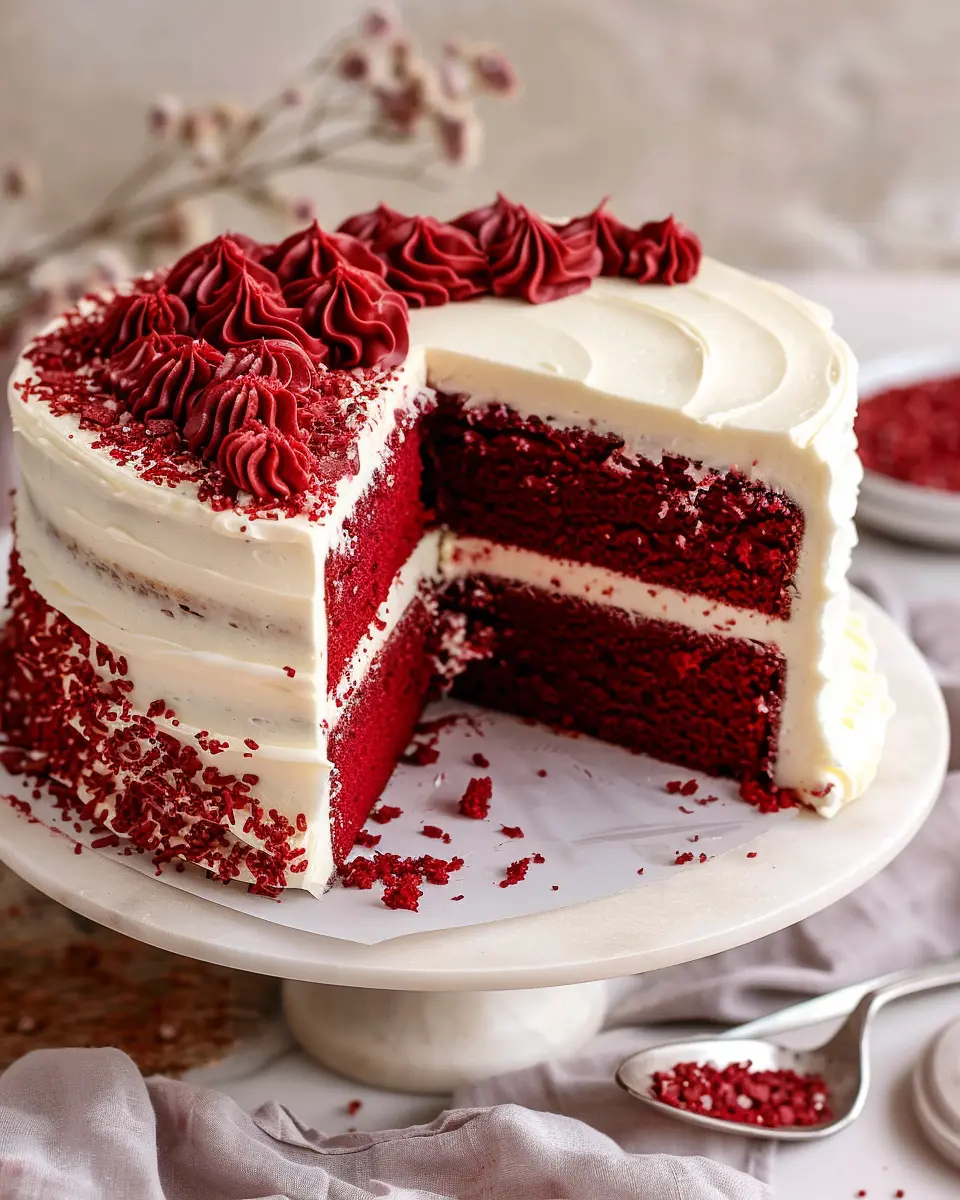
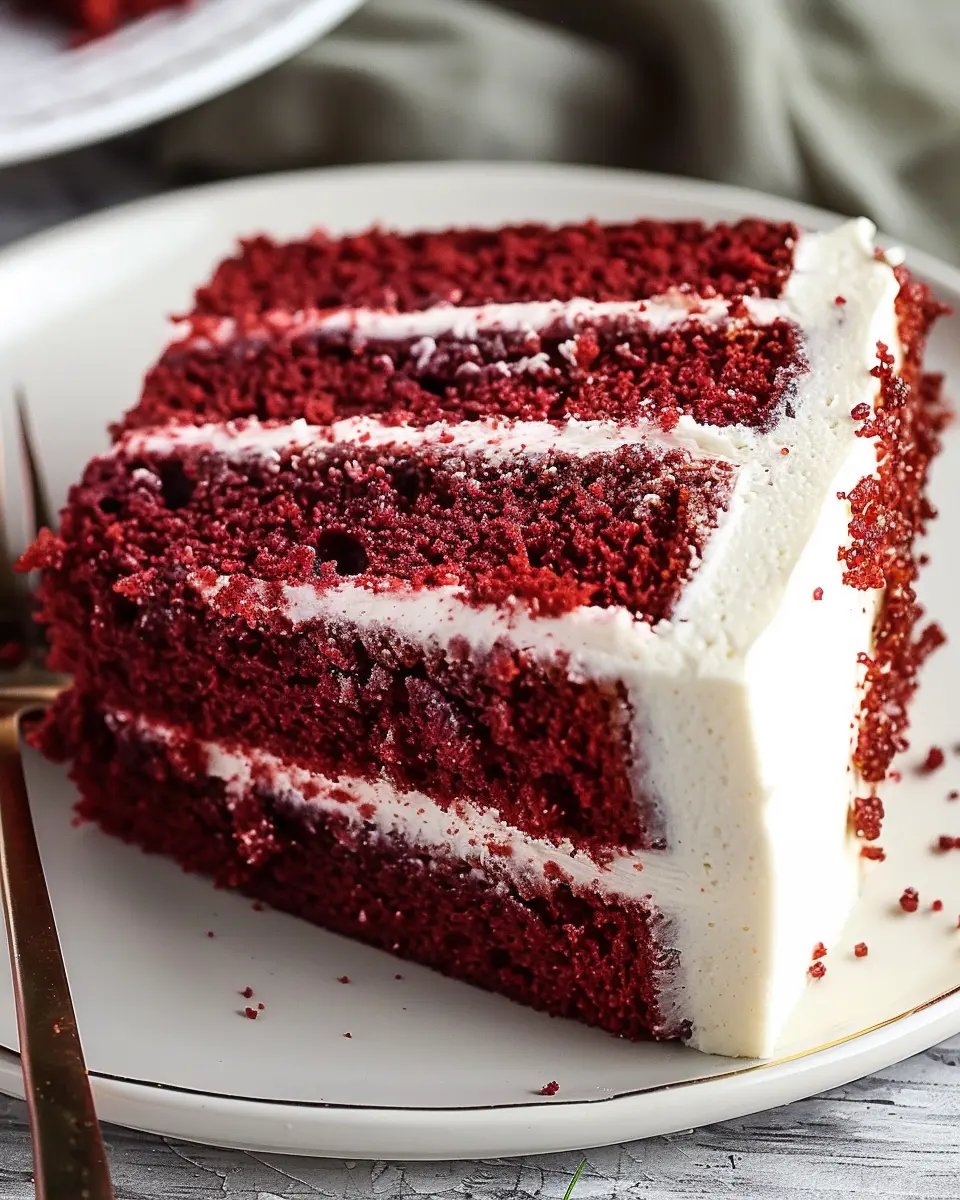
Assemble and frost the cake
To assemble your masterpiece, place one layer of the cooled red velvet cake on a serving platter. Spread a generous amount of cream cheese frosting on top. Top with the second layer and continue frosting the sides and the top. Feel free to be creative with your frosting technique—rustic or polished, it’s all part of the charm!
And there you have it! Your beautifully prepared red velvet cake is ready to impress everyone. Don’t forget to slice into this delightful creation and share it with friends and family. Enjoy every luscious bite! For more cooking tips and techniques, you can check out Culinary Arts or Serious Eats. Happy baking!
Variations on Red Velvet Cake
Exploring the world of red velvet cake opens up creative avenues that can cater to various dietary needs and taste preferences. If you think you have to stick to a traditional recipe, think again! Here are some delightful variations to inspire your baking journey.
Gluten-Free Red Velvet Cake
For those who are navigating a gluten-free lifestyle, making a red velvet cake doesn’t mean sacrificing flavor or texture. Switch out regular flour for a high-quality gluten-free flour blend. Almond flour or a mix of rice flour and tapioca can also yield a moist and decadent result. Don’t forget to check for gluten-free cocoa powder to keep your cake delightful and safe!
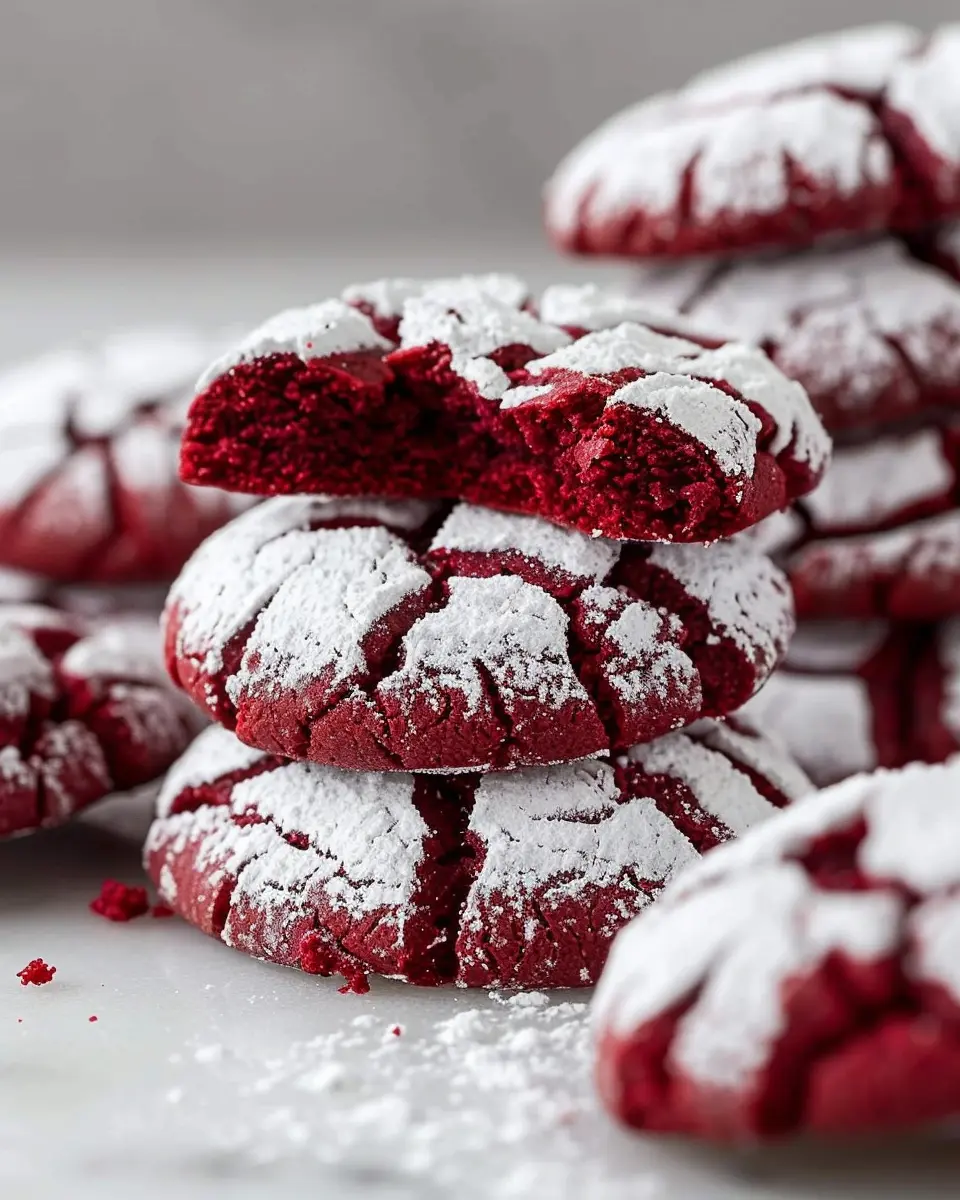
Red Velvet Cupcakes
Short on time or simply craving something portable? Try transforming your red velvet cake into cupcakes! They are perfect for gatherings or as a sweet indulgence any day. A standard recipe can easily be portioned into cupcake liners. Bake them for about 20 minutes, and you’ll have soft, fluffy cupcakes that are just as satisfying as the original cake. For a direction on crafting these delectable bites, you can reference The Spruce Eats for tips!
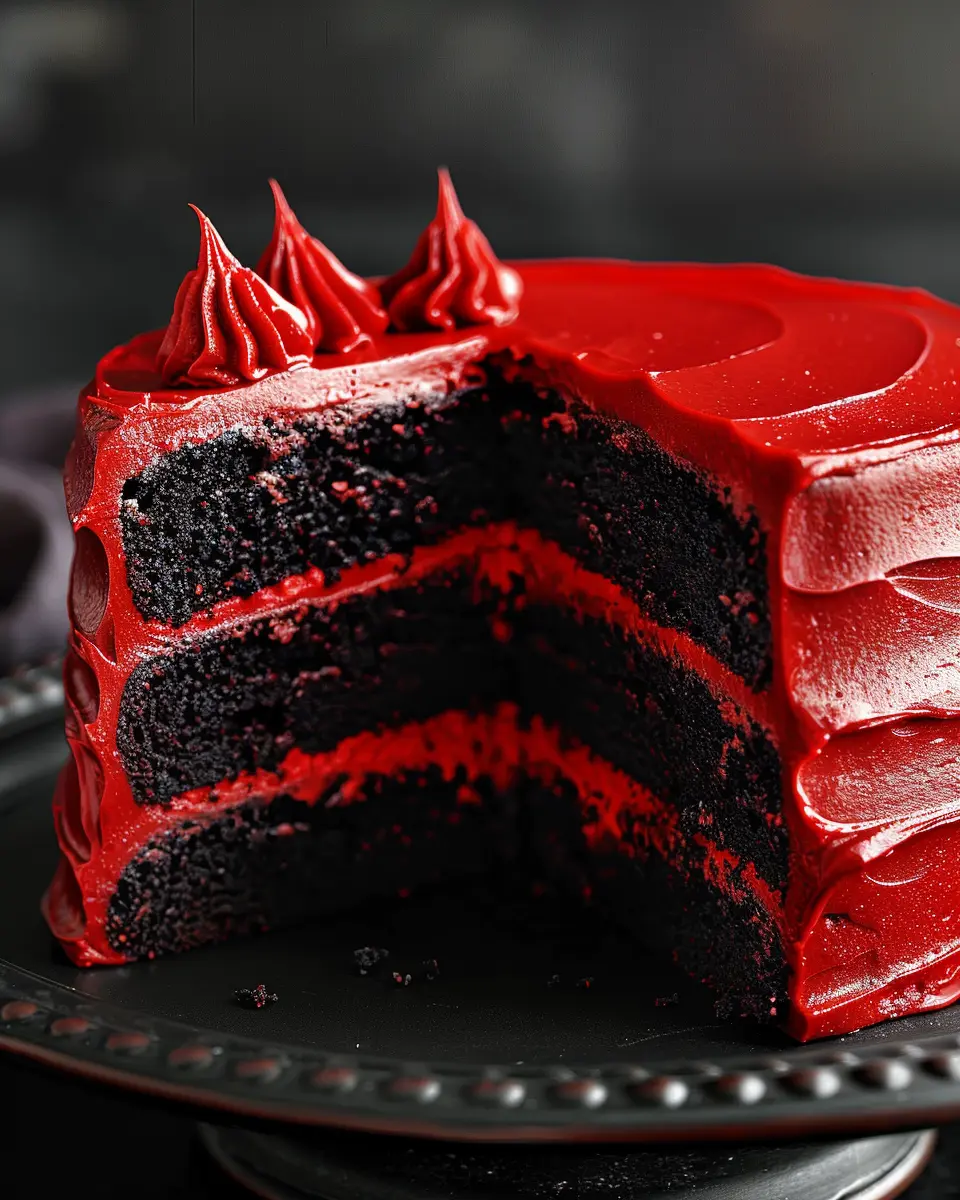
Red Velvet Cake with Different Frostings
While cream cheese frosting is a classic pairing for red velvet cake, don’t hesitate to experiment with other frostings! Consider a rich chocolate ganache for a deep flavor contrast, or perhaps a fluffy vanilla buttercream for a lighter touch. For a fruity twist, a raspberry or lemon curd frosting can elevate your cake into a whole new experience.
Now that you’re equipped with these variations, it’s time to get baking! What flavor profiles will you explore?
Baking notes for Red Velvet Cake
Common mistakes to avoid
When baking a red velvet cake, there are a few common pitfalls that can lead to disappointing results. One frequent mistake is using the wrong type of cocoa powder; make sure to stick with unsweetened cocoa for the best flavor. Another is overmixing the batter, which can make the cake tough—mix just until the ingredients are combined. Lastly, skip the shortcuts: a recipe that calls for buttermilk makes a significant difference in tenderness and taste.
Tips for achieving a perfect bake
To help you nail that perfect red velvet cake, consider these handy tips:
-
Temperature Control: Ensure your ingredients are at room temperature before you start. This helps achieve a smooth batter and even bake.
-
Pan Prep: Use parchment paper in the bottom of your cake pans for easy removal. Greased pans can also help prevent sticking.
For more detailed techniques, check out this expert advice from Joy of Baking.
Lastly, keep an eye on baking times; every oven is a bit different! Your cake should spring back when touched lightly in the center. Happy baking!
Serving Suggestions for Red Velvet Cake
Pairing with Beverages
When enjoying a slice of red velvet cake, the right beverage can elevate the experience. For a cozy afternoon treat, consider a velvety cup of hot chocolate topped with whipped cream or a rich cold brew coffee for those who prefer a caffeine kick. If you’re after something refreshing, a chilled hibiscus iced tea pairs well with the cake’s buttery flavor. You might find that the tartness of lemonade contrasts beautifully with the sweetness of the cake, making it a delightful option for warmer days.
Ideal Occasions for Serving
The beauty of red velvet cake lies in its versatility. It’s perfect for:
- Birthday parties: The vibrant red color is a showstopper.
- Anniversaries: Impress your partner with a decadent dessert to celebrate love.
- Holidays: From Christmas gatherings to Valentine’s Day, this cake brings festive cheer.
Hosting a brunch? Surprise your guests with slices of red velvet cake alongside your signature Turkey Bacon or Chicken Ham quiche. The options are endless! Consider sharing these tips with friends by linking to culinary blogs and baking sites for more inspiration.
Tips for Making Perfect Red Velvet Cake
Creating the perfect red velvet cake can feel like an art, but with a few simple tips, you’ll impress everyone at your next gathering. Let’s dive in!
Use Room Temperature Ingredients
One key to achieving that fluffy texture in your red velvet cake is ensuring that all your ingredients, especially eggs and butter, are at room temperature. This allows for better emulsification and smoother incorporation of your ingredients. When your butter is soft, it can trap air, resulting in a light cake. If you forget to take your ingredients out ahead of time, try placing eggs in warm water for about 10 minutes.
Adjusting Sweetness Levels
Taste matters, right? When making your red velvet cake, you may want to adjust the sweetness to your preferences. Start with the recommended sugar amount, but taste your batter before baking. If you find it overly sweet, consider reducing the sugar slightly or balancing it out with a touch of cocoa powder to bring in that rich flavor. Remember, it’s YOUR cake, so make it suit your palate!
Proper Storage Techniques
After you whip up your delightful red velvet cake, storing it correctly is essential to maintain its moistness and flavor. Keep it in an airtight container at room temperature if consumed within a couple of days. For longer storage, consider freezing individual slices wrapped in plastic wrap and then in foil. When you’re ready to enjoy, thaw the slices at room temperature or pop them in the microwave for a few seconds.
By following these tips, you’ll be well on your way to creating an outstanding red velvet cake that’s both delicious and visually appealing! For more baking insights, check out resources like King Arthur Baking and Food Network for expert advice and recipes.
Time details for Red Velvet Cake
Preparation time
Preparing your delightful red velvet cake will take about 20-25 minutes. This is the time you’ll spend measuring and mixing your ingredients, ensuring everything is perfectly combined to create that rich, velvety texture we all love.
Baking time
After the preparation is complete, it’s time for baking! You’ll want to set aside around 30-35 minutes in the oven. Keep an eye on it during the last few minutes to ensure it’s perfectly done, as oven temperatures can vary.
Total time
In total, you’re looking at approximately an hour of loving labor to create your ultimate red velvet cake. This cake not only tastes amazing but adds a gorgeous pop of color to any occasion. If you have leftover ingredients, consider making extra cupcakes! For more tips on baking, check out this guideline on cake-making techniques. Happy baking!
Nutritional Information for Red Velvet Cake
When indulging in a slice of red velvet cake, it’s good to know what you’re treating yourself to, right? Here’s a quick breakdown of the nutritional information that you might find useful as you whip up this delightful dessert.
Calories
A typical serving of red velvet cake contains around 350-450 calories. That’s a reasonable treat for special occasions and celebrations, but it’s always wise to enjoy it in moderation!
Protein
This delicious cake usually provides about 5-6 grams of protein per slice, thanks to the eggs and possible dairy in the recipe. While it’s not a protein powerhouse, every bit helps when you’re enjoying a decadent dessert.
Sugars
Expect around 30-40 grams of sugar in each slice. This gives the cake its signature sweetness, but it’s worth keeping in mind if you’re monitoring your sugar intake.
For more insights into dessert nutrition, you can check out resources like the USDA FoodData Central or explore articles on nutrition at Harvard Health.
FAQs about Red Velvet Cake
When diving into the delightful world of red velvet cake, questions often arise. Let’s tackle some common ones to enhance your baking experience.
Why is red velvet cake red?
The distinctive red color of red velvet cake comes primarily from cocoa powder’s interaction with acidic ingredients like buttermilk and vinegar. Originally, it had a subtle reddish-brown tint, but the addition of red food coloring became popular in the 1920s. Curious about the science behind this? Check out this article for a deeper dive into culinary chemistry!
Can I use food coloring alternatives?
Absolutely! If you’re looking to avoid traditional food coloring, consider natural alternatives. Beet juice is a fantastic option that offers a similar hue and adds a touch of sweetness. You can also experiment with pomegranate or raspberry juice for vibrant shades. Remember, using natural substitutes may alter the flavor slightly, but they can add a unique twist to your red velvet cake!
What’s the best way to store leftover red velvet cake?
To keep your red velvet cake fresh and moist, proper storage is key. Here’s how to do it:
- At room temperature: If you plan to enjoy it within a couple of days, wrap it tightly in plastic wrap and keep it in an airtight container.
- In the refrigerator: For longer storage, refrigerate the cake wrapped in plastic. This can extend freshness for about a week.
- Freezing: For even greater longevity, slice the cake and freeze individual pieces in airtight containers. Thaw them overnight in the fridge when you’re ready to indulge.
By following these simple tips, you can savor your delicious bake for days! If you have other burning questions about red velvet cake, feel free to reach out or leave a comment below!
Conclusion on Red Velvet Cake
Summarizing Why Red Velvet Cake is a Must-Try
In a world filled with desserts, red velvet cake stands out for its vibrant color and captivating flavor. This cake isn’t just a feast for the eyes; it offers a tender, rich chocolate taste with a hint of tang from buttermilk, making every bite a delight. Whether you’re celebrating a special occasion or simply indulging on a weekend, this layered beauty brings a touch of elegance to any table. Plus, it’s versatile enough to pair with various frostings, from classic cream cheese to decadent chocolate. Give red velvet cake a chance; your taste buds will thank you!
PrintRed Velvet Cake: The Best Indulgent Treat for Any Occasion

Delve into the world of baking with this rich and indulgent red velvet cake. Perfect for celebrations and delightful gatherings.
- Prep Time: 15 minutes
- Cook Time: 30 minutes
- Total Time: 45 minutes
- Yield: 12 servings
- Category: Dessert
- Method: Baking
- Cuisine: American
- Diet: Vegetarian
Ingredients
- 2 cups all-purpose flour
- 1 cup granulated sugar
- 1 teaspoon baking powder
- 1 teaspoon baking soda
- 1 teaspoon salt
- 1 teaspoon cocoa powder
- 1 cup vegetable oil
- 1 cup buttermilk
- 2 large eggs
- 2 tablespoons red food dye
- 1 teaspoon vanilla extract
- 1 teaspoon white vinegar
Instructions
- Preheat the oven to 350°F (175°C).
- In a large bowl, mix together the flour, sugar, baking powder, baking soda, salt, and cocoa powder.
- In another bowl, combine the oil, buttermilk, eggs, food dye, vanilla extract, and vinegar.
- Gradually mix the wet ingredients into the dry ingredients until smooth.
- Pour the batter into greased cake pans and bake for 25-30 minutes.
- Once baked, let the cakes cool before frosting.
Notes
- For a richer flavor, let the cake sit overnight before serving.
- Top with cream cheese frosting for the best flavor pairing.
Nutrition
- Serving Size: 1 slice
- Calories: 350
- Sugar: 25g
- Sodium: 300mg
- Fat: 15g
- Saturated Fat: 3g
- Unsaturated Fat: 10g
- Trans Fat: 0g
- Carbohydrates: 50g
- Fiber: 1g
- Protein: 4g
- Cholesterol: 50mg