Introduction to Red Velvet Cake
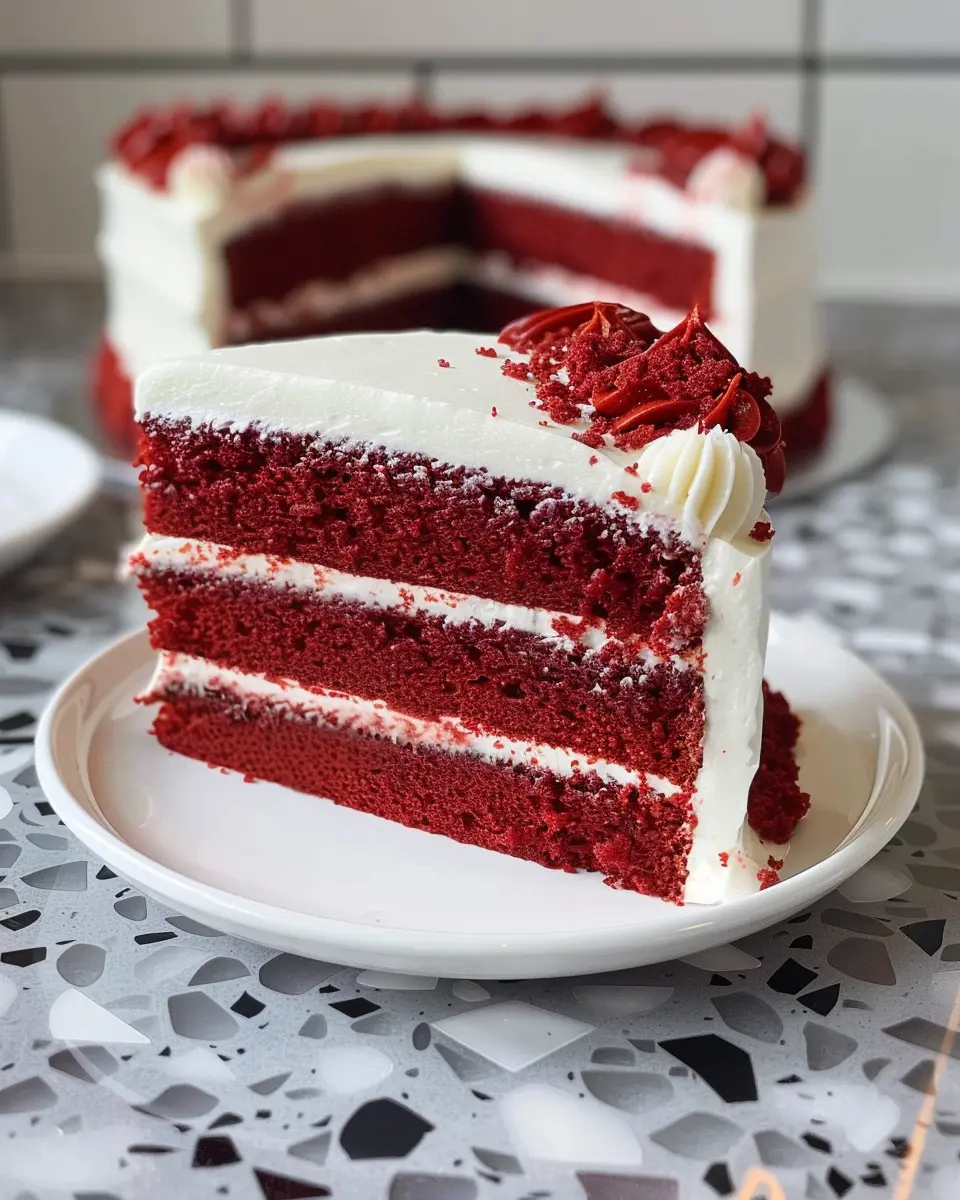
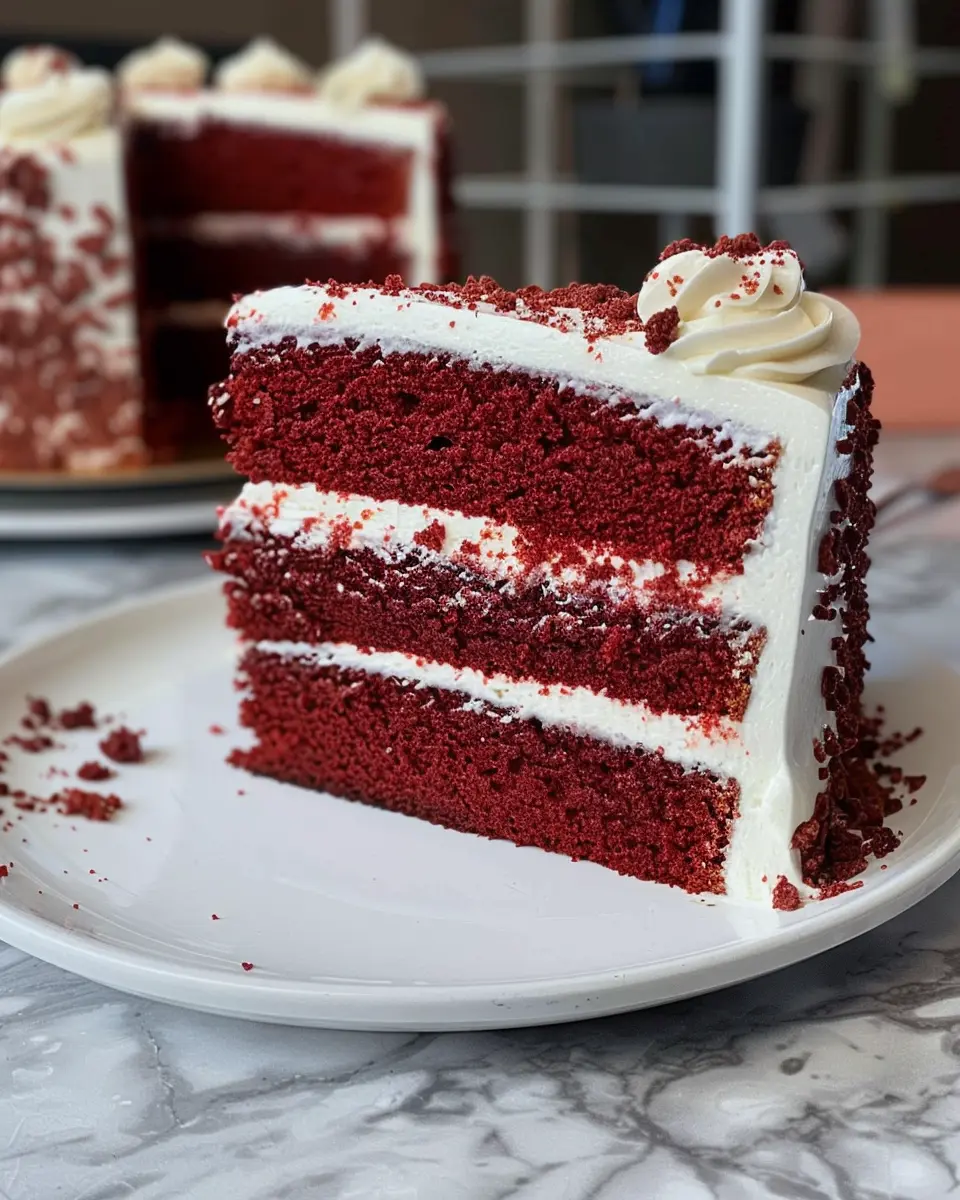
When it comes to indulgent desserts, few cakes can rival the allure of red velvet cake. This eye-catching treat, with its vibrant red hue and smooth cream cheese frosting, has captured hearts (and taste buds) for generations. But what exactly is red velvet cake, and why is it so beloved?
What is Red Velvet Cake and Why is it Loved?
At its core, red velvet cake is a delightful combination of cocoa powder, buttermilk, vegetable oil, and vinegar, which gives it a unique flavor profile that’s both rich and slightly tangy. The cake’s iconic red color is often attributed to the reaction between the cocoa and acidic ingredients, though many modern recipes call for food coloring to achieve that striking shade.
But it’s not just its looks that make red velvet cake special. Its moist and tender crumb, combined with the luscious cream cheese or buttercream frosting, creates a truly decadent experience. Some say the contrast between the rich cake and the fluffy frosting is what helps this dessert stand out on any occasion, from birthdays to weddings.
Red velvet cake also has its roots steeped in American history. Originating in the South, it gained popularity during the 1920s and has since become a symbol of celebration. Interestingly, its fame has only continued to grow, thanks in part to its frequent appearances in popular culture—think of the iconic red velvet cake from “The Help” or countless Instagram posts showcasing beautifully decorated versions.
Here are a few reasons why this cake has sparked such adoration:
- Visual Appeal: The stunning red color makes it a showstopper for any gathering.
- Versatile Flavor: It pairs well with a variety of flavors, from classic cream cheese frosting to fresh fruit toppings.
- Rich History: Each bite is infused with a story, connecting us to Southern traditions and modern culinary creativity.
Whether you’re a seasoned baker or a curious novice, exploring the delightful world of red velvet cake is sure to be a rewarding experience. So, ready to dive into making your own? Check out the full recipe below!
Ingredients for Red Velvet Cake
Essential ingredients for the cake
Whether you’re baking for a special occasion or simply indulging your sweet tooth, a classic red velvet cake calls for a few key ingredients that elevate its unique flavor and color. Here’s what you’ll need:
- All-purpose flour: Offers structure to the cake.
- Granulated sugar: Sweetens and balances the flavor.
- Cocoa powder: Adds a subtle chocolate taste.
- Baking powder and baking soda: Helps the cake rise.
- Vegetable oil: Keeps the cake moist and tender.
- Buttermilk: Contributes to its characteristic tang.
- Eggs: Essential for binding the ingredients together.
- Red food coloring: Gives the cake its signature vibrant hue.
- Vanilla extract: Adds depth to the flavor.
For additional tips on using baking essentials, check out Baking 101.
Key ingredients for the cream cheese frosting
No red velvet cake is complete without a luscious layer of frosting. Here are the foundational ingredients that make cream cheese frosting incredibly irresistible:
- Cream cheese: The star ingredient, providing that rich, tangy flavor.
- Unsalted butter: Adds creaminess and stability.
- Powdered sugar: Sweetens the frosting without adding graininess.
- Vanilla extract: Enhances the overall taste profile.
These ingredients, mixed to creamy perfection, will take your dessert to the next level. Want to explore frosting techniques? Check out Frosting Tips for some expert advice!
Gather your ingredients, and get ready to create a red velvet cake that’s as delightful to behold as it is to taste!
Step-by-step Preparation of Red Velvet Cake
Creating a delightful red velvet cake is not just about mixing ingredients; it’s a journey filled with flavors, colors, and a touch of tradition. Whether you’re preparing for a special occasion or just indulging yourself, let’s dive into this step-by-step guide to bring your delicious creation to life.
Gather and prep your ingredients
First things first, let’s ensure you have everything you need to make the perfect red velvet cake. Here’s what you’ll need:
-
Dry Ingredients:
-
2 ½ cups all-purpose flour
-
1 ½ cups granulated sugar
-
1 teaspoon baking powder
-
1 teaspoon baking soda
-
1 teaspoon salt
-
1 tablespoon unsweetened cocoa powder
-
Wet Ingredients:
-
1 cup vegetable oil
-
1 cup buttermilk, room temperature (you can make your own by adding lemon juice to milk)
-
2 large eggs, room temperature
-
2 tablespoons red food coloring
-
1 teaspoon vanilla extract
-
1 teaspoon white vinegar
-
Cream Cheese Frosting:
-
8 oz cream cheese, softened
-
½ cup unsalted butter, softened
-
4 cups powdered sugar
-
1 teaspoon vanilla extract
Prepping your ingredients is just as important as the cooking itself. Make sure everything is measured and ready to go. A chaotic kitchen can lead to chaotic results.
Mix the wet ingredients for the cake
In a large mixing bowl, start by whisking together the oil, buttermilk, eggs, food coloring, and vanilla extract. You’ll want to mix these ingredients thoroughly until well combined. The beautiful red hue you achieve here is part of what makes a red velvet cake so stunning. And don’t rush through this step; give it a good whisk to ensure everything melds together seamlessly!
Combine dry ingredients and create the cake batter
In a separate bowl, sift together the dry ingredients: flour, sugar, baking powder, baking soda, salt, and cocoa powder. This ensures even distribution of the baking soda and helps to give your cake a light, fluffy texture.
Gradually add the dry ingredients to the wet mixture, stirring until just combined. Avoid overmixing; a few lumps are perfectly fine. The batter should be velvety and smooth, ready to make its grand entrance into the oven.
The magic of baking soda and vinegar
Here’s where a little chemistry comes into play! Adding vinegar to the batter alongside baking soda creates that characteristic red velvet lift. This combination causes a reaction that releases carbon dioxide, contributing to a lighter, fluffier cake. Exciting, right? It’s these small steps that lead to spectacular results!
Bake the cake layers and cool
Preheat your oven to 350°F (175°C). Prepare your cake pans by greasing and flouring them. Pour the batter evenly into the pans, and then bake them for about 25-30 minutes. You’ll know they’re done when a toothpick inserted in the center comes out clean.
Once baked, remove the cakes from the oven, and allow them to cool in the pans for about 10 minutes. After that, transfer them to a wire rack to cool completely. Patience is key here—as tempting as it may be to frost when warm, letting them cool properly will help your layers hold up beautifully.
Prepare the creamy frosting
While you wait, whip up that luscious cream cheese frosting. In a large bowl, beat the cream cheese and butter together until smooth. Gradually add the powdered sugar and vanilla extract, mixing until creamy and spreadable. If the frosting is too stiff, a splash of milk can help you achieve the right consistency.
Assemble your Red Velvet Cake like a pro
Once your cake layers are cool, it’s time to bring it all together. Place one layer on a serving plate, spread a generous layer of frosting on top, then layer on the second cake. Frost the top and sides of the cake, creating beautiful swirls and peaks. Don’t stress about perfection; a rustic look can also add charm!
To garnish, consider adding some chocolate shavings or fresh berries for color. Not only do they enhance the presentation, but they also offer a lovely contrast to the sweet, tangy frosting.
In just a few steps, you’ve created a beautiful red velvet cake! Each bite is sure to evoke joy, making it perfect for celebrations or a simple dessert after dinner. Enjoy every slice, knowing you’ve put in the effort to create something truly special!
Variations on Red Velvet Cake
Red velvet cake has captured the hearts of many with its striking color and decadent layers. But why stop at the classic recipe? Let’s explore some delicious variations that cater to different dietary needs and taste preferences.
Classic Red Velvet with Cream Cheese
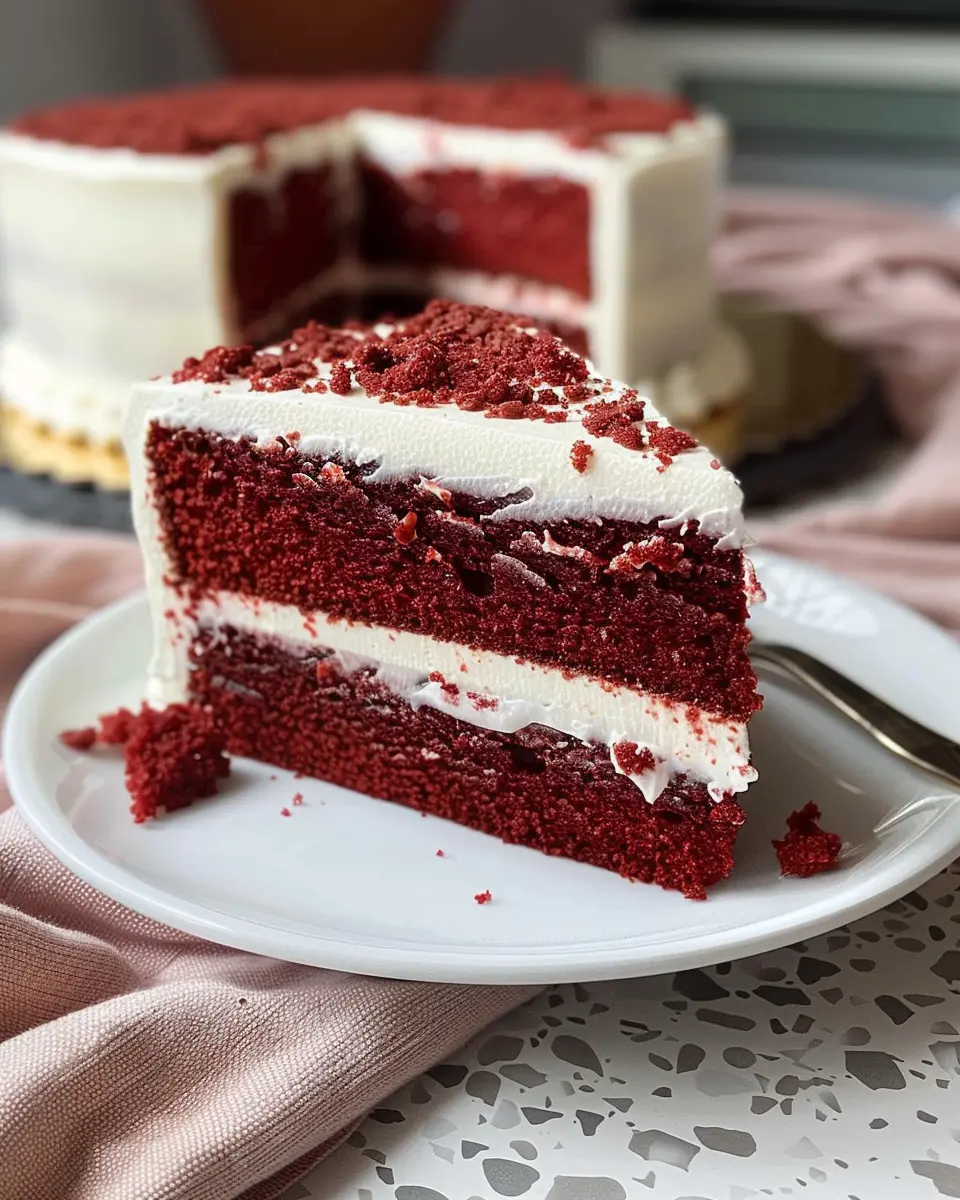
The classic red velvet cake is often paired with a luscious cream cheese frosting that elevates its flavor and texture. The tanginess of cream cheese perfectly complements the subtle cocoa notes, creating a luxurious treat that’s hard to resist. To whip up this delightful combination, simply blend cream cheese with butter, powdered sugar, and a splash of vanilla. Spread generously between the layers and on top for a truly indulgent finish. Many bakers recommend using high-quality cream cheese for the best flavor, which makes all the difference!
Vegan Red Velvet Options
For those embracing a plant-based lifestyle, there are plenty of ways to enjoy red velvet cake without any animal products. You can substitute eggs with ingredients like flaxseed meal or applesauce, and use plant-based milk in place of dairy. For a rich flavor, consider adding a vegan cream cheese frosting made from cashews or coconut cream. Need a reliable recipe? Check out resources like the Minimalist Baker for wonderful vegan baking ideas!
Gluten-Free Red Velvet Alternatives
If gluten is off the menu, don’t worry! Making a gluten-free red velvet cake is easier than ever thanks to a multitude of gluten-free flours available today. Almond flour or a gluten-free baking blend works beautifully, and don’t forget to use gluten-free buttermilk made from plant milk and vinegar. You can still achieve that rich color and flavor without compromising your dietary requirements. Websites like King Arthur Baking offer helpful tips for gluten-free baking that you might find useful.
Whatever your dietary needs, there’s a variation of red velvet cake just waiting to be enjoyed. So gather your ingredients and let your creativity shine!
Baking Tips and Notes for Red Velvet Cake
Common baking mistakes to avoid
When whipping up a fabulous red velvet cake, there are a few pitfalls to be wary of. First, don’t skip sifting your dry ingredients—this helps achieve a light and fluffy texture. Also, overmixing the batter can lead to a dense cake. Try to combine just until everything is incorporated. Lastly, while using buttermilk is key, ensure it’s fresh for that perfect tangy flavor.
For more insights, check out this baking tips guide.
Storage tips for freshness
To keep your red velvet cake moist and delicious, consider these storage tips:
- Cool completely: Always let your cake cool fully before wrapping it.
- Airtight container: Use an airtight container or wrap it tightly in plastic wrap to maintain moisture.
- Refrigerate if needed: If your cake is frosted, it’s best stored in the fridge, but let it come to room temperature before serving for the best flavor.
Remember, a well-stored cake can last up to a week, but it’s so delicious, it’ll be gone long before then!
Serving Suggestions for Red Velvet Cake
Festive Cake Presentation Ideas
When it comes to serving your red velvet cake, presentation matters! Here are some delightful ideas to make your cake the star of the show:
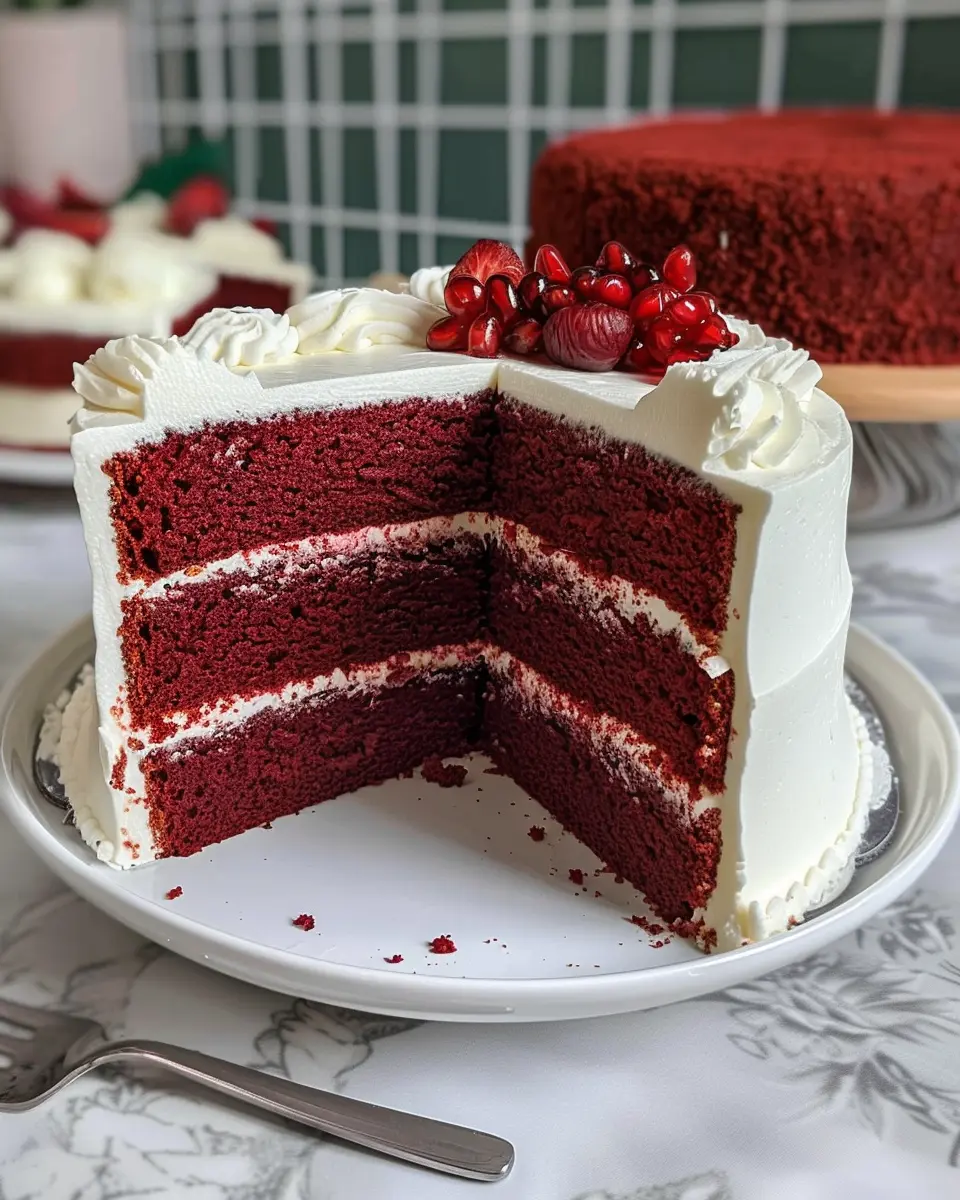
- Layer it Up: Consider stacking multiple layers with generous cream cheese frosting in between for a dramatic look. Dust with cocoa powder or make adorable heart-shaped decorations on top.
- Go Rustic: Place your cake on a wooden board and surround it with fresh berries or mint leaves. This adds a natural touch that brings out the vibrant red color beautifully.
- Individual Servings: Slice your cake into squares and serve on cute plates. This is perfect for parties—or a cozy movie night when you just can’t resist having your cake and eating it too!
Pairing Desserts with Red Velvet Cake
Pairing desserts can elevate your red velvet experience. Here are a few ideas to sweeten your gathering:
- Mini Cheesecakes: Their creamy texture complements the cake’s richness without overwhelming it.
- Chocolate Truffles: These bite-sized delights are perfect for a decadent touch.
- Fruity Sorbet: A scoop of lemon or raspberry sorbet can balance the sweetness and provide a refreshing contrast.
Feeling adventurous? Try combining your red velvet cake with a homemade vanilla ice cream for an unforgettable dessert experience. Or, if you want a more interactive approach, set up a dessert bar where guests can customize their sweet treats!
For more on creative dessert pairings, check out Serious Eats for expert insights and ideas!
Time Breakdown for Red Velvet Cake
When you decide to whip up a classic red velvet cake, it’s essential to plan your time wisely. Here’s a handy breakdown to help you organize your baking adventure.
Preparation Time
Getting everything ready takes about 20-30 minutes. This includes gathering your ingredients, mixing the batter, and preparing the cake pans.
Baking Time
The actual baking will take around 30-35 minutes. Keep an eye on your cake as you want it to rise beautifully without overbaking.
Cooling Time
After baking, let your red velvet cake cool for about 1 hour. This step is crucial for ensuring that your layers are set and easier to frost.
Total Time
In total, you’re looking at approximately 2-2.5 hours from start to finish, including all cooling and preparation. It’s totally worth it for a slice of this delightful dessert!
For more tips on baking perfect cakes, check out credible sources like the Joy of Baking and Serious Eats.
Nutritional Facts for Red Velvet Cake
When you’re indulging in a slice of red velvet cake, it’s good to know what you’re treating yourself to. Here’s a simple breakdown:
Calories per slice
Each slice of red velvet cake typically contains around 350 to 450 calories. This can vary based on ingredients and serving size, so be mindful of those share-worthy portions.
Key nutrients
Beyond the sweetness, red velvet cake offers some key nutrients:
- Carbohydrates: Provides energy, crucial for your busy lifestyle.
- Protein: While not a protein powerhouse, it still contributes to your daily intake.
- Fats: Depending on the frosting, it can contain healthy fats, especially if made with natural oils.
For a more detailed nutrition guide, check out resources like NutritionData or the USDA FoodData Central.
Suggested serving size
A standard serving size is about 1 slice, which allows you to enjoy the flavors without going overboard. Pair it with a cup of tea or coffee for a delightful afternoon treat.
Remember, life is about balance—enjoy that cake just as much as that hearty turkey bacon breakfast!
FAQ about Red Velvet Cake
What gives red velvet cake its red color?
The signature red hue of red velvet cake is traditionally achieved using a combination of ingredients. Initially, the reaction between cocoa powder and acidic ingredients like buttermilk or vinegar created a reddish tint due to anthocyanins present in cocoa. Nowadays, many recipes use food coloring to enhance that vibrant color, making it more eye-catching. If you prefer a more natural approach, you can try using beet juice as a substitute!
How long can I store leftover cake?
If you’ve made a scrumptious red velvet cake and find yourself with leftovers, you’re in luck! Properly stored in an airtight container at room temperature, your cake will stay fresh for about 3 days. For longer storage, consider refrigerating it, where it can last up to a week. You can also freeze slices for later enjoyment—just wrap them tightly in plastic wrap and store them in a freezer-safe container. Thaw them in the fridge when you’re ready for a sweet treat!
Can I make red velvet cupcakes instead?
Absolutely! Transforming your red velvet cake into delightful cupcakes is a fun and easy adaptation. Simply pour the batter into cupcake liners and bake at the same temperature, adjusting the baking time to about 15-20 minutes. This option is perfect for parties or when you want to share — plus, who doesn’t love a personal-sized treat? For more red velvet variations, check out this helpful baking resource.
How do I fix a dry red velvet cake?
A dry red velvet cake can be a disappointment, but all is not lost! Here are some quick fixes to revive your cake:
- Syrup Soak: Brush a simple syrup (water and sugar boiled together) onto the cake layers to add moisture.
- Frosting Aid: A rich cream cheese frosting can help mask the dryness while adding a delicious layer of flavor.
- Ingredient Check: In future bakes, ensure your ratios of liquid ingredients are accurate, and never overmix the batter!
With these tips and answers, you’re all set to tackle any red velvet cake adventure!
Conclusion on Red Velvet Cake
Why You Should Try Baking Red Velvet Cake at Home
Baking a red velvet cake at home is a delightful experience that combines creativity with culinary skill. Not only does this cake’s stunning red hue and velvety texture make it a showstopper for any occasion, but it also allows you to personalize the flavors and ingredients to suit your taste. Whether it’s for a birthday, anniversary, or just a sweet treat for yourself, nothing beats the satisfaction of creating something delicious from scratch.
Plus, experimenting with different frostings and decorations can turn this classic cake into a unique masterpiece. Embrace the joy of baking! If you’re curious about different cake variations, check out resources from professionals like The Baking Explorer for inspiration. And remember, a little practice goes a long way—so roll up your sleeves and give this recipe a try!
PrintRed Velvet Cake: The Best Indulgence for Any Celebration
Red Velvet Cake is a rich and luxurious dessert perfect for any celebration, featuring its signature deep red color and velvety texture.
- Prep Time: 30 minutes
- Cook Time: 30 minutes
- Total Time: 1 hour
- Yield: 12 servings
- Category: Dessert
- Method: Baking
- Cuisine: American
- Diet: Vegetarian
Ingredients
- 2 cups all-purpose flour
- 1 cup granulated sugar
- 1 teaspoon baking powder
- 1 teaspoon baking soda
- 1 teaspoon salt
- 1 teaspoon cocoa powder
- 1 cup vegetable oil
- 1 cup buttermilk
- 2 large eggs
- 2 tablespoons red food coloring
- 1 teaspoon vanilla extract
- 1 teaspoon white vinegar
Instructions
- Preheat your oven to 350°F (175°C).
- In a large bowl, mix the dry ingredients: flour, sugar, baking powder, baking soda, salt, and cocoa powder.
- In another bowl, combine the wet ingredients: oil, buttermilk, eggs, red food coloring, vanilla extract, and vinegar.
- Gradually mix the wet ingredients into the dry ingredients until well combined.
- Divide the batter evenly between two greased and floured cake pans.
- Bake for 25-30 minutes or until a toothpick inserted in the center comes out clean.
- Allow the cakes to cool completely before frosting.
Notes
- For an extra rich flavor, consider adding a cream cheese frosting.
- Let the cake sit overnight; it tastes even better the next day.
Nutrition
- Serving Size: 1 slice
- Calories: 350
- Sugar: 30g
- Sodium: 200mg
- Fat: 15g
- Saturated Fat: 3g
- Unsaturated Fat: 10g
- Trans Fat: 0g
- Carbohydrates: 48g
- Fiber: 1g
- Protein: 4g
- Cholesterol: 50mg