Introduction to Red Velvet Cake
A Love Affair with Red Velvet Cake
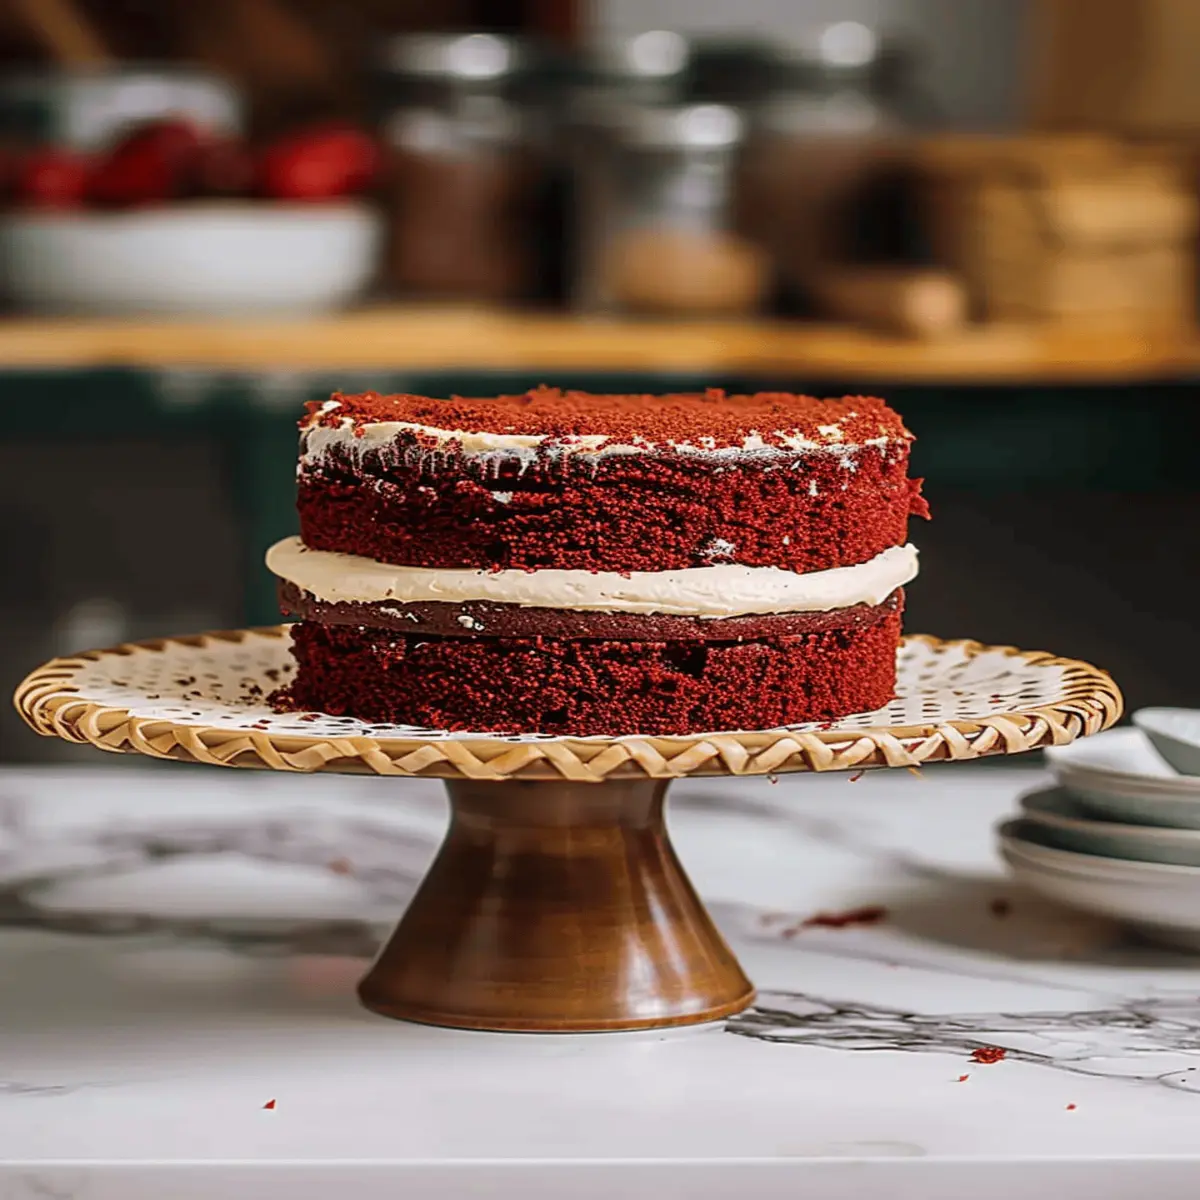
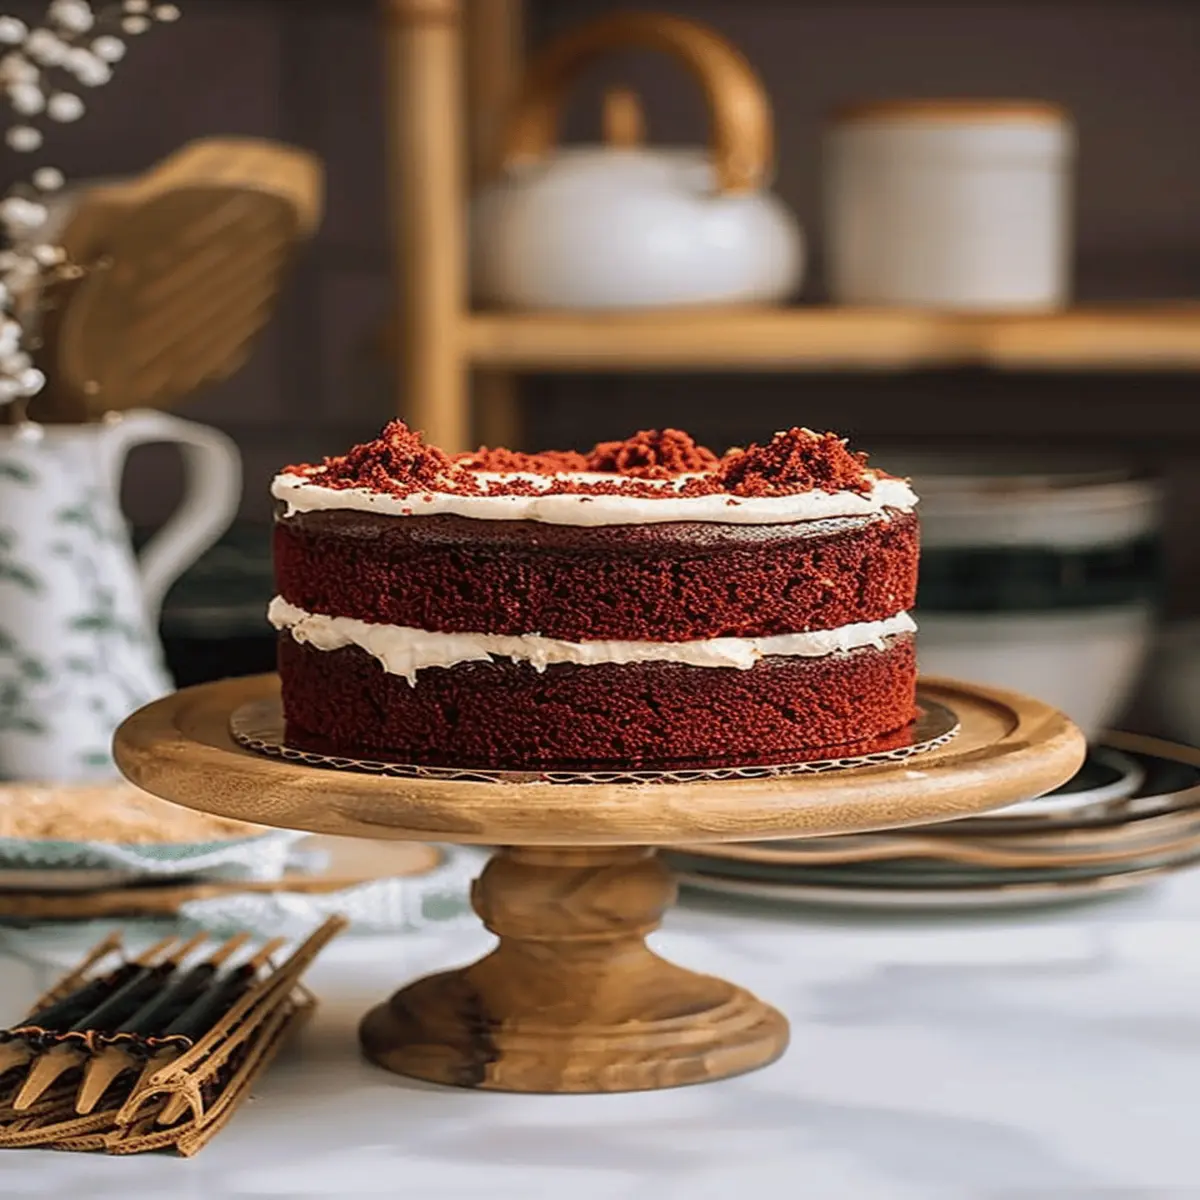
If you’ve ever tasted red velvet cake, you know it’s more than just dessert; it’s an experience. With its stunning crimson hue, velvety texture, and subtle hint of cocoa, this cake has captured the hearts (and taste buds) of many. Whether it’s a birthday celebration, a wedding reception, or just a cozy Sunday afternoon at home, red velvet cake often takes center stage, leaving a lasting impression.
But where did this cake’s beguiling charm come from? The origins of red velvet cake are somewhat murky, but it’s widely believed to have roots in the American South during the 1920s. Modest yet sophisticated, it began as a variation of chocolate cake. I remember the first time I tried it—it was at a friend’s wedding, and I couldn’t help but marvel at its vibrant color. It’s a visual treat, and the combination of flavors is simply unforgettable.
The chemistry behind that eye-catching color is fascinating. Traditionally, the reddish hue was achieved using raw cocoa powder, which reacted with the acidic ingredients, such as buttermilk and vinegar. While many modern recipes cheat with food coloring, there’s nothing like a slice made the old-fashioned way. If you’re intrigued, check out this thorough article that dives deeper into the cake’s storied past.
One of the reasons red velvet cake has become such a beloved choice is its versatility. The cake is typically paired with a rich cream cheese frosting, which adds a delightful tanginess that balances the sweetness beautifully. Plus, you can play around with different add-ins, like walnuts or chocolate chips, to make it truly your own.
So, whether you’re preparing to bake your first red velvet cake or putting your own spin on this classic, get ready to fall in love with every layer. The next step is to gather your ingredients and let the magic begin. Are you ready for your taste of tradition?
Ingredients for Red Velvet Cake
Essential ingredients for a classic red velvet cake
Creating a mouthwatering red velvet cake begins with the right ingredients. Here’s what you’ll need to achieve that signature flavor and texture:
- All-purpose flour: Provides the cake’s structure and helps with its moist crumb.
- Granulated sugar: Sweetens the cake. Consider using a high-quality sugar for best results!
- Cocoa powder: Just a touch adds depth without making it overpoweringly chocolatey.
- Baking soda and vinegar: These two combine to create a reaction that gives the cake its lift and tenderness.
- Buttermilk: A key player for that signature tang and moistness.
- Eggs: Bind everything together and add richness.
- Vegetable oil: Keeps the cake moist, offering a light texture.
- Red food coloring: The star of the show! It’s what gives this cake its beautiful hue.
For more expert advice on choosing the right ingredients, check out King Arthur Baking.
Optional add-ins for enhanced flavor
Want to elevate your red velvet cake? Consider these optional ingredients:
- Vanilla extract: A dash can enhance the overall flavor profile.
- Cream cheese or buttercream frosting: The classic pairing is a must for that delightful contrast.
- Chopped nuts or coconut: A little crunch or chew can add an interesting texture.
- Spices: A hint of cinnamon or nutmeg can complement the cake beautifully.
These bonus ingredients not only enhance flavor but also personalize your cake experience. So, don’t be afraid to get creative!
Step-by-Step Preparation for Red Velvet Cake
Making a red velvet cake might seem like a daunting task, but with the right preparation, you’ll find it’s actually quite manageable and oh-so-rewarding! Let’s dive into the step-by-step process that will transform your kitchen into a baking haven.
Gather your ingredients
Before you get started, it’s essential to gather all your ingredients. This ensures a smooth baking experience. For a classic red velvet cake, you’ll need:
- 2 ½ cups all-purpose flour
- 1 ½ cups granulated sugar
- 1 teaspoon baking soda
- 1 teaspoon salt
- 1 teaspoon cocoa powder
- 1 cup vegetable oil
- 1 cup buttermilk (homemade with vinegar or lemon juice works too)
- 2 large eggs
- 2 tablespoons red food coloring (gel food coloring works best)
- 1 teaspoon vanilla extract
- 1 teaspoon white vinegar
Having everything at your fingertips means you won’t get halfway through only to discover you’re out of cocoa powder.
Preheat your oven and prepare the pans
While you’re gathering your ingredients, go ahead and preheat your oven to 350°F (175°C). This step is crucial as it ensures that your cake begins baking at the right temperature.
Prepare your cake pans by greasing them with butter or non-stick spray and lightly dusting them with flour or line them with parchment paper. This makes removing your cake after baking a breeze!
Mix the dry ingredients
In a large mixing bowl, combine your all-purpose flour, baking soda, salt, sugar, and cocoa powder. Whisk them together until they’re well incorporated. This step is not only about mixing; it helps aerate the flour, leading to a lighter cake.
Did you know that the science behind baking often relies on the proper mixing of dry ingredients? Check out sources like King Arthur Baking for more insights on baking fundamentals.
Combine wet ingredients
In another bowl, you’ll want to beat together the vegetable oil, buttermilk, eggs, vanilla extract, and vinegar. Make sure to whisk until everything is fully blended. This combination is what gives your red velvet cake its moistness and richness.
Create the signature red velvet batter
Now it’s time to combine the two mixtures. Gradually add the wet ingredients to the dry ingredients, and use a spatula or wooden spoon to gently mix until just combined. Avoid overmixing, as this can make your cake tough instead of tender. Finally, stir in the red food coloring to achieve that gorgeous ruby hue we all love about red velvet cake.
Bake your red velvet cake
Divide the batter evenly between the prepared cake pans. Pop them in your preheated oven for 25 to 30 minutes. To test doneness, insert a toothpick into the center – it should come out clean or with a few moist crumbs.
Let the cake cool
Once baked, remove the cake from the oven and allow it to cool in the pans for about 10 minutes. Then, transfer them to wire racks to cool completely. Cooling is essential because icing a warm cake can lead to a gooey mess!
Prepare cream cheese frosting
A red velvet cake isn’t complete without its signature cream cheese frosting. In a mixing bowl, beat together 8 ounces of cream cheese (softened) and ½ cup of unsalted butter until creamy. Gradually add in 4 cups of powdered sugar and a splash of vanilla extract, mixing until you have a smooth, spreadable consistency.
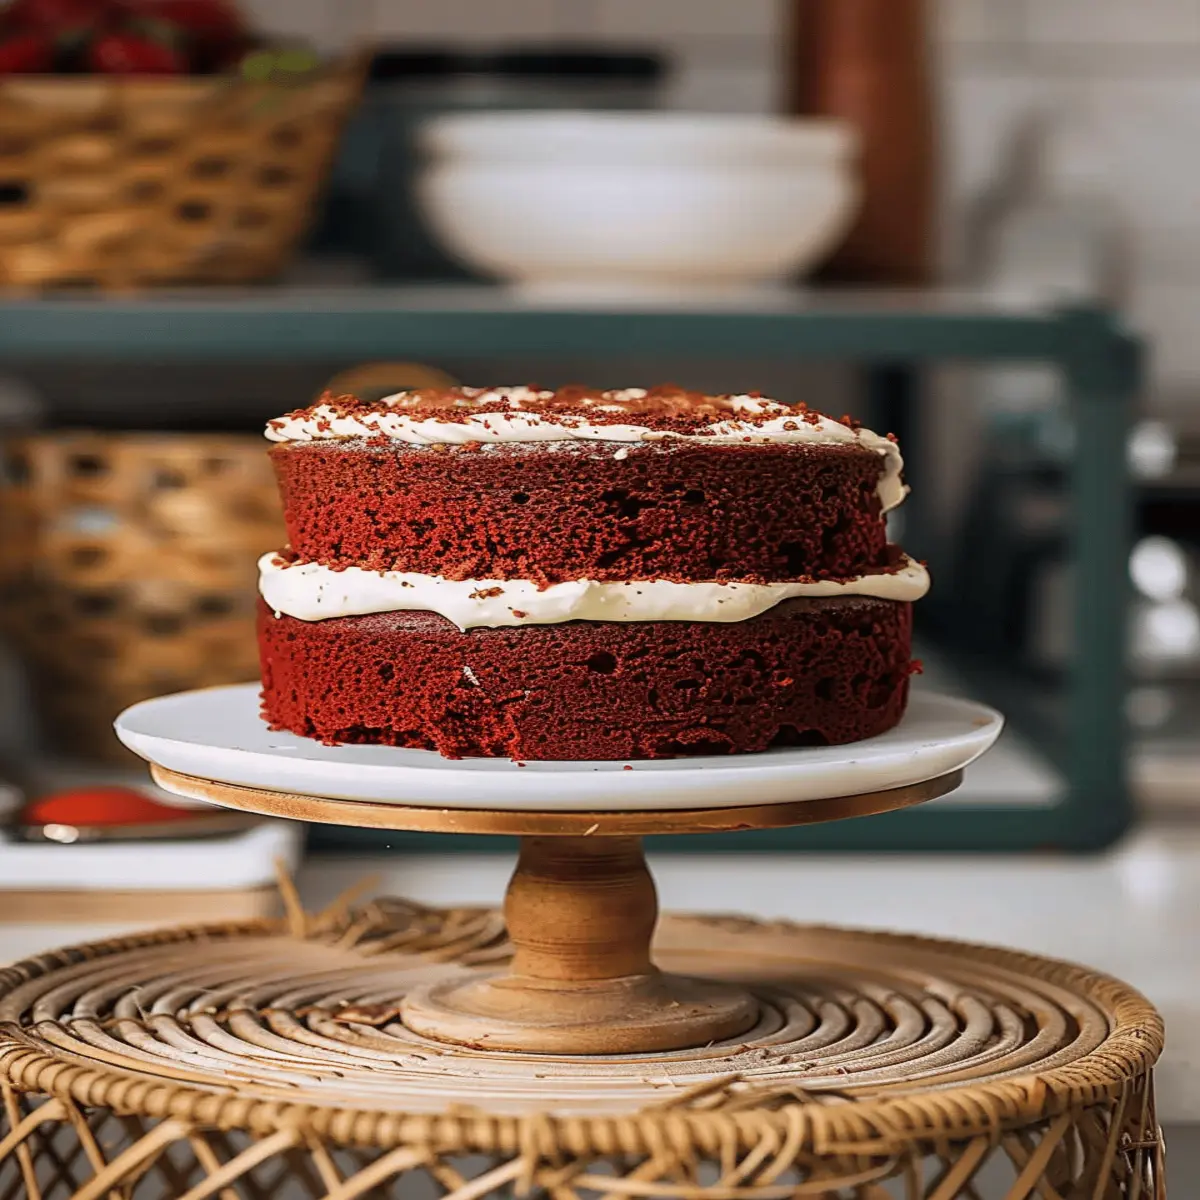
Frost and decorate the cake
Once your cake layers are completely cool, it’s time to frost! Place one layer on a plate, spread a generous layer of cream cheese frosting on top, and then place the second layer on top. Frost the top and sides of the cake, and feel free to get creative with decorations. Crushed nuts, chocolate shavings, or even a simple dusting of cocoa powder can elevate the look.
And there you have it! With these steps, you will create a show-stopping red velvet cake that’s perfect for any occasion. Enjoy every bite, and don’t forget to share with your friends—they’ll be asking for the recipe!
Variations on Red Velvet Cake
If you’re a fan of classic red velvet cake, you’re in for a treat with some exciting variations that put unique spins on this beloved dessert. Whether you want a portable option, a gluten-free version, or an impressive layered treat, there’s something here for everyone.
Delightful Red Velvet Cupcakes
Who doesn’t love cupcakes? They’re the perfect bite-sized indulgence! Red velvet cupcakes are fabulous for parties or afternoon treats. Just whip up your favorite red velvet cake batter, pour it into cupcake liners, and bake! Top with a generous swirl of cream cheese frosting for an eye-catching and delicious finish. These little delights are always a hit, plus they’re easily customizable—add chocolate chips or nuts for an extra twist.
Gluten-Free Red Velvet Cake
For those with gluten sensitivities, there’s no need to miss out on this classic dessert. You can create a deliciously moist gluten-free red velvet cake using alternative flours like almond or coconut flour. Substituting in a gluten-free baking mix can yield fantastic results without compromising flavor or texture. It’s a wonderful option for anyone looking to enjoy red velvet cake without worry. Check out sources like The Gluten-Free Flour Guide for tips on making perfect substitutions.
Layered Red Velvet Dessert
Want to really impress your guests? Try a layered red velvet dessert! This elegant treat consists of layers of red velvet cake, luscious cream cheese filling, and fresh berries. Assemble it in a trifle dish for a stunning presentation. This version is not only delicious but visually stunning—perfect for special occasions or a weekend get-together. Plus, each layer can be made ahead of time, making it a hassle-free option when entertaining.
With these variations, the possibilities are endless. If you have a favorite twist on red velvet cake, share it with us! Let’s spread the joy of baking together!
Baking Tips and Notes for Red Velvet Cake
Tips for achieving the perfect texture
Getting the texture of your red velvet cake just right can be a game-changer. Here are some pointers:
- Room Temperature Ingredients: Make sure your butter, eggs, and buttermilk are at room temperature. This ensures they blend smoothly, contributing to a tender crumb.
- Sift Your Dry Ingredients: Sifting the flour and cocoa powder helps remove lumps and aerates your ingredients, leading to a lighter cake.
- Don’t Overmix: When combining wet and dry ingredients, mix just until incorporated. Overmixing can lead to a dense texture.
For more in-depth baking strategies, check out this great resource on cake baking.
Common pitfalls to avoid
Even seasoned bakers can face challenges with red velvet cake. Here are some common missteps:
- Too Much Food Coloring: While you want that signature hue, too much red dye can overpower the flavor. Stick to the recommended amount.
- Ignoring Oven Calibration: Always check your oven temperature with a thermometer. An inaccurate oven can lead to uneven baking.
- Not Letting It Cool: Patience is key. Cooling your cake before frosting allows it to set and helps avoid a mushy mess.
Remember, every bake is a learning experience—embrace the process! Happy baking!
Serving Suggestions for Red Velvet Cake
Best pairings for red velvet cake
When it comes to red velvet cake, the right pairings can elevate the experience to a whole new level. Consider these delicious accompaniments:
- Cream cheese frosting: A classic companion that complements the cake’s rich flavor. You can even experiment with flavored frostings, like vanilla or chocolate ganache.
- Fruit options: Fresh berries, like strawberries or raspberries, provide a refreshing contrast to the cake’s sweetness. Try serving a side of berry compote for an extra burst of flavor.
- Beverage pairings: Opt for a glass of cold milk or a steaming cup of coffee to balance the richness. For something a bit more festive, consider serving your slice with a light dessert wine.
Creative presentation ideas
Serving your red velvet cake beautifully can leave a lasting impression on your guests. Here are some creative ideas to inspire you:
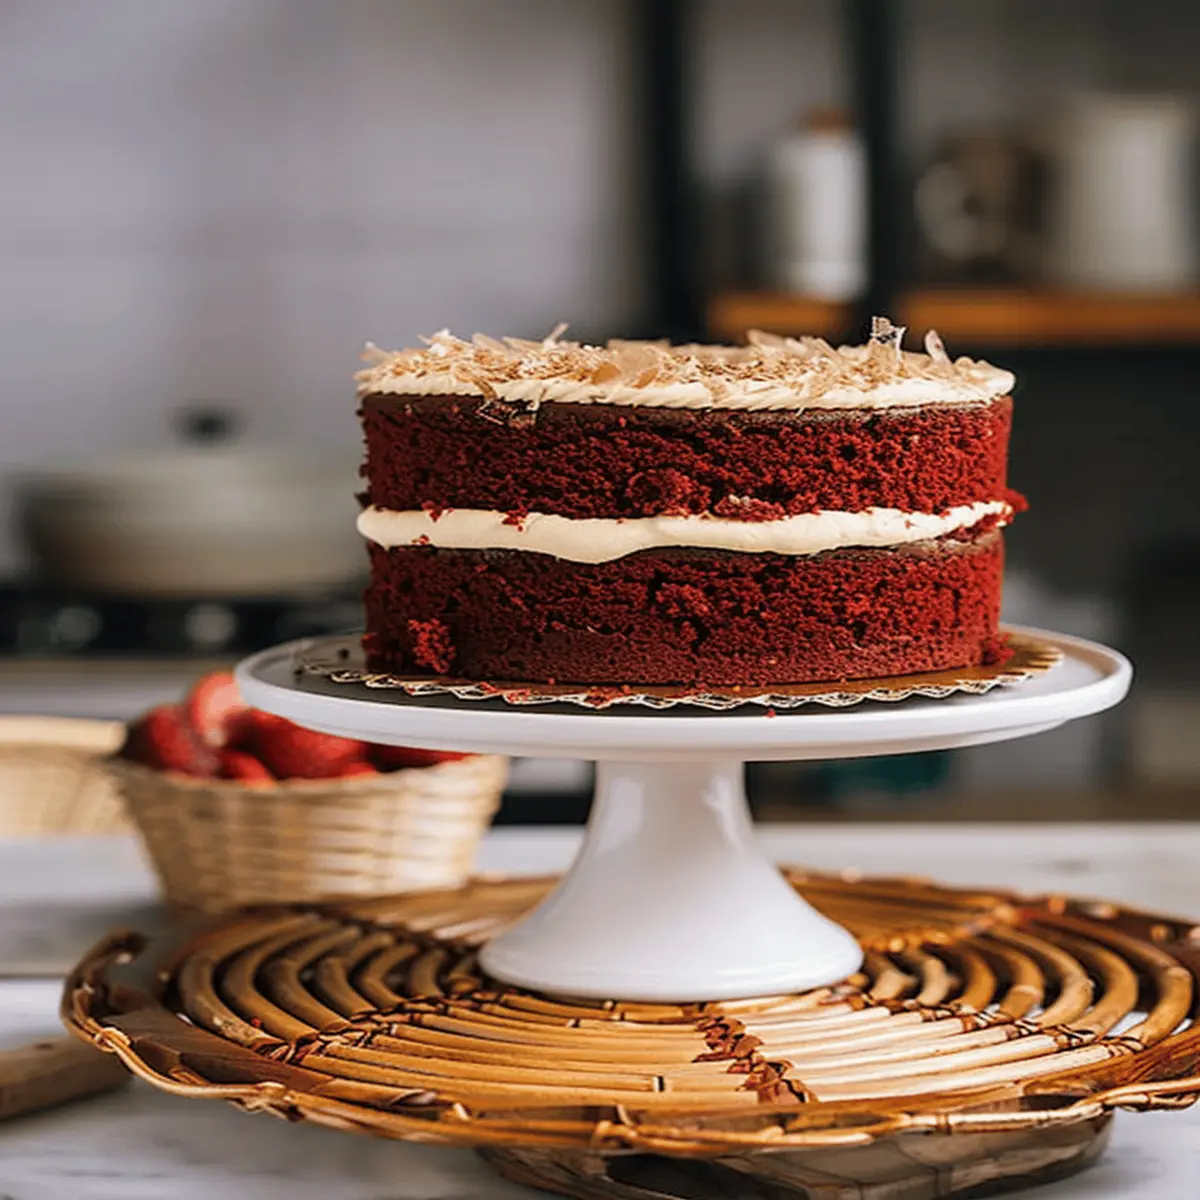
- Layered display: Stack slices on an elegant tiered cake stand for a charming visual impact.
- Garnishes: Add a sprinkle of cocoa powder or edible glitter on top for a touch of glam. Fresh mint leaves can bring a pop of color and freshness.
- Themed platters: Plate your cake slices on colorful or patterned plates to align with any party theme, creating a cohesive look.
With these suggestions, your red velvet cake is sure to be a hit, whether it’s a birthday celebration or just a special treat. For more tips on dessert presentation, check out this article on food styling.
Time Breakdown for Red Velvet Cake
When it comes to whipping up a delightful red velvet cake, knowing your time commitments upfront can make the baking process more enjoyable and efficient. Here’s a quick rundown of what to expect:
Preparation Time
Spend about 20-30 minutes gathering your ingredients and mixing them together. Prepping your baking pans and ensuring everything is in place will help set you up for success.
Baking Time
The red velvet cake typically needs 25-30 minutes in the oven. Keep an eye on it, and use the toothpick test to ensure that it’s perfectly baked!
Cooling Time
After baking, allow the cakes to cool for approximately 1 hour in their pans, followed by another 30 minutes once removed. This step is crucial for avoiding a crumbly frosting disaster.
Total Time
In total, you’re looking at about 2-2.5 hours. It’s a worthwhile investment for a cake that will surely impress your friends and family!
For more baking insights and tips, feel free to check out sites like King Arthur Baking or Serious Eats for extra baking resources!
Nutritional Facts for Red Velvet Cake
Calories per Slice
A typical slice of red velvet cake (about 1/12th of a standard 9-inch cake) contains approximately 350–400 calories. While it’s a delightful treat, it’s essential to enjoy in moderation. If you’re keeping an eye on your calorie intake, consider sharing a slice with a friend or saving a piece for later.
Key Nutrients
This popular dessert isn’t just about taste. It also provides some key nutrients:
- Fat: Around 15 grams, largely from ingredients like butter and cream cheese.
- Carbohydrates: Roughly 50 grams, giving you an energy boost.
- Protein: About 3–5 grams, thanks to the eggs and buttermilk.
For a deeper dive into the nutrition facts of various cakes, you may want to check out the USDA’s FoodData Central for comprehensive data.
Serving Size Considerations
When indulging in red velvet cake, think about portion sizes. A standard serving is a slice, but think about sharing or opting for a smaller piece if you’re watching your sugar intake. Remember, it’s all about balance! With some creative mindsets, you can enjoy your favorite dessert while maintaining a healthy lifestyle.
FAQs about Red Velvet Cake
What makes red velvet cake red?
The iconic red color of red velvet cake traditionally comes from a reaction between cocoa powder and acidic ingredients like vinegar or buttermilk. This chemical interaction enhances the reddish hue. While many recipes today rely on food coloring to achieve that vibrant color, the original Victorian recipes were more about the cocoa process than pure coloring.
Can I use food coloring alternatives?
Absolutely! If you’re looking for a more natural approach, you can opt for beet juice or pomegranate juice as alternatives to synthetic food coloring. These options not only provide a delicious hint of flavor but also contribute to that coveted red color. Just remember that using these natural alternatives might produce a slightly different shade compared to commercial food colorings.
How to store red velvet cake for maximum freshness?
For the best storage:
- Room Temperature: If you plan to eat the cake within a few days, keep it at room temperature in an airtight container.
- Refrigeration: For longer storage, wrap the cake tightly in plastic wrap and refrigerate. It will stay fresh for up to a week.
- Freezing: You can also freeze slices for those times you’re craving dessert! Just ensure they’re wrapped well to prevent freezer burn.
Is red velvet cake the same as chocolate cake?
That’s a common misconception! While red velvet cake does contain cocoa powder, it’s not simply a chocolate cake. The texture is also distinct, often lighter and fluffier, thanks to the addition of buttermilk and the chemical reaction mentioned earlier. It’s a unique blend of flavors, with a hint of chocolate and a buttery richness that makes it stand out.
For more insights about red velvet cake and its history, check out Serious Eats and their detailed articles on cake baking techniques. Happy baking!
Conclusion on Red Velvet Cake
Recap of why red velvet cake is a must-try
In summary, red velvet cake is not just a feast for the eyes but also a delightful treat for the taste buds. Its unique blend of cocoa, buttermilk, and cream cheese frosting creates a flavor profile that’s both rich and refreshing. The vibrant red hue adds an element of fun to any occasion, making it a popular choice for birthdays, weddings, and celebrations.
If you haven’t tried making one yet, you’re missing out on a memorable baking experience. Remember, the key to a perfect red velvet cake is in the balance of flavors and that luscious frosting. For expert tips on baking, check out America’s Test Kitchen. Happy baking!
PrintRed Velvet Cake Bliss: Indulgent Layers of Love!
Experience the rich and decadent layers of Red Velvet Cake, perfectly fluffy and topped with a luscious cream cheese frosting.
- Prep Time: 20 minutes
- Cook Time: 30 minutes
- Total Time: 50 minutes
- Yield: 8 servings
- Category: Desserts
- Method: Baking
- Cuisine: American
- Diet: Vegetarian
Ingredients
- 2 cups all-purpose flour
- 1 ½ cups granulated sugar
- 1 teaspoon baking soda
- 1 teaspoon salt
- 1 teaspoon cocoa powder
- 1 cup vegetable oil
- 1 cup buttermilk, room temperature
- 2 large eggs, room temperature
- 2 tablespoons red food coloring
- 1 teaspoon vanilla extract
- 1 teaspoon white vinegar
Instructions
- Preheat your oven to 350°F (175°C). Grease and flour two 9-inch round cake pans.
- In a large bowl, sift together flour, sugar, baking soda, salt, and cocoa powder.
- In another bowl, mix together oil, buttermilk, eggs, food coloring, vanilla extract, and vinegar.
- Combine the wet and dry ingredients, mixing until well blended.
- Divide the batter evenly between the prepared cake pans.
- Bake for 25-30 minutes, or until a toothpick inserted in the center comes out clean.
- Let the cakes cool in the pans for 10 minutes before transferring to wire racks to cool completely.
- Once cooled, frost with cream cheese frosting and enjoy!
Notes
- Ensure all ingredients are at room temperature for best results.
- For extra moisture, brush the cake layers with simple syrup after baking.
Nutrition
- Serving Size: 1 slice
- Calories: 350
- Sugar: 28g
- Sodium: 300mg
- Fat: 18g
- Saturated Fat: 3g
- Unsaturated Fat: 12g
- Trans Fat: 0g
- Carbohydrates: 45g
- Fiber: 1g
- Protein: 4g
- Cholesterol: 40mg