Introduction to Japanese Katsu Bowls
What are Japanese Katsu Bowls?
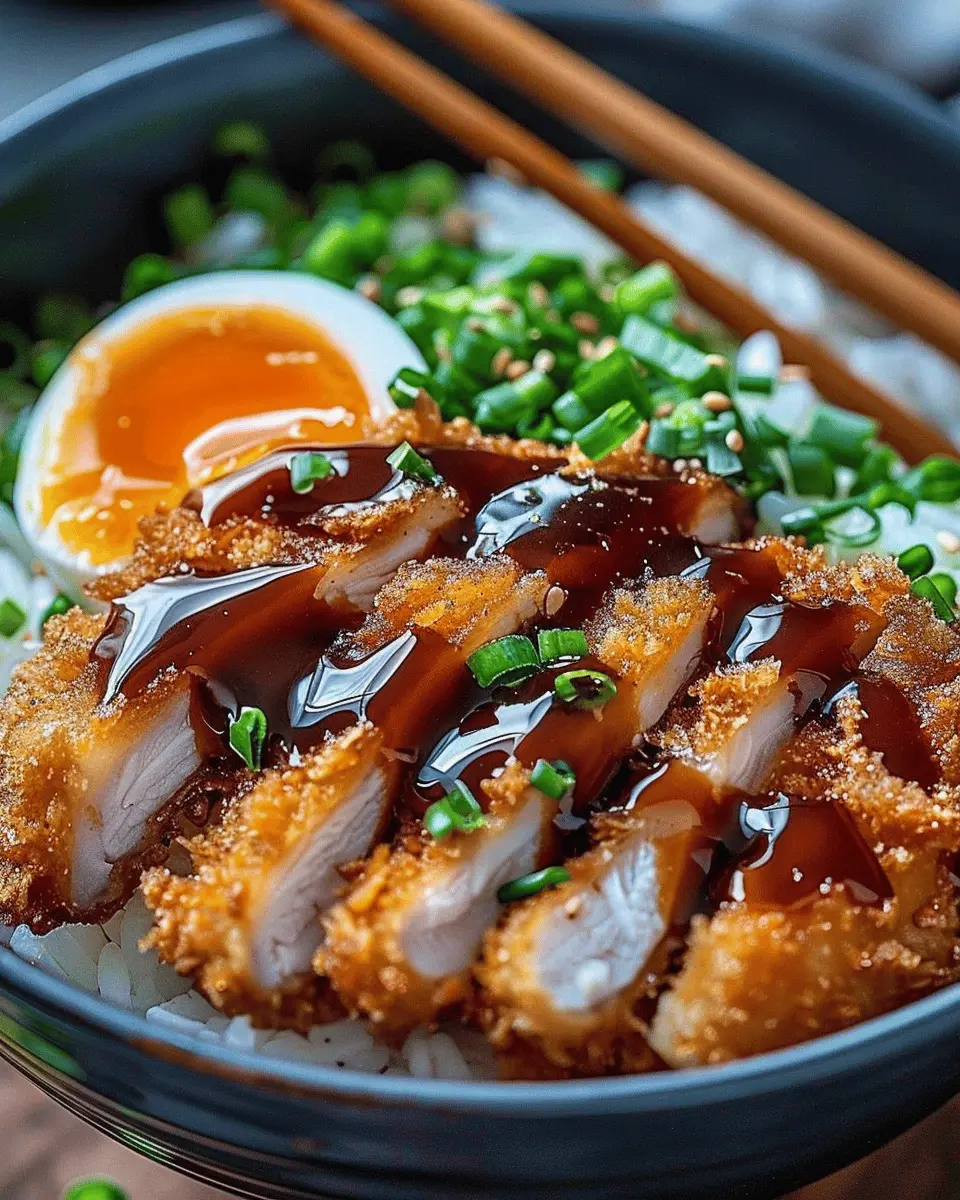
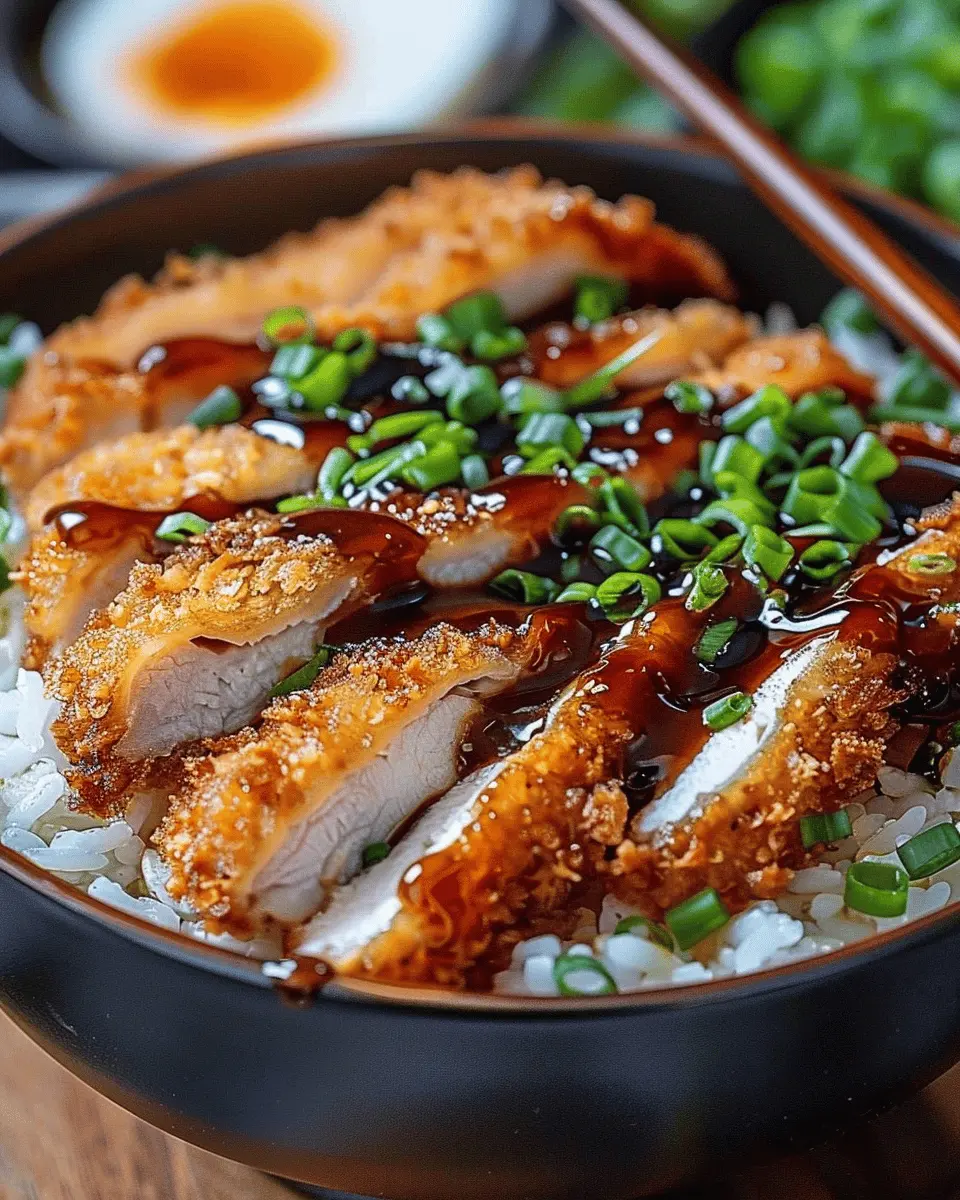
Japanese katsu bowls are a delightful fusion of crispy fried meat and savory sauces, served over a bed of rice. Traditionally, katsu refers to breaded and deep-fried cutlets, usually made with beef or chicken. In a typical bowl, you’ll find this flavorful protein sitting atop fluffy white rice, often garnished with fresh vegetables and drizzled with a smooth, tangy sauce like tonkatsu or curry. This culinary masterpiece beautifully blends textures and tastes, making for a hearty and satisfying meal.
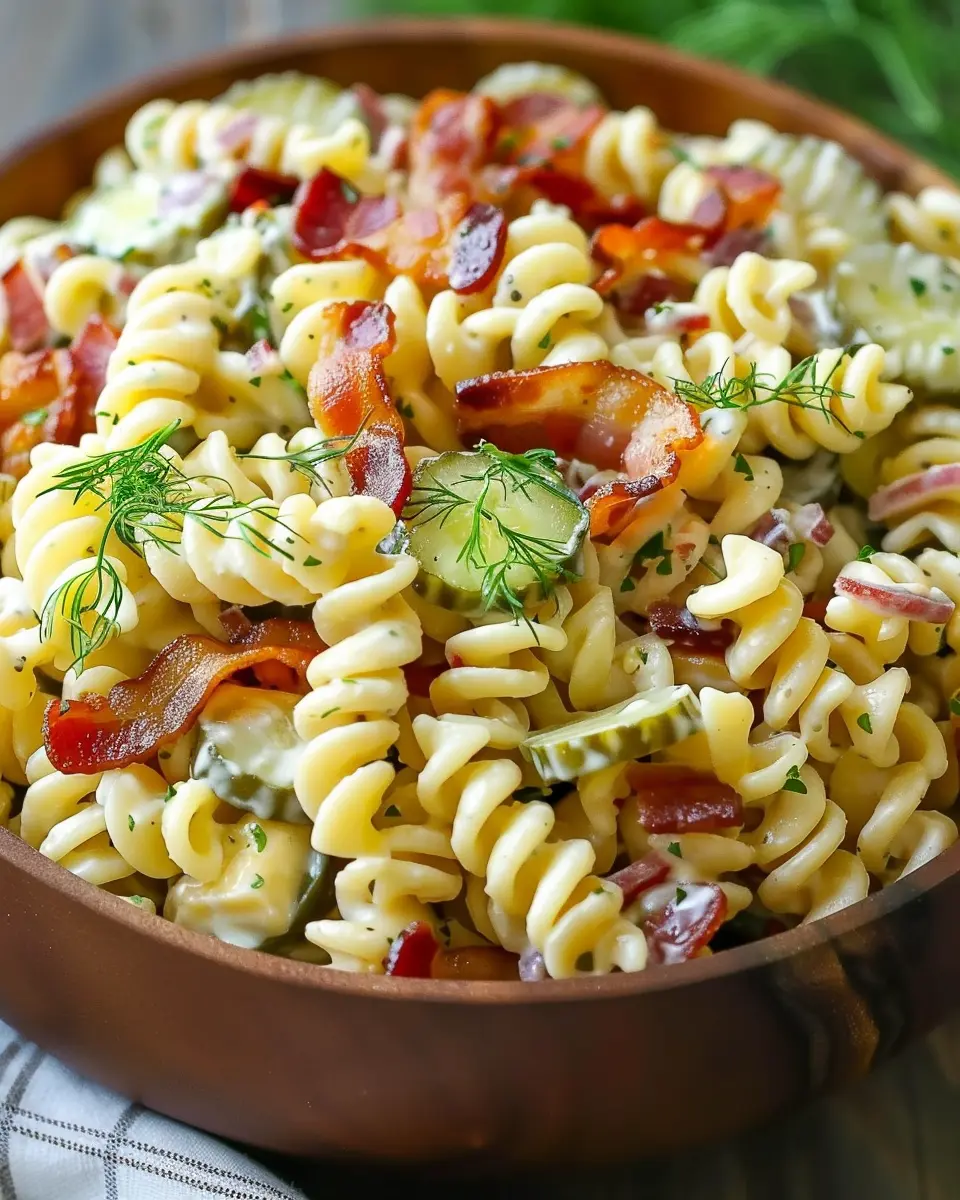
These bowls are not just about the meat; they often include pickled vegetables and a sprinkle of sesame seeds, adding both color and crunch. For more on the origins of katsu, you can check out this informative piece from Japan Today.
Why Everyone Should Try Making Them at Home
Making your own Japanese katsu bowls at home is not just a cooking project; it’s an experience! Here’s why you should get your apron on:
-
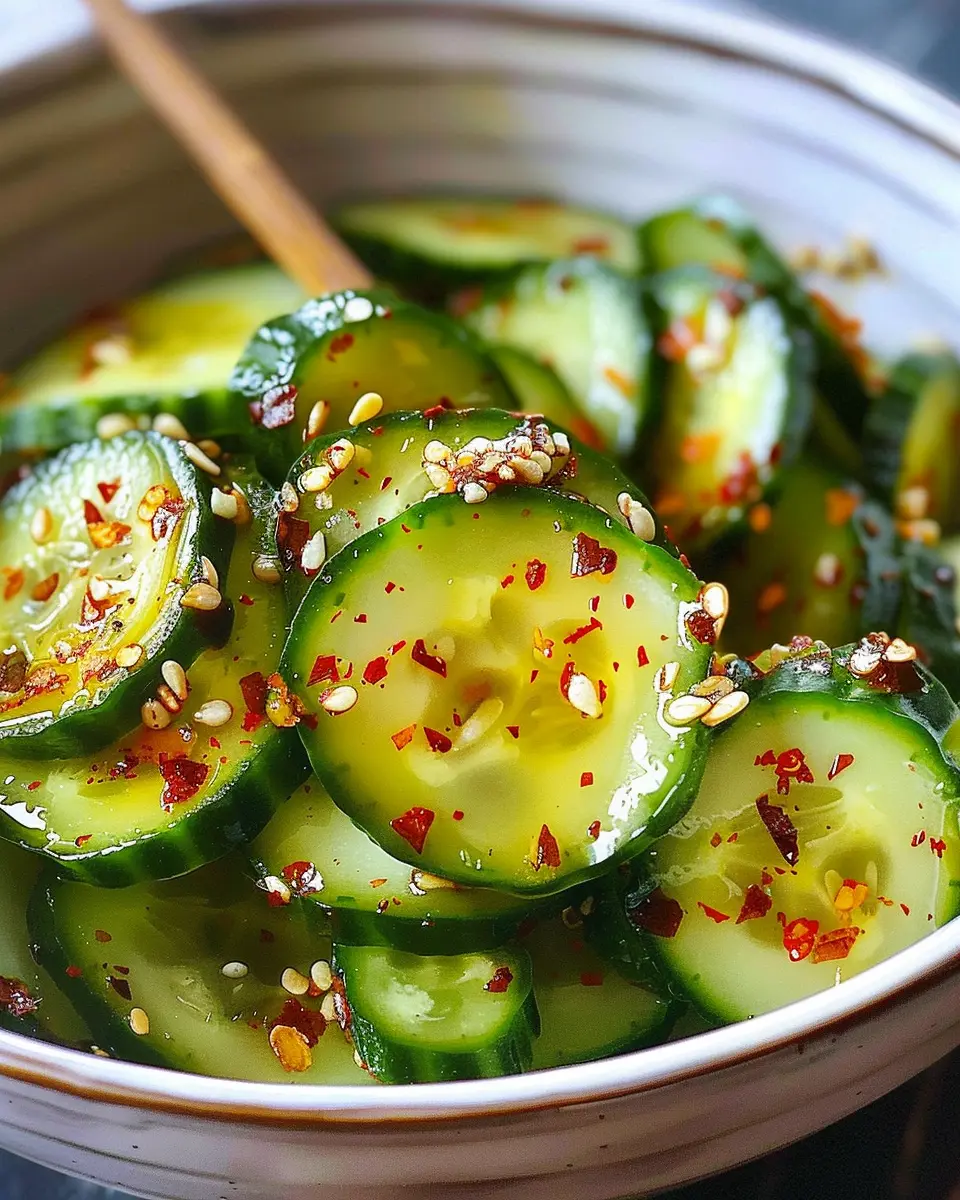
Customizable Ingredients: One of the greatest joys of cooking at home is the ability to tailor your meal. You can choose your favorite protein—beef, chicken, or even tofu if you’re feeling adventurous. Add in vegetables that you love, whether it’s crispy cucumbers or fresh radishes.
-
Healthier Options: When you make katsu at home, you control the ingredients. Opt for whole grain breadcrumbs, healthier cooking oils, or even bake your katsu instead of frying. This way, you can enjoy the indulgence of a katsu bowl without the extra guilt.
-
Learn with Friends: Cooking is often more fun with company. Invite a couple of friends over, share the tasks, and enjoy fresh katsu bowls together. It makes for a fantastic and memorable evening, complete with hearty laughs and, of course, delicious food.
-
Expanding Your Culinary Skills: Making katsu can also enhance your cooking repertoire. Techniques like breading and frying improve your kitchen savvy and can be applied to other dishes.
With just a few simple ingredients and a bit of time, you’ll elevate your weeknight meals to a whole new level of delightful deliciousness. For additional tips on perfecting your katsu technique, you might want to check out resources from Serious Eats. Why not dive into this culinary adventure and share the delightful experience with friends and family?
Ingredients for Japanese Katsu Bowls
Essential ingredients for katsu
To whip up delicious Japanese katsu bowls, you’ll need a few key ingredients that form the foundation of this delightful dish. Start with the protein of your choice: crispy beef or turkey bacon work wonderfully. It’s all about that satisfying crunch! You’ll also need:
- Panko breadcrumbs: These give your katsu that signature crispiness.
- Eggs: For binding the breadcrumbs and creating a rich coating.
- Flour: A light dusting helps the egg and panko adhere properly.
- Vegetable oil: For frying; a high smoke point oil like canola or peanut is ideal.
Suggested toppings and accompaniments
Now, let’s make those bowls pop! For toppings, the world is your oyster. Consider adding:
- Shredded cabbage: Fresh and crunchy, it provides a nice contrast.
- Green onions: A sprinkle for a fresh burst of flavor.
- Tonkatsu sauce: This thick, sweet sauce is a must for that umami kick.
Feeling adventurous? Try adding a fried egg on top or drizzling with some sesame oil for an extra layer of flavor. You can check out serious eats for more ideas on accompaniments. Happy cooking!
Preparing Japanese Katsu Bowls
Japanese katsu bowls are not only delicious but also made with love in the comfort of your own kitchen. The process might seem daunting at first, but I promise you it’s pretty straightforward and fun! Let’s dive into the steps to creating your very own Japanese katsu bowl.
Step 1: Prepare the Protein (Chicken or Beef)
First things first—let’s talk about the protein. Traditionally, katsu is made with chicken or beef fillets, and both offer delightful flavors. If you prefer chicken, go for boneless, skinless thighs for a juicier bite. For beef lovers, a tender cut like sirloin or tenderloin works beautifully.
- For chicken: pound the fillets to an even thickness for even cooking, about half an inch thick. This will ensure they cook faster and more uniformly.
- For beef: slice against the grain into manageable pieces, which will help keep it tender once cooked.
Once prepared, season your protein generously with salt and pepper, perhaps even a hint of garlic or onion powder for added depth.
Step 2: Breading the Katsu
Now we’ll get into the fun part—breading! This step is critical for achieving that satisfyingly crispy texture we all crave.
You will need:
-
Flour
-
Eggs (beaten)
-
Panko breadcrumbs (for that delightful crunch)
-
Start by setting up a breading station with three shallow bowls: one with flour, one with the beaten eggs, and the last filled with panko.
-
Dredge each piece of your protein lightly in the flour, shaking off any excess. This ensures that the egg adheres better.
-
Next, dip the floured piece into the egg wash, allowing it to coat well.
-
Finish by pressing the protein into the panko breadcrumbs, ensuring it’s well-covered for that essential crunch.
For tips on achieving the perfect crunch, check out this Panko breadcrumb guide for a deeper dive into the origins and uses of panko.
Step 3: Cooking the Katsu to Perfection
When it comes to cooking your katsu, the right heat is key. You don’t want to rush this step.
- Heat a generous amount of vegetable oil (about a quarter-inch deep) in a frying pan over medium to medium-high heat.
- Once the oil is hot enough (you can test it by dropping a breadcrumb; it should sizzle), gently place your breaded protein in the pan.
- Cook for about 3-4 minutes on each side until golden brown and fully cooked. A meat thermometer should read 165°F for chicken and 145°F for beef.
Let your katsu rest for a couple of minutes before slicing it; this helps retain the juices.
Step 4: Preparing the Rice
While your katsu is cooling off, it’s time to prepare the rice, which is a vital component of Japanese katsu bowls. Authentic Japanese rice, like short-grain sushi rice, works best as it’s sticky and fluffy.
- Rinse the rice under cold water until the water is nearly clear to remove excess starch.
- Use a rice cooker or pot with a lid and combine equal parts rice and water for a perfect cook. Let it simmer for about 15-20 minutes.
Fluff it with a fork once done, and feel free to add a pinch of salt for flavor.
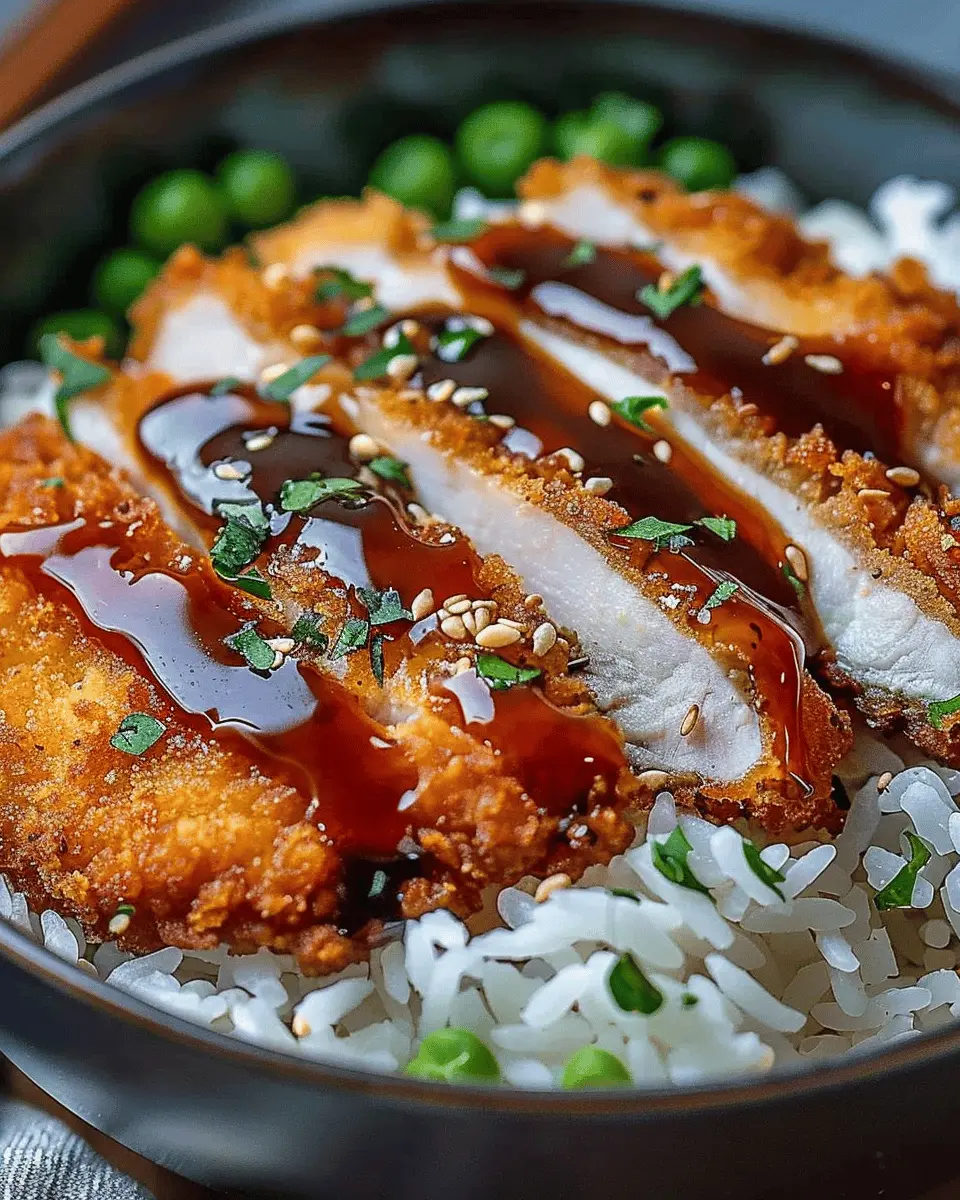
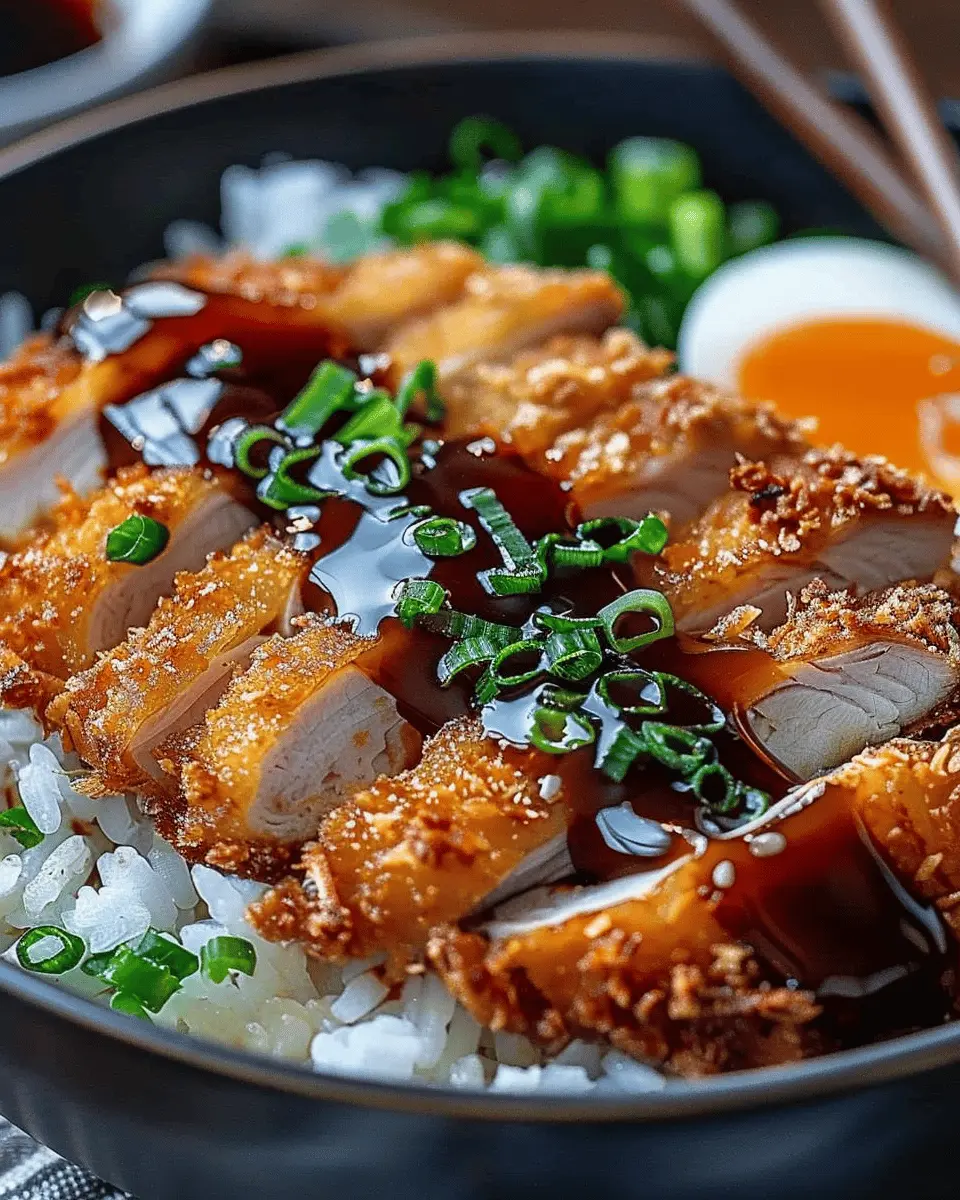
Step 5: Assemble the Bowl with Toppings
Now comes the fun part—assembly! Start by placing a generous scoop of rice at the bottom of your bowl.
Next, slice your now-cooled katsu into strips and arrange them artfully on top of the rice.
For that final touch, consider adding toppings like:
- Shredded cabbage or greens for a crunchy element
- Sliced scallions for freshness
- A drizzle of tonkatsu sauce for that sweet and tangy flavor
- A sprinkle of sesame seeds for that extra flair
And there you have it—a beautiful, hearty Japanese katsu bowl. Enjoy each bite knowing you’ve crafted something special that’s sure to impress!
Variations on Japanese Katsu Bowls
Delicious Vegetarian Katsu Variations
Not everyone enjoys meat, and that’s where vegetarian katsu bowls come in! By swapping traditional beef with plant-based options, you can delight non-meat eaters while staying true to that crispy katsu essence. Here are a couple of ideas:
- Eggplant Katsu: Slice eggplant into thick rounds, coat them in panko, and fry until golden brown. The rich flavor pairs beautifully with your choice of sauce.
- Tofu Katsu: Firm tofu is also a fantastic substitute. Press it to remove moisture, then bread and fry it. This will give you a crunchy texture that complements the creamy sauces.
These vegetarian versions can often be healthier without sacrificing flavor. Additionally, exploring the benefits of plant-based diets can be quite enlightening. You can find more about that in this Plant-Based Diet Guide.
Katsu with Different Sauces
The magic of Japanese katsu bowls is in the sauce! While the classic tonkatsu sauce is a must-try, experimenting with alternative sauces can elevate your bowl:
- Curry Sauce: Japanese curry is thick and fragrant, making it a perfect match for katsu. Just pour it over your cooked beef or veggie version for a comforting meal.
- Wasabi Mayo: Mix wasabi with mayonnaise for a spicy kick. This creamy, zesty sauce will add an unexpected twist to your bowl.
- Teriyaki Glaze: A sweet and sticky teriyaki sauce can bring a delightful contrast to your crispy katsu, making every bite a flavor explosion.
By playing with these variations, you can create unique Japanese katsu bowls that reflect your taste—and experiment can be half the fun. So, what’s stopping you? Get creative and enjoy!
Cooking tips and notes for Japanese Katsu Bowls
Tips for achieving a crispy katsu
To get that irresistible crunch in your Japanese katsu bowls, the right technique is essential. Here’s how to keep your katsu crispy:
- Use the right breadcrumbs: Opt for panko breadcrumbs, which are coarser and flakier than regular breadcrumbs. They absorb less oil, allowing your katsu to stay crispy longer.
- Double-dip: For extra crunch, dip your beef cutlet in flour, then egg, and finally coat it in panko twice. It may seem like a bit of work, but trust me, the texture payoff is worth it!
- Fry at the right temperature: The oil should be hot (around 350°F or 175°C) to cook the katsu evenly without becoming greasy. This helps to lock in the moisture while giving you that perfect golden color.
Notes on rice cooking methods
The right rice is crucial for an authentic experience. You can use either jasmine rice or short-grain sushi rice; both bring unique textures to the table.
- Rinse the rice: Rinsing removes excess starch, preventing your rice from becoming too sticky. Just rinse it under cold water until the water runs clear.
- Steaming vs. boiling: Steaming can enhance the rice’s flavor and texture. For best results, soak the rice for at least 30 minutes before cooking to ensure even cooking.
For more tips on making sushi rice, check out this helpful guide. Happy cooking!
Serving suggestions for Japanese Katsu Bowls
Pairing with Miso Soup
A warm bowl of miso soup is the perfect addition to your Japanese katsu bowls. Not only does the rich umami flavor of the miso complement the crispy cutlet, but it also adds a comforting warmth that balances your meal. Consider including tofu and seaweed for added texture and nutrition. For a delightful twist, you can also add sliced green onions or mushrooms to enhance the flavor further. Curious about how to make it? Check out this miso soup recipe for some inspiration.
Ideal Sides for Katsu Bowls
Creating a complete meal around your Japanese katsu bowls is all about the sides. Here are a few ideas to elevate your katsu experience:
- Pickled Vegetables: Try tsukemono (Japanese pickles) to cleanse your palate.
- Rice: A generous serving of Japanese rice acts as the perfect base, soaking up flavors.
- Salad: A light, refreshing salad with sesame dressing brings a crunchy contrast to the katsu.
- Slaw: Consider a cabbage slaw with a tangy dressing to add a bit of zest.
These sides not only enhance the flavors of your Japanese katsu bowls but also create a vibrant, satisfying plate that makes mealtime a special experience.
Time breakdown for Japanese Katsu Bowls
Getting your Japanese Katsu Bowls on the table is easier than you might think! Here’s how the time breaks down for this delightful dish.
Preparation time
Setting everything up takes about 15–20 minutes. This includes chopping the vegetables, preparing the beef, and getting your breading station ready. A little organization goes a long way!
Cooking time
You’ll spend roughly 20–25 minutes cooking, including frying the beef and sautéing any veggies you want to add. It’s the perfect time to catch up on your favorite podcast while enjoying the aroma filling your kitchen.
Total time
In total, you’re looking at about 35–45 minutes from start to finish. That’s just enough time to whip up a delicious meal that feels like a gourmet experience without a restaurant price tag.
If you’re interested in the origin of Katsu, feel free to check out articles on Japanese Cuisine. This serves as a delicious introduction to cooking at home!
Nutritional Facts for Japanese Katsu Bowls
When savoring a delicious Japanese katsu bowl, it’s essential to know what you’re putting on your plate. Here’s a breakdown of its nutritional profile, which can help you maintain a balanced diet while enjoying this delightful dish.
Calories
A typical serving of Japanese katsu bowls contains around 700-800 calories, depending on portion size and toppings. While that might seem high, remember that these calories come packed with flavor and nutrients.
Protein
One of the great things about Japanese katsu bowls is their protein content. With a generous portion of breaded and fried beef, you can expect around 25-30 grams of protein per serving. Protein is vital for muscle repair and keeps you feeling full longer—perfect for a busy day.
Sodium
It’s worth noting that Japanese katsu bowls can be higher in sodium, often containing around 800-1000 mg per serving. This mainly comes from the sauce and breading. To keep your sodium levels in check, consider opting for a lighter sauce or using less of it.
For more information on balancing your diet, check out resources like the American Heart Association which offer guidelines on healthy eating. Enjoy your katsu bowl adventure while being mindful of these nutritional insights!
FAQs about Japanese Katsu Bowls
When it comes to crafting the perfect Japanese katsu bowls, it’s natural to have questions. Let’s tackle some common queries that can help you on your culinary journey.
Can I make katsu bowls gluten-free?
Absolutely! For a gluten-free version of your Japanese katsu bowls, simply substitute regular panko breadcrumbs with gluten-free alternatives. You can use crushed cornflakes, ground oats, or even rice flour for that delightful crunch. Some brands offer gluten-free panko specifically designed to mimic the texture of traditional panko. Check out Celiac.org for more tips on gluten-free cooking.
What can I use instead of panko breadcrumbs?
If you can’t find panko breadcrumbs, don’t worry! You have a few options:
- Regular breadcrumbs: Though they are denser, they can still work well.
- Crushed crackers: Choose plain or seasoned varieties for a unique spin.
- Almond flour: This option adds a slight nuttiness and is gluten-free.
Remember, the key is achieving that delightful crunch that makes katsu so appealing.
How long can I store leftover katsu?
Leftover katsu can be stored in the refrigerator for up to three days. To maintain its crispy texture, reheat it in an oven rather than a microwave. This way, you’ll retain that satisfying crunch when enjoying your Japanese katsu bowls again. For longer storage, consider freezing your katsu—just wrap it tightly in plastic wrap and place it in an airtight container. Thaw in the fridge overnight before reheating.
Feel free to dive into your Japanese katsu bowls with confidence, and enjoy the process!
Conclusion on Japanese Katsu Bowls
Recap why homemade katsu bowls are worth it
Homemade Japanese katsu bowls bring a unique, wholesome experience right into your kitchen. Crafting these comforting bowls allows you to control the ingredients, ensuring fresher flavors and healthier choices. Plus, there’s something incredibly rewarding about preparing a meal from scratch.
Imagine the sizzle of beef frying, the aroma of perfectly cooked rice, and the satisfaction of layering it all together. Not only do you get to impress your friends and family with your culinary skills, but you also save money compared to dining out. So why not give it a go? Your taste buds are waiting for that delightful crunch!
For more inspiration, don’t forget to check out these Japanese cooking techniques and nutritional benefits of homemade meals.
PrintJapanese Katsu Bowls: Easy, Indulgent Comfort Food at Home
Japanese Katsu Bowls are a delightful mix of crispy fried cutlets served over a bed of rice, drizzled with a savory sauce.
- Prep Time: 15 minutes
- Cook Time: 20 minutes
- Total Time: 35 minutes
- Yield: 4 servings
- Category: Main Course
- Method: Frying
- Cuisine: Japanese
- Diet: Non-Vegetarian
Ingredients
- 2 cups cooked rice
- 1 pound pork loin, thinly sliced
- 1 cup panko breadcrumbs
- 2 eggs, beaten
- 1 cup all-purpose flour
- 1 tablespoon soy sauce
- 1 tablespoon mirin
- 1 tablespoon vegetable oil
Instructions
- Prep the rice and set aside.
- Season the pork with soy sauce and mirin.
- Dredge each slice in flour, dip in beaten eggs, and coat with panko.
- Heat oil in a skillet and fry the pork until golden brown.
- Serve the fried cutlets over rice and drizzle with sauce.
Notes
- For extra crunch, double-dip the pork in the egg and panko.
- Enjoy with pickled vegetables for added flavor.
Nutrition
- Serving Size: 1 bowl
- Calories: 600
- Sugar: 2g
- Sodium: 800mg
- Fat: 30g
- Saturated Fat: 8g
- Unsaturated Fat: 18g
- Trans Fat: 0g
- Carbohydrates: 60g
- Fiber: 2g
- Protein: 30g
- Cholesterol: 100mg