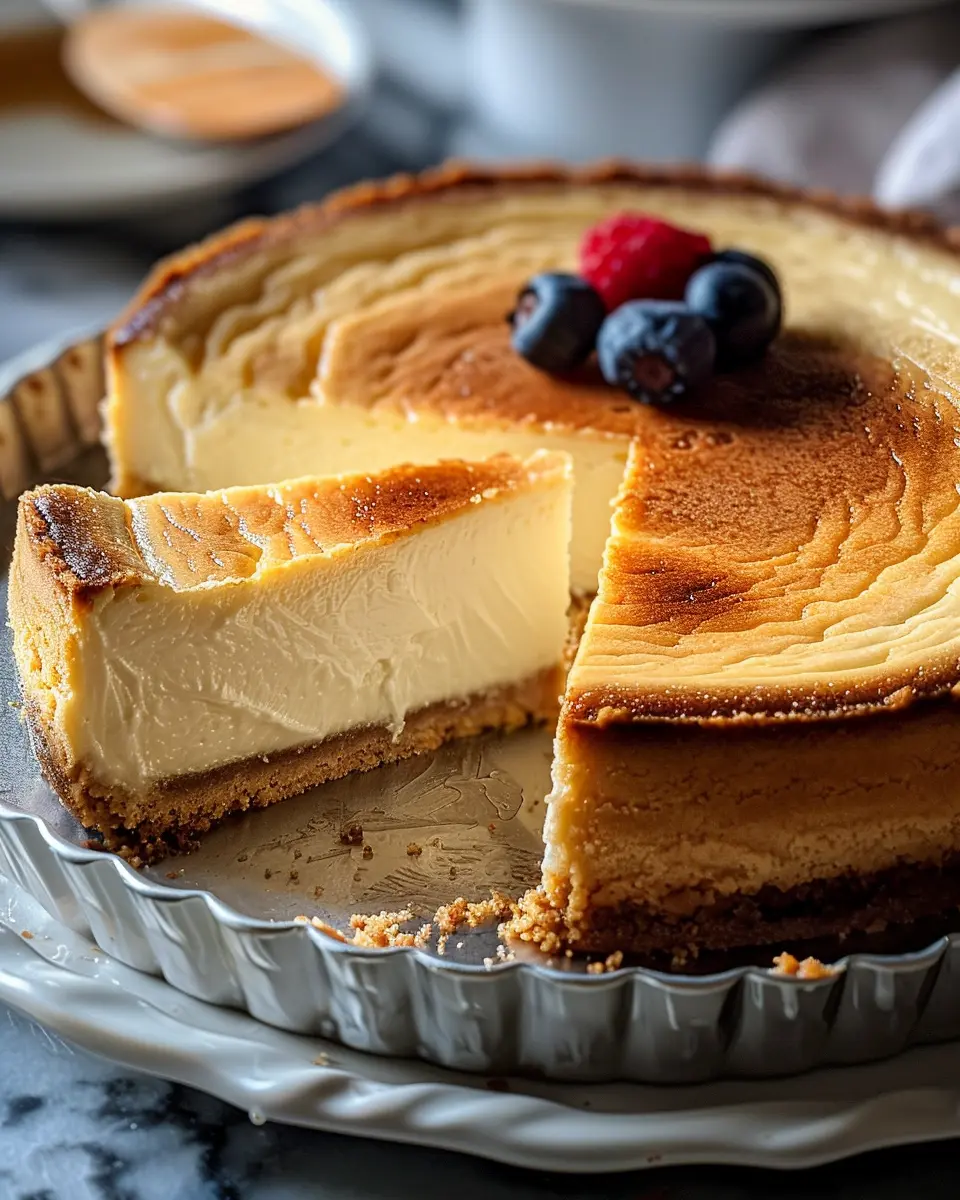
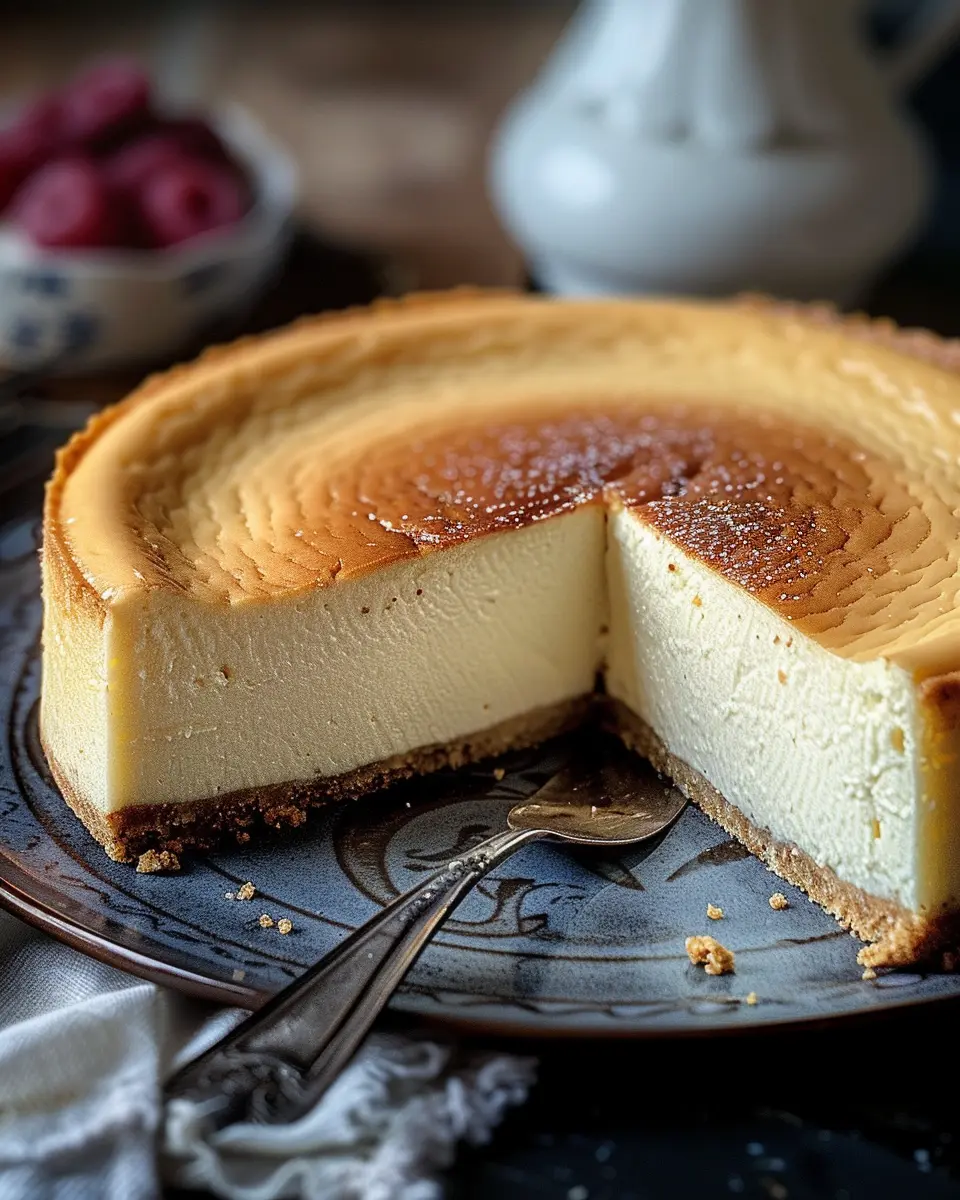
Introduction to Condensed Milk Cheesecake
When it comes to quick and delightful desserts, nothing beats a condensed milk cheesecake. This scrumptious treat serves up a fusion of creamy goodness and sweetness that captivates even the busiest of young professionals. So, why should this dessert find a special place in your culinary repertoire?
Why Condensed Milk Cheesecake is a Game Changer for Young Professionals
Let’s face it, life as a young professional can be hectic. Whether it’s navigating deadlines or juggling social commitments, the last thing you want is to spend hours in the kitchen making a dessert. Here is where a condensed milk cheesecake shines. With its simple recipe and minimal preparation time, you can whip it up in no time. No need for elaborate techniques or fancy ingredients; just a few pantry staples and a handful of minutes are all it takes.
-
Quick Prep: Most recipes require only a handful of ingredients—like cream cheese, crust materials, and, of course, condensed milk. You’ll likely have most items on hand, making it a stress-free venture.
-
Versatile Flavor Base: One of the most exciting aspects of this cheesecake is its adaptability. Whether you prefer classic vanilla, zesty lemon, or even chocolate swirls, the base can easily accommodate your favorite flavors. This means you can personalize it for any gathering or even for a cozy night in.
Beyond convenience, there’s an undeniable joy in sharing food. Bringing a condensed milk cheesecake to a gathering can quickly make you the star of the show. Friends and colleagues will appreciate the thoughtful touch, and your baking prowess (even if it didn’t take much effort!) will surely impress them. Plus, it’s a great conversation starter—who doesn’t love chatting about dessert?
As you explore this recipe, remember that baking does not have to be intimidating. To help you out further, you might find it helpful to check out some techniques on BBC Good Food or tips from Serious Eats for perfecting your cheesecake experience.
In the whirlwind of work and life, take a moment to indulge in this delightful dessert. Your taste buds will thank you!
Ingredients for Condensed Milk Cheesecake
Creating a delicious condensed milk cheesecake is not just about baking; it’s about finding harmony in flavors and textures. Let’s break down the essential ingredients you’ll need for this delectable treat.
What You Need for the Crust
The base of your cheesecake sets the stage for the entire dessert. Here’s what you’ll need:
- Graham crackers: 1.5 cups, crushed into fine crumbs
- Unsalted butter: ½ cup, melted—this adds richness to the crust
- Sugar: ¼ cup for sweetness
- Pinch of salt: enhances the flavors
Combine these ingredients thoroughly, press them into your springform pan, and bake for about 10 minutes to achieve that delightful crunch.
Ingredients for the Silky Filling
The filling is where all the magic happens! You want a smooth, creamy texture that just melts in your mouth. Here’s what you’ll need:
- Cream cheese: 16 oz, softened to room temperature
- Condensed milk: 1 can (14 oz) for that sweet, luscious flavor
- Sour cream: ½ cup adds a tangy contrast
- Lemon juice: 2 tablespoons for a fresh kick
- Eggs: 2 large, bring it all together
These ingredients create the perfect balance of sweetness and creaminess. Mix them until silky smooth, pour over your cooled crust, and bake. For more tips on achieving the perfect cheesecake texture, check out this cheesecake guide.
With these simple yet essential ingredients, you’re on your way to crafting an unforgettable condensed milk cheesecake that will impress anyone at your next gathering!
Step-by-step Preparation of Condensed Milk Cheesecake
Are you ready to embark on a delightful journey in the kitchen? Making your own condensed milk cheesecake is not just about the end result; it’s about the joy of creating something sweet and creamy that will impress family and friends alike. Let’s get started!
Preheat Your Oven and Prep the Pan
First things first: preheat your oven to 325°F (160°C). This allows your oven to heat up evenly, ensuring a perfectly baked cheesecake. Grab a 9-inch springform pan, which is crucial for easy removal later. Lightly grease the sides and bottom with butter or cooking spray. You could also line it with parchment paper for added assurance.
Create the Graham Cracker Crust
For the crust, you’ll need:
- 1 ½ cups graham cracker crumbs
- ⅓ cup sugar
- ½ cup melted butter
In a mixing bowl, combine the graham cracker crumbs and sugar. Drizzle the melted butter over the mixture and stir until everything is well combined and resembles wet sand. Press this mixture firmly into the bottom of your prepared pan. Make sure to pack it tightly using a flat-bottomed measuring cup or your fingers. This assumes a sturdy base for your condensed milk cheesecake.
Beat the Cream Cheese to Perfection
Now that the crust is ready, it’s time to focus on the filling. In a large mixing bowl, beat 2 (8-ounce) packages of room-temperature cream cheese until it’s smooth and creamy. Using a handheld or stand mixer, start at low speed to avoid any splatters, then gradually increase to medium speed. This step usually takes about 2-3 minutes. The goal is to achieve a fluffy texture that will make your cheesecake luxuriously rich.
Incorporate the Sweetened Condensed Milk
Next up, pour in 1 can (14 ounces) of sweetened condensed milk. This is where the creaminess comes from. Mix gently until everything is well combined, about another minute or so. The sweetness of the condensed milk will elevate the flavor, creating that signature rich taste you love in a cheesecake.
Add Eggs, Lemon Juice, and Vanilla With Care
Add 2 large eggs, one at a time, mixing on low speed after each addition just until blended. This helps to incorporate air without overmixing. Follow this with 2 tablespoons of fresh lemon juice and 1 teaspoon of vanilla extract, mixing until smooth. A hint of citrus from the lemon juice will balance the sweetness perfectly.
Pour and Smooth the Filling
Once your filling is ready, pour it over the prepared graham cracker crust. Use a spatula to spread the filling evenly. This helps prevent the cheesecake from cracking as it bakes, yielding a beautiful finish.
Bake the Cheesecake
It’s time to bake! Place your cheesecake in the preheated oven and let it bake for about 50-60 minutes or until the edges are set but the center still has a slight jiggle. Don’t worry, it will continue to firm up as it cools.
Cool Gradually in the Oven
After baking, turn off the oven and crack the door open. Let your cheesecake cool in the oven for about an hour. This gradual cooling process minimizes the chances of cracks forming on the top.
Chill Completely for Best Results
Once it’s cooled, transfer the cheesecake to the fridge and let it chill for at least 4 hours, preferably overnight. This chilling time allows the flavors to meld beautifully and the texture to set properly.
Slice and Serve Like a Pro!
Finally, it’s time for the moment we’ve all been waiting for! Carefully remove the sides of the springform pan. Use a sharp knife to slice the cheesecake, wiping the blade clean between each cut for nice, neat slices. Serve chilled and enjoy your homemade condensed milk cheesecake, possibly with fresh fruit or a drizzle of chocolate sauce to add flair.
Preparing this delectable cheesecake is truly a labor of love. So, are you excited to try it out? Savor the process and the delightful outcome!
Variations on Condensed Milk Cheesecake
Tropical Twist: Coconut Condensed Milk Cheesecake
If you’re dreaming of sandy beaches and swaying palm trees, a Coconut Condensed Milk Cheesecake is your ticket to paradise. This delicious variation infuses the classic cheesecake with tropical flavors that are both refreshing and irresistible.
- Ingredients: Start with your regular cheesecake base but replace half the cream cheese with coconut cream. Add shredded coconut into the mix for texture. A splash of coconut extract can elevate the flavor!
- Preparation: Simply fold in the coconut and extract into the condensed milk mixture before pouring it into your crust. Bake as usual and let it chill. Top it with toasted coconut flakes for a beautiful finish.
For more coconut recipes that transport your taste buds, check out this coconut recipe guide.
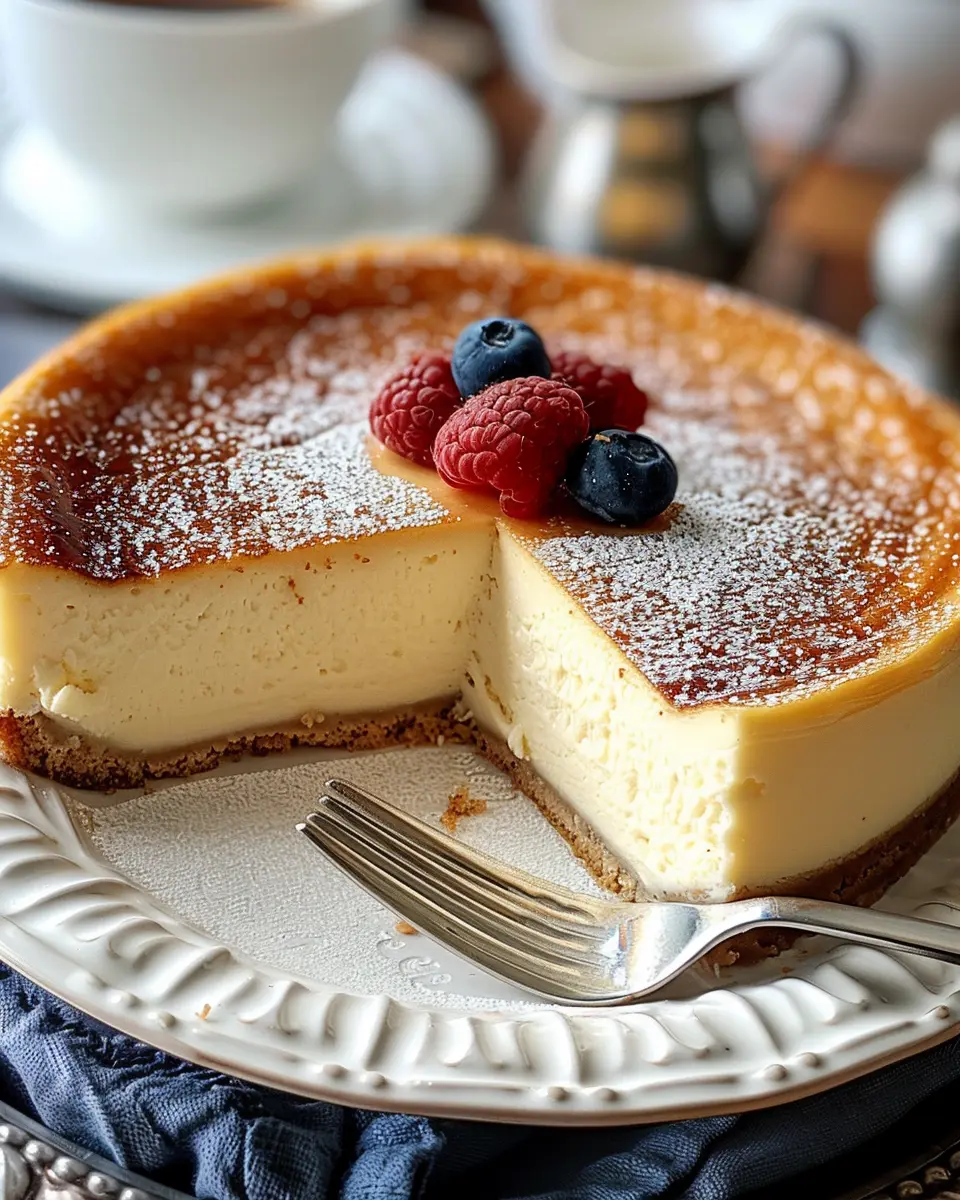
Berry Bliss: Adding Fresh Fruit Toppings
Want to add a burst of color and flavor to your condensed milk cheesecake? Fresh fruit toppings are the way to go!
- Choosing Your Berries: Strawberries, blueberries, and raspberries are excellent options. Their natural sweetness and acidity perfectly complement the rich, creamy cheesecake.
- Preparation Tips: Macerate the berries in a little sugar and lemon juice for about 30 minutes to release their juices. After cooling your cheesecake, pile the fruits on top. This not only adds a vibrant look but also makes for a delightful contrast in flavors.
Feeling adventurous? Try a layer of berry compote beneath your cheesecake layer. For additional inspiration, here’s a great resource on using fresh fruits in desserts.
These variations make it easy to adapt your condensed milk cheesecake for any occasion, whether you’re hosting a summer barbecue or an intimate dinner with friends. So, which flavor will you try first?
Cooking Tips and Notes for a Perfect Cheesecake
Avoiding Cracks and Ensuring a Creamy Texture
Creating the ideal condensed milk cheesecake is a delightful culinary journey, and there are a few tricks to ensure success. To avoid those pesky cracks, consider these tips:
-
Room Temperature Ingredients: Make sure to start with eggs and cream cheese at room temperature. This helps in achieving a smooth, even batter that bakes uniformly.
-
Water Bath Method: Baking your cheesecake in a water bath helps regulate temperature, preventing the filling from cooking too quickly. Just place your springform pan in a larger pan filled with hot water while it bakes.
-
Don’t Overmix: While you want a creamy texture, overmixing can introduce air that causes cracks during baking or cooling. Mix just until combined for a luscious finish.
-
Cooling Gradually: Once it’s done baking, turn off the oven and let the cheesecake cool with the door slightly ajar. This gradual cooling process reduces the chances of cracking.
These simple techniques can elevate your condensed milk cheesecake from good to grand. For more tips, check out resources like Food Network and Serious Eats. Happy baking!
Serving Suggestions for Condensed Milk Cheesecake
What to Pair with Your Cheesecake
When you’re ready to enjoy your condensed milk cheesecake, think beyond just a plain slice! This delightful dessert pairs beautifully with:
- Fresh Fruits: Berries, mango slices, or a tropical fruit medley brighten up each bite.
- Nuts: A sprinkle of toasted almonds or walnuts adds a satisfying crunch.
- Whipped Cream: Light and airy, whipped cream creates a classic touch that enhances the cheesecake’s creaminess.
- Coffee or Herbal Tea: Enjoy a cup of java or a soothing herbal tea for a comforting contrast to the rich flavors of your cheesecake.
Creative Presentation Ideas
Presentation can make all the difference! Consider these tips for making your condensed milk cheesecake a showstopper:
- Layering: Serve individual portions in clear glasses, layering the cheesecake with fruit compote for a visually appealing effect.
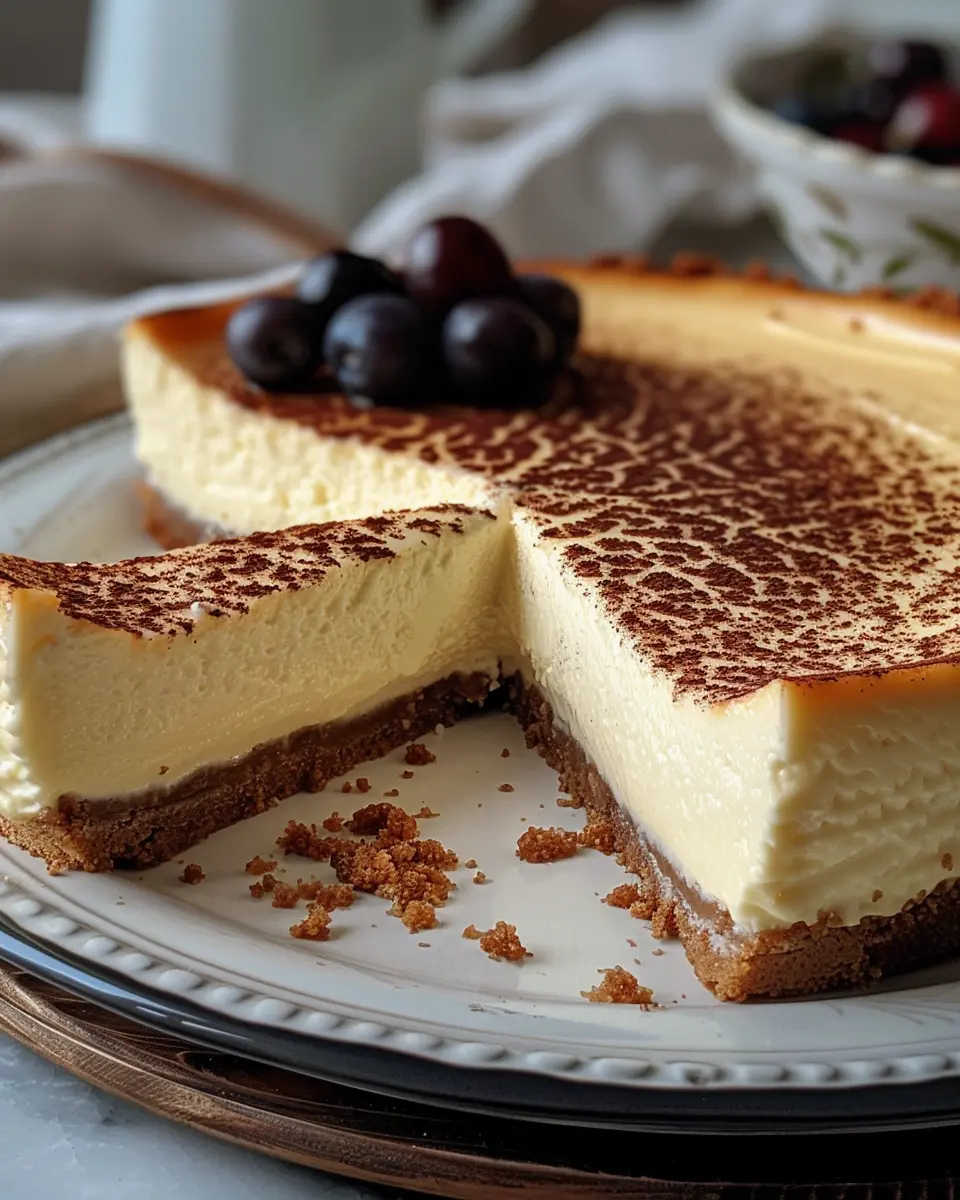
- Garnishes: Use edible flowers or a dusting of cocoa powder for a fancy flair.
- Serving Platters: Arrange slices on a beautifully styled platter with swirls of chocolate or caramel sauce for an inviting display.
For more creative dessert ideas, check out Taste of Home and their extensive collection of inspiration.
Time Breakdown for Making Condensed Milk Cheesecake
Preparation Time
Getting your condensed milk cheesecake ready is a breeze! You’ll need about 15 to 20 minutes to gather your ingredients and mix everything together. Don’t rush this step—taking your time ensures that every ingredient is well combined, leading to a rich, creamy texture.
Baking Time
Once prepped, pop your cheesecake in the oven for 45 minutes. This is when the magic happens! The gentle heat allows the cheesecake to set perfectly while developing a subtle golden hue.
Total Time
In total, you’re looking at around 1 hour and 10 minutes from start to finish. Although it seems short, remember that you’ll need to let it cool in the fridge for at least 4 hours (or overnight for best results). After all that patience, you’ll be rewarded with a slice of heaven! For more tips on cooling and serving, check out this handy guide on cheesecake techniques.
Enjoy your cheesecake creation journey!
Nutritional Facts for Condensed Milk Cheesecake
Calories and Macronutrient Overview
When it comes to indulging in a delicious condensed milk cheesecake, it’s essential to know what you’re treating yourself to. Typically, a slice contains approximately 300-400 calories, depending on the specific ingredients and portion size.
Here’s a quick glance at the macronutrient breakdown:
- Carbohydrates: 30-35g
- Fats: 20-25g (mostly from cream cheese and butter)
- Protein: 5-8g
This delightful dessert features condensed milk, contributing an extra layer of richness and sweetness. While it may not be the lightest option, sharing with friends or saving some for later can make it a little less guilty. For more insights, consider checking out the USDA FoodData Central for specific nutritional information on ingredients used in your recipe.
Remember, balance is key in any diet, so enjoy your cheesecake knowing you’ve made a choice for rich flavor!
FAQs about Condensed Milk Cheesecake
How can I make my cheesecake less sweet?
If you find that your condensed milk cheesecake is a bit too sweet for your palate, there are several tweaks you can make:
- Reduce the condensed milk: Consider cutting down the amount of condensed milk by a third or half. You can balance the flavor by adding a touch of fresh lemon juice or zest, which enhances richness without overpowering sweetness.
- Incorporate unsweetened ingredients: Adding unsweetened cream cheese or even a little sour cream can help balance the sweetness. These ingredients contribute tanginess that complements the cheesecake beautifully.
Can I use low-fat cream cheese for a lighter version?
Absolutely! Using low-fat cream cheese is a fantastic way to create a condensed milk cheesecake that feels a bit lighter. You’ll still get that delicious creamy texture, but with fewer calories. Just be aware that low-fat cream cheese can sometimes make for a less rich flavor, so consider adding a bit of vanilla extract to enhance the overall taste.
What’s the best way to store leftover cheesecake?
To keep your condensed milk cheesecake fresh, here are some steps you can follow:
- Cool completely: Make sure your cheesecake has cooled completely before storing.
- Cover well: Wrap it tightly with plastic wrap or place it in an airtight container to avoid absorbing any undesired flavors from your fridge.
- Refrigerate: It’s best to store cheesecake in the refrigerator where it can last for about 4-5 days.
For longer storage, consider freezing it. Just remember to slice it first, as it makes for easier thawing later! You can explore more about cheesecake storage techniques on Good Housekeeping.
By following these tips, your condensed milk cheesecake will be just as delightful on day two (or even day five) as it was on day one!
Conclusion on Condensed Milk Cheesecake
Why You’ll Want to Make This Easy Recipe Again!
In a world overflowing with dessert options, this condensed milk cheesecake stands out as a true gem. Why? It’s a delightful blend of creamy texture and rich flavor, all while being incredibly easy to whip up. The use of condensed milk not only simplifies the recipe but also gives it that sweet, luscious taste that keeps you coming back for more.
Whether you’re hosting a gathering or just treating yourself, this cheesecake is sure to impress. It’s made with accessible ingredients, looks stunning, and can be customized with your favorite toppings. Explore more about similar cheesecake recipes on Serious Eats for inspiration. Trust me, once you experience this dessert, you’ll be eager to share it with friends and family!
PrintCondensed Milk Cheesecake: The Best Indulgent Treat at Home
A rich and creamy cheesecake made with condensed milk, perfect for satisfying your sweet tooth.
- Prep Time: 20 minutes
- Cook Time: 45 minutes
- Total Time: 4 hours 5 minutes
- Yield: 8 servings
- Category: Dessert
- Method: Baking
- Cuisine: American
- Diet: Vegetarian
Ingredients
- 1 can condensed milk
- 8 oz cream cheese
- 1 cup graham cracker crumbs
- 1/2 cup butter, melted
- 3 eggs
- 1 tsp vanilla extract
Instructions
- Preheat the oven to 350°F (175°C).
- In a bowl, mix graham cracker crumbs with melted butter and press into the bottom of a springform pan.
- In a separate bowl, beat cream cheese until smooth, then add in the condensed milk.
- Mix in eggs one at a time, followed by vanilla extract.
- Pour the mixture over the crust in the springform pan.
- Bake for 45 minutes or until the edges are set but the center is slightly jiggly.
- Let cool at room temperature before refrigerating for at least 4 hours.
- Serve chilled, optionally topped with fruit or chocolate.
Notes
- For best results, use full-fat cream cheese.
- This cheesecake can be topped with fresh fruit or chocolate sauce for added flavor.
Nutrition
- Serving Size: 1 slice
- Calories: 350
- Sugar: 20g
- Sodium: 250mg
- Fat: 22g
- Saturated Fat: 12g
- Unsaturated Fat: 8g
- Trans Fat: 0g
- Carbohydrates: 30g
- Fiber: 1g
- Protein: 5g
- Cholesterol: 120mg