Introduction to the Best Red Velvet Cake
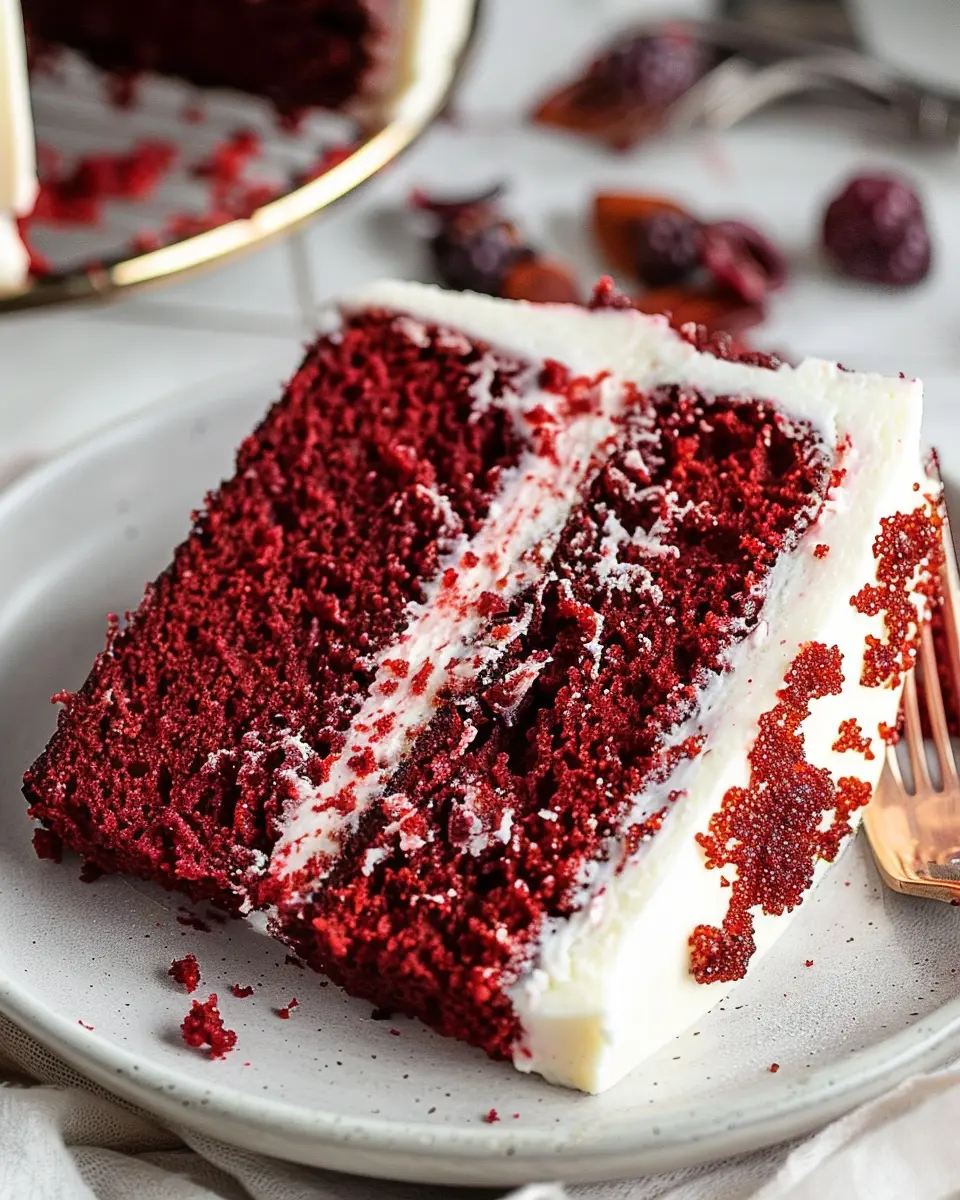
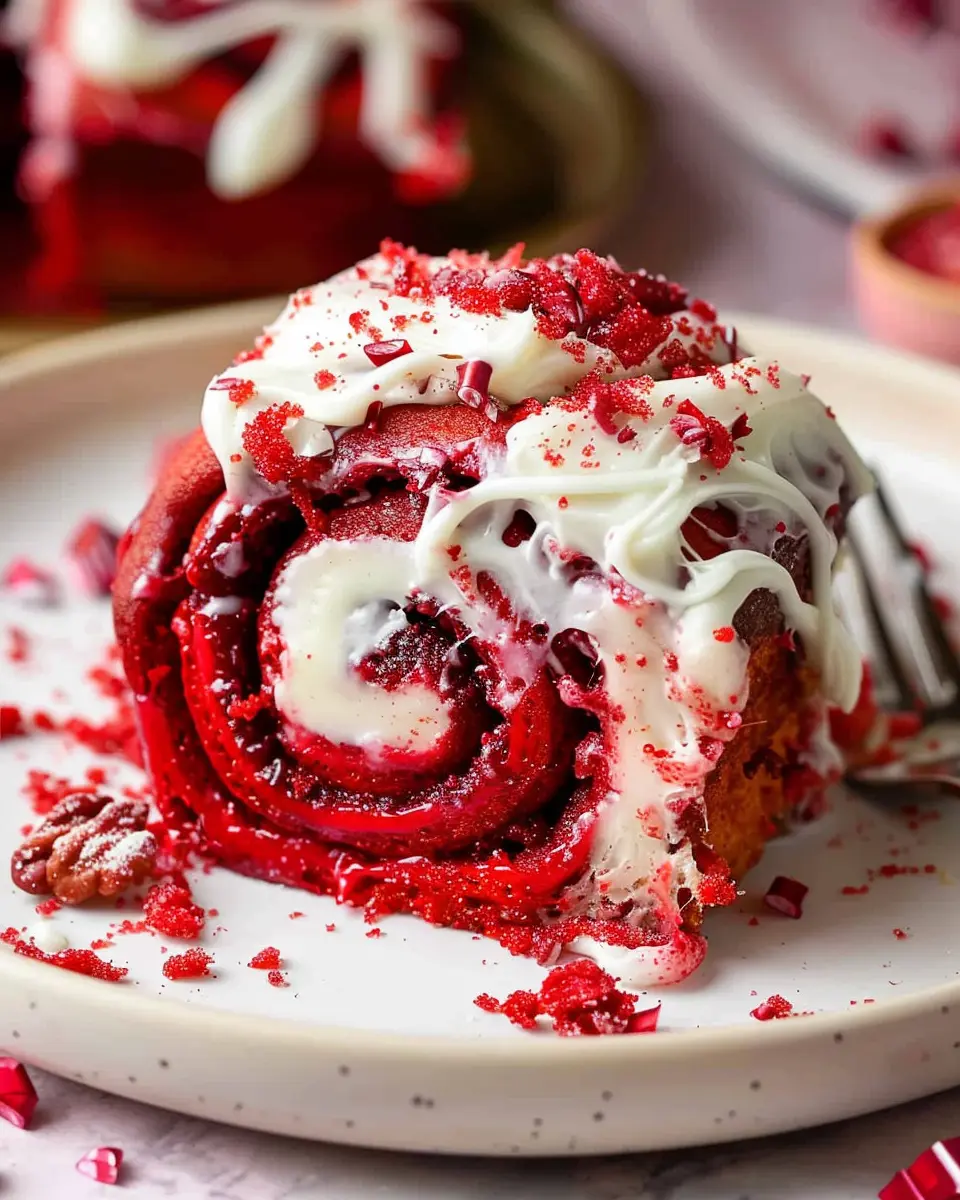
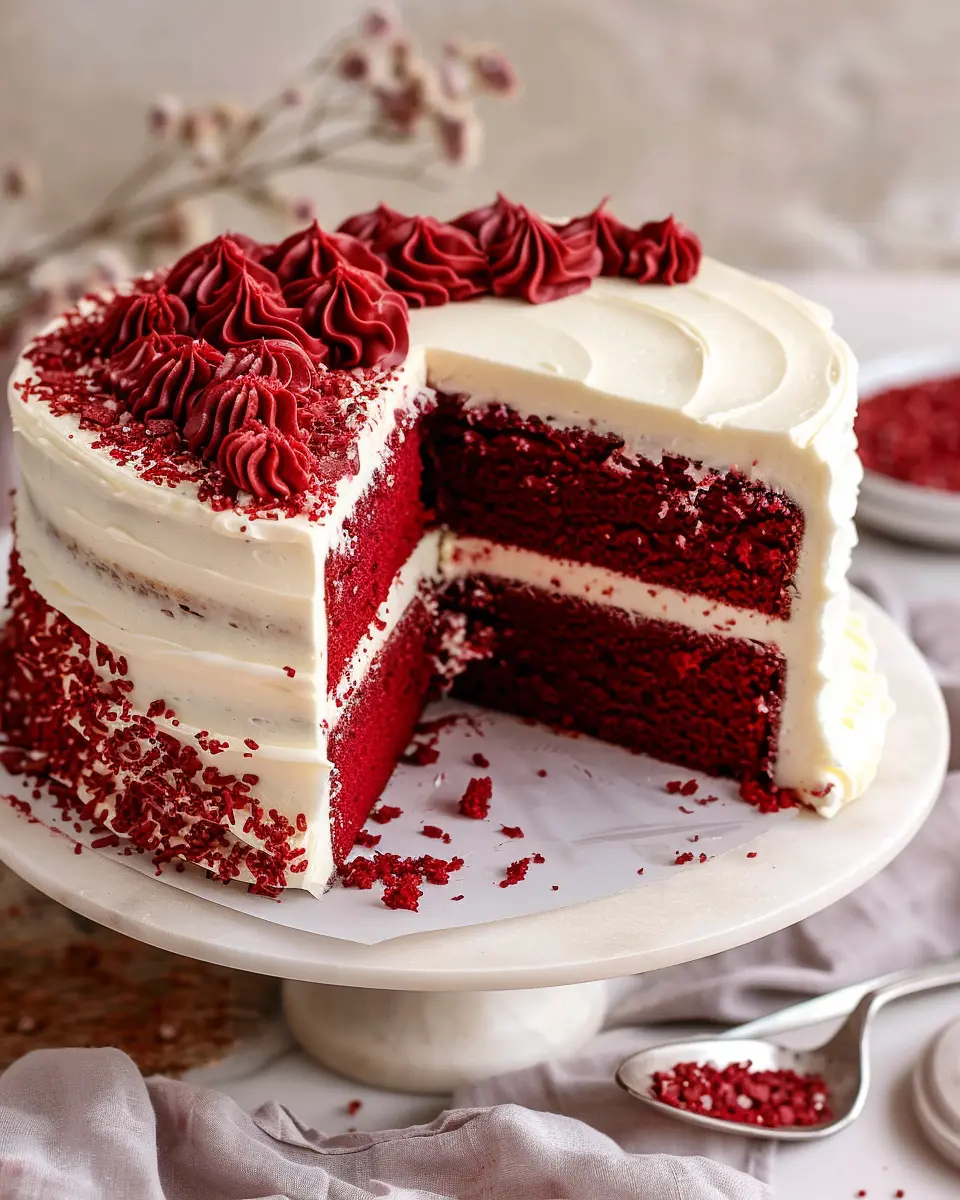
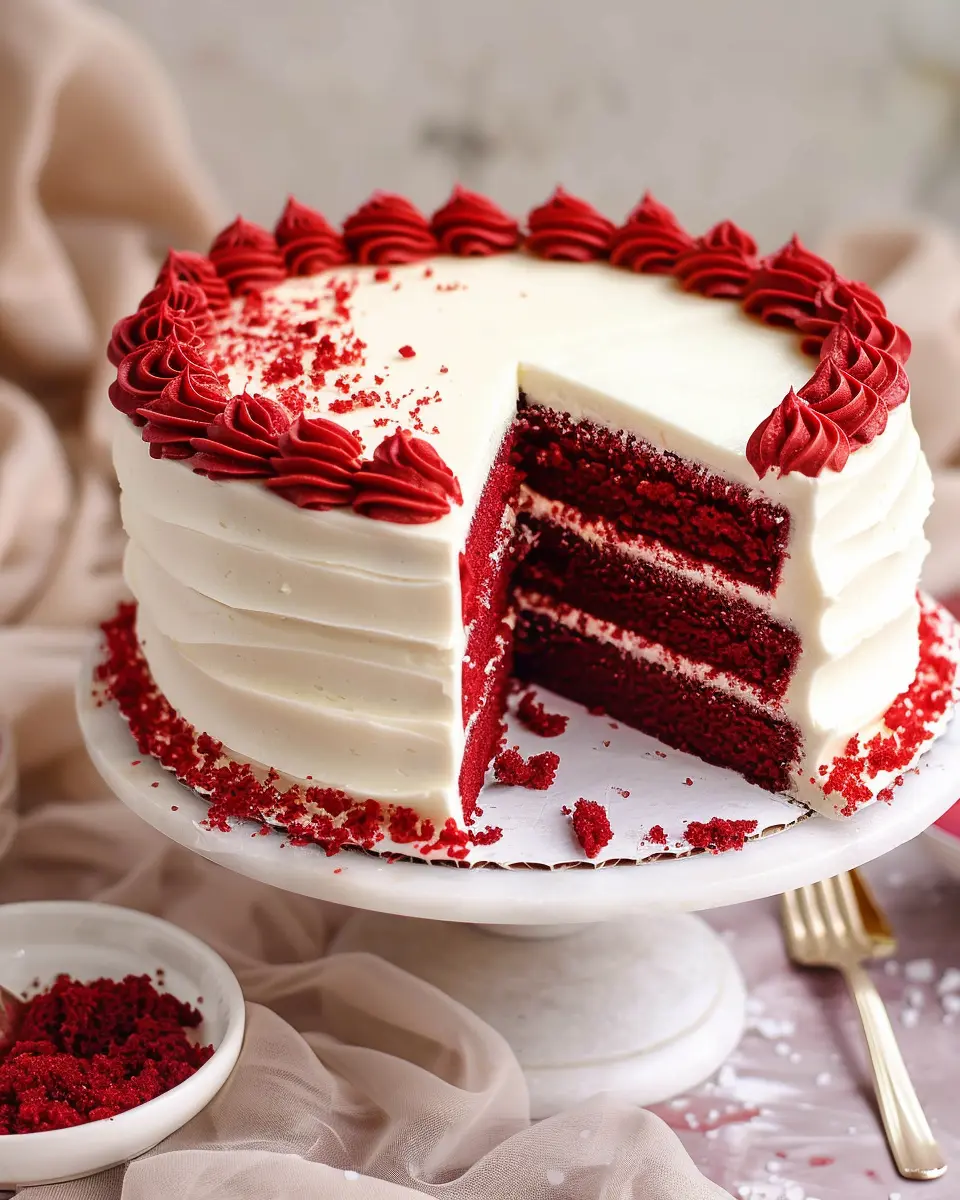
Red Velvet Cake is one of those desserts that bring an instant smile to your face. There’s something about its vibrant red hue contrasted with creamy white frosting that makes it truly captivating. But have you ever wondered why this cake has gained such a devoted following?
Why is Red Velvet Cake so beloved?
The allure of Red Velvet Cake goes beyond its stunning appearance. It’s all about the unique flavor and delightful texture that set it apart from other cakes. Traditionally, this cake is moist and soft, achieved through a careful balance of ingredients like buttermilk and oil. The subtle cocoa flavor adds an unexpected richness without overpowering the cake’s characteristic lightness, making every bite a delicious experience.
A cornerstone of Red Velvet Cake’s popularity also lies in its history. Originating in the American South, it gained fame through the 1920s and saw considerable fame during the 1980s, propelled by its association with the lavishness of upscale dining. Today, it embodies indulgence, often gracing dessert tables during holidays, weddings, and special events.
For those who appreciate the science behind baking, there’s more to the magic: the use of vinegar and baking soda alters the acidity, which not only gives the cake its signature color but also contributes to its moistness. And who knew a mere tweak in the ingredient proportions could lead to such a sublime creation? It’s like a culinary lesson wrapped in a delightful package!
Another reason this cake holds a special place in our hearts is its adaptability. Want to transform it into cupcakes, layer it up for a fancy celebration, or even try it in a trifle? The best red velvet cake recipe is versatile enough to evolve with your taste and creativity.
So, get ready to roll up your sleeves and whip up a Red Velvet Cake that will impress your friends and family. With a straightforward recipe and a few tricks up your sleeve, you’re on the path to creating a dessert that’s not only gorgeous but truly unforgettable. Don’t miss the chance to indulge in this classic favorite! If you’re curious about variations, check out insights from sources like Bon Appétit for inspiration.
Ingredients for the Best Red Velvet Cake
Creating the best red velvet cake begins with the right ingredients. The magic is in the combination of flavors and textures that come together to create a truly unforgettable dessert. Here’s what you’ll need:
- All-Purpose Flour: For a soft and fluffy cake texture, use high-quality all-purpose flour.
- Sugar: Granulated sugar adds sweetness and helps achieve that iconic moistness.
- Cocoa Powder: Just a hint of unsweetened cocoa powder balances the flavors without overpowering the red hue.
- Baking Soda & Baking Powder: These leavening agents ensure your cake rises perfectly, making it light and airy.
- Vegetable Oil: Using oil instead of butter helps retain moisture, giving you that deliciously soft crumb.
- Buttermilk: The acidity in buttermilk reacts with the baking soda for a tender texture and rich flavor.
- Eggs: Eggs add structure and help bind the ingredients together.
- Red Food Coloring: The star of the show! The vibrant red not only enhances the aesthetic but also amplifies that delightful taste.
- Vanilla Extract: A touch of vanilla brings warmth to the flavor profile.
Feel free to check out sources like Bon Appétit for tips on ingredient quality and alternatives. With these key components, you’re on your way to making the best red velvet cake that will impress friends and family alike!
Preparing the Best Red Velvet Cake
Creating the best red velvet cake isn’t just a matter of following a recipe—it’s a delightful process that brings together rich flavors and a beautiful aesthetic. Whether you’re preparing this cake for a special occasion or just because you feel like indulging, each step contributes to that dreamy, velvety texture we all adore. Let’s dive into the steps that will lead you to cake perfection!
Gather Your Ingredients
Before you can whip up the best red velvet cake, you need to assemble all the necessary ingredients. This not only ensures a smooth baking process but also helps you avoid any last-minute scrambles, which can be stressful!
You’ll need:
- 2 ½ cups all-purpose flour
- 1 ½ cups granulated sugar
- 1 teaspoon baking soda
- 1 teaspoon salt
- 1 teaspoon cocoa powder
- 1 cup vegetable oil
- 1 cup buttermilk, at room temperature
- 2 large eggs, at room temperature
- 2 tablespoons red food coloring
- 1 teaspoon vanilla extract
- 1 teaspoon white vinegar
Having everything ready means you can focus on blending these ingredients into a luscious cake batter. For tips on ingredient substitutions, check out this guide.
Mix the Wet Ingredients
Now that you have your ingredients, it’s time to bring the wet ones together. In a large mixing bowl, combine:
- Vegetable oil
- Buttermilk
- Large eggs
- Red food coloring
- Vanilla extract
- White vinegar
Using an electric mixer on medium speed, blend these ingredients until they are completely smooth and well-integrated. This step is crucial, as the oil and buttermilk create the moisture that will give your cake that ideal soft and moist texture.
Bloom the Cocoa and Combine with Wet Ingredients
Here’s a trick to elevate your best red velvet cake even further: blooming the cocoa powder. In a small bowl, mix about one teaspoon of cocoa powder with a tablespoon of hot water. This process enhances the chocolate flavor in your cake, giving it that rich depth.
Once you’ve done that, incorporate this cocoa mixture into your wet ingredients. Make sure everything is well-combined—this step is key for a uniform flavor throughout your cake.
Incorporate the Dry Ingredients
With your wet ingredients ready, it’s time to add the dry ones. In another bowl, whisk together:
- All-purpose flour
- Granulated sugar
- Baking soda
- Salt
Gradually blend the dry ingredients into the wet mixture. It’s best to do this in parts to avoid lumps in your batter. Mix just until everything is combined—overmixing can lead to a tougher cake, which we definitely want to avoid!
Bake the Layers
Finally, let’s get this cake in the oven! Preheat it to 350°F (175°C) and prepare your cake pans by greasing them well or lining them with parchment paper.
Pour the batter evenly into the prepared pans. Bake for about 25-30 minutes or until a toothpick inserted into the center comes out clean. Remember, every oven is a bit different, so keep an eye on your cakes as they bake!
The anticipation of watching your cake rise is half the fun; plus, the aroma wafting through your kitchen is sure to entice everyone nearby. After baking, allow the layers to cool in the pans for about 10 minutes before transferring them to a wire rack to cool completely.
Now, you’re just a few steps away from enjoying the most delicious red velvet cake! To complement your creation, you might want to consider a cream cheese frosting for that classic pairing. Enjoy your baking journey!
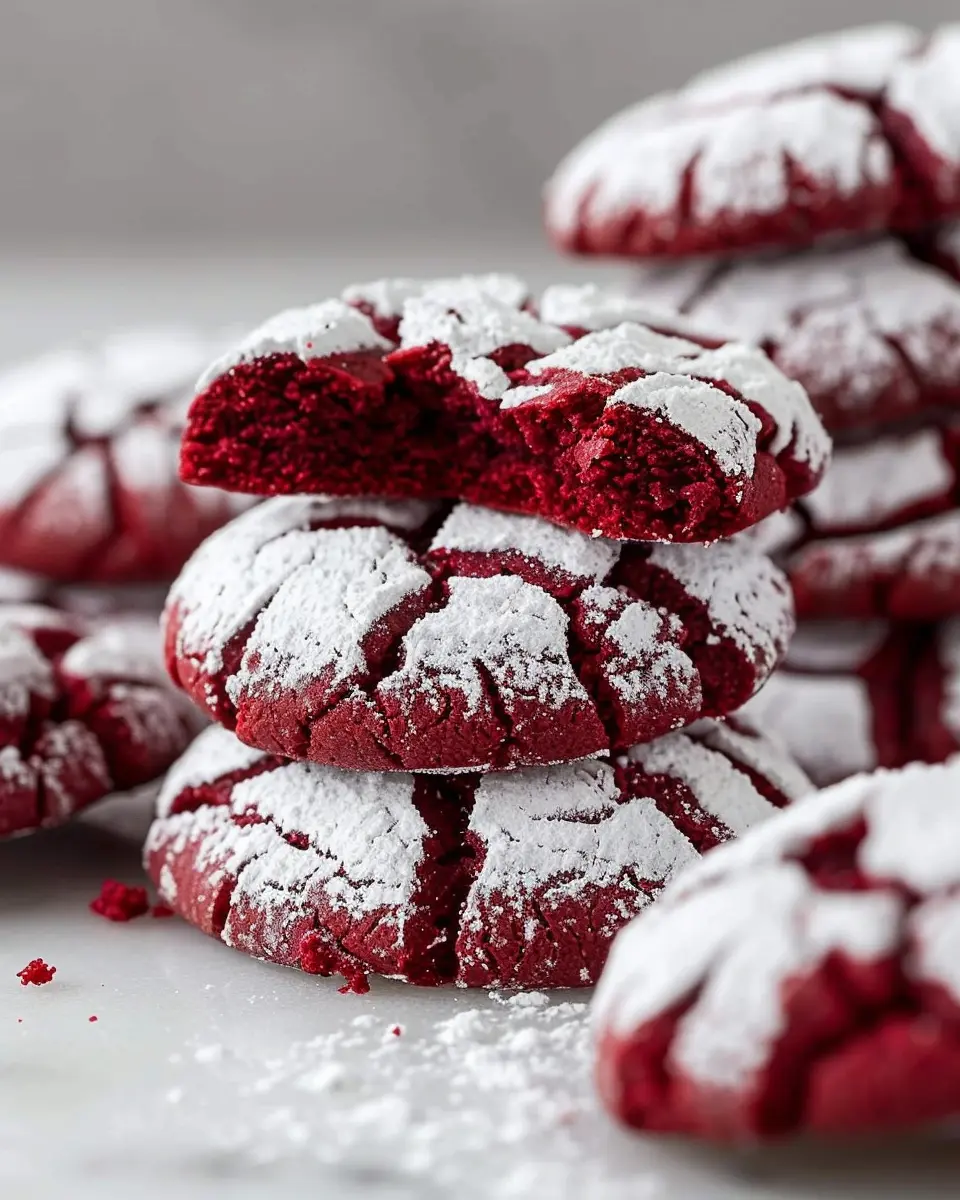
Variations on the Best Red Velvet Cake
Red velvet cake is a classic that has sparked endless variations, each adding a unique twist to the beloved dessert. Let’s dive into a couple of delightful takes that can elevate your baking game and impress even the pickiest of eaters.
Red Velvet Cupcakes
Cupcakes are the ultimate portable dessert, and red velvet cupcakes take them to the next level of indulgence. Imagine bite-sized portions of the best red velvet cake, topped with a fluffy cream cheese frosting that melts in your mouth. Instead of a full cake, try baking them in individual cupcake liners. This variation is perfect for parties or a cozy night in. For an extra special touch, consider adding a hint of chocolate or a sprinkle of crushed pecans on top.
Want to make them even more decadent? Fill each cupcake with a dollop of cream cheese or vanilla bean icing for an unexpected burst of flavor. You can find great tips on cupcake decoration techniques that could take your creations from good to irresistible.
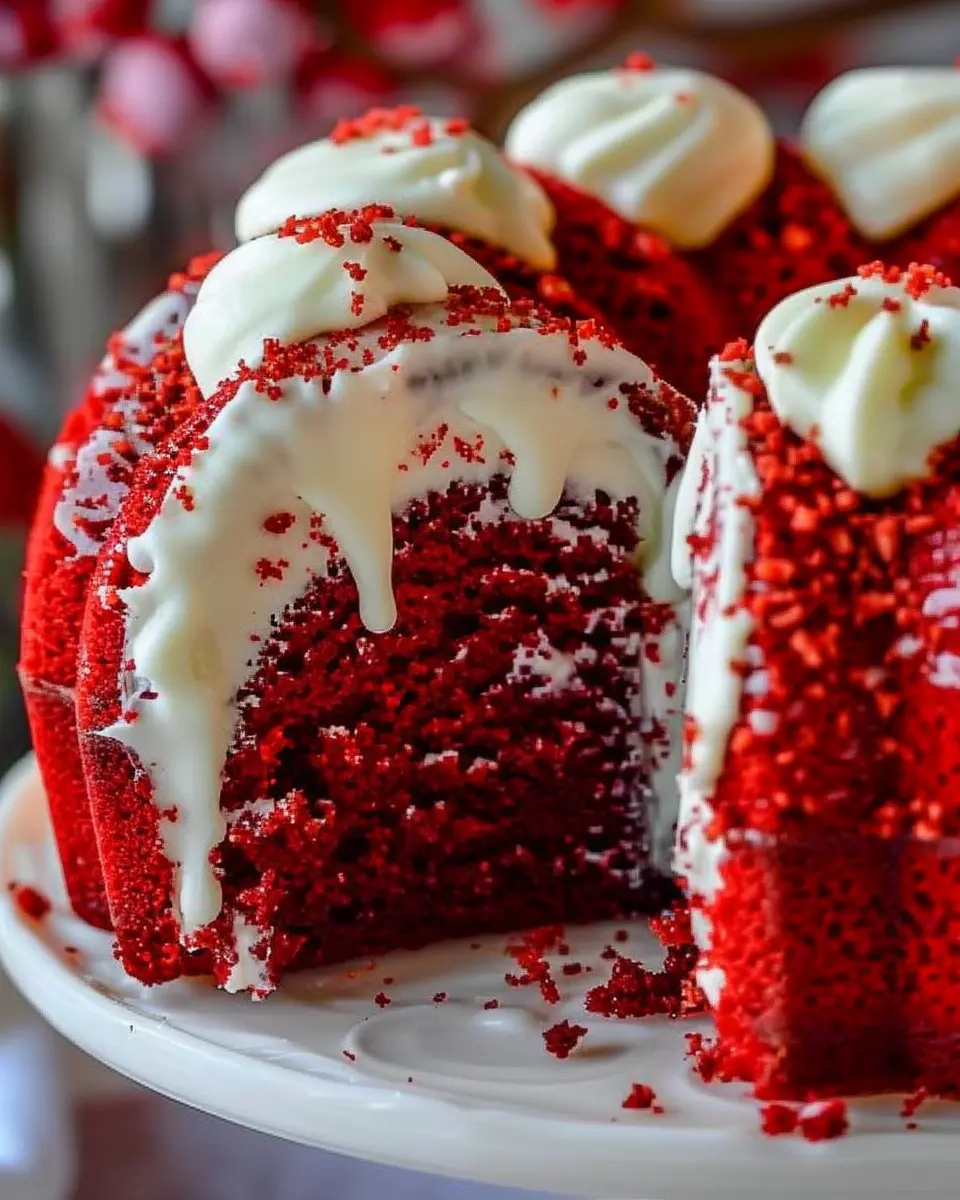
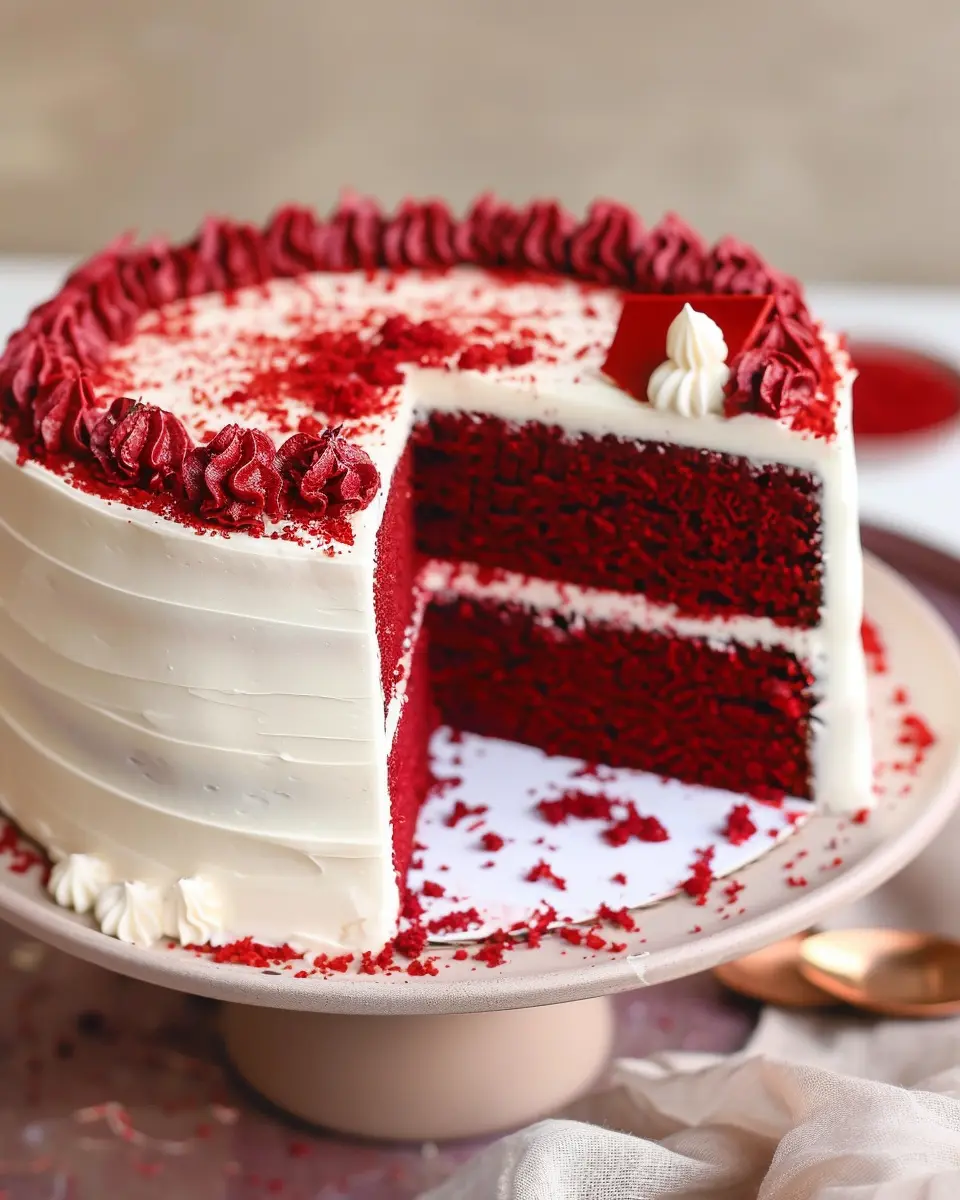
Red Velvet Layer Cake with Various Frostings
For a show-stopping dessert, nothing beats a red velvet layer cake. Stacking layers of moist red velvet cake with different frostings can create a delightful symphony of flavors. While cream cheese frosting is a classic choice, you might also try a velvety buttercream or even a zesty citrus frosting for an exciting contrast.
If you’re feeling adventurous, consider incorporating fruit fillings, such as raspberry or strawberry, between the layers. This not only adds a splash of color but also a fresh burst of flavor. As you experiment with different combinations, remember that layering techniques can enhance both the look and taste of your cake!
Whether you opt for cupcakes or a multi-layer cake, these variations on the best red velvet cake are sure to delight your friends and family. Happy baking!
Baking Notes for the Best Red Velvet Cake
Creating the best red velvet cake is all about the details. Here are some essential baking notes to elevate your cake to perfection.
Ingredients Matter
-
Buttermilk: This is key for that signature tangy flavor. If you don’t have buttermilk, you can easily make a substitute by mixing milk with a tablespoon of vinegar or lemon juice. Let it sit for a few minutes to thicken.
-
Cocoa Powder: Use unsweetened cocoa powder for the best results. Dutch-process cocoa can give a deeper color and rich flavor if you prefer.
Temperature Is Key
- Always use room temperature ingredients. When butter, eggs, and buttermilk are at room temperature, they incorporate better, leading to a moist and fluffy texture.
Mixing Techniques
- Avoid over-mixing your batter. This can lead to a dense cake rather than the desired lightness. Mix just until ingredients are combined for the soft texture folks rave about.
Red Food Coloring
- The vibrant color comes from red food dye—choose gel color for minimal effect on the batter’s consistency. Remember, a little goes a long way!
With these tips, you’re well on your way to baking what many believe is the ultimate red velvet cake. For more in-depth techniques, check out resources like American Cake Decorating or The Baking Journal. Happy baking!
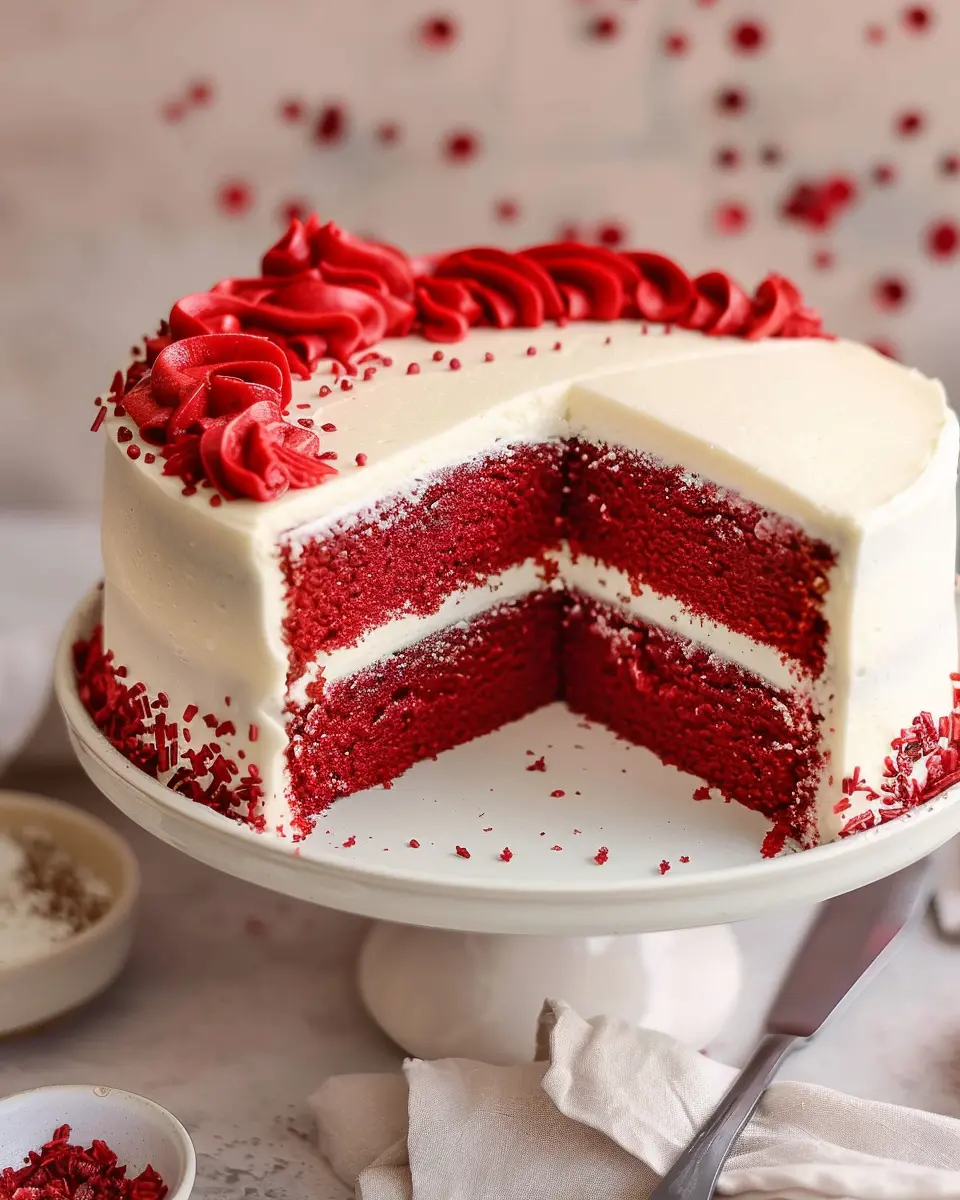
Serving Suggestions for the Best Red Velvet Cake
When it comes to the best red velvet cake, presentation and pairing can elevate your dessert from delightful to truly memorable. Here are some serving suggestions to enhance your experience:
Perfect Pairings
-
Cream Cheese Frosting: Nothing beats the classic! A rich cream cheese frosting complements the cake’s flavor beautifully. For an extra touch, consider adding a touch of vanilla or maple syrup.
-
Fresh Berries: Add a burst of freshness with raspberries or strawberries. The tartness cuts through the sweetness and adds a lovely color contrast.
-
Ice Cream: Serving a slice with a scoop of vanilla or even salted caramel ice cream can be divine. The cold creaminess pairs beautifully with a moist slice of red velvet.
Fun Serving Ideas
-
Layered Dessert Jars: For a twist, layer crumbled cake, frosting, and berries in mason jars for a fun, portable dessert.
-
Themed Parties: Want to impress your guests? Serve the best red velvet cake at themed parties, like Valentine’s Day or birthdays, where the vibrant color will steal the show.
Incorporate these ideas to create an unforgettable experience that celebrates your baking triumph! For more inspiration, check out this helpful Dessert Presentation Guide.
Tips for Making the Perfect Red Velvet Cake
Creating the best red velvet cake requires careful attention to detail, but it doesn’t have to be intimidating! Here are some helpful tips to ensure that your cake turns out soft, moist, and absolutely delicious.
Use Quality Ingredients
Start with quality ingredients; they make a significant difference in flavor. Opt for high-quality cocoa powder and real buttermilk. For an interesting twist, try substituting regular buttermilk with Greek yogurt for an extra creamy texture.
Don’t Skip the Vinegar and Baking Soda
The combination of vinegar and baking soda is essential for that classic red velvet taste and color. These ingredients not only help with the leavening process, creating a light cake, but they also enhance the cake’s beautiful red hue.
Proper Mixing Technique
When mixing your ingredients, be gentle. Overmixing can lead to a dense cake. Mix just until combined; it’s okay if a few lumps remain.
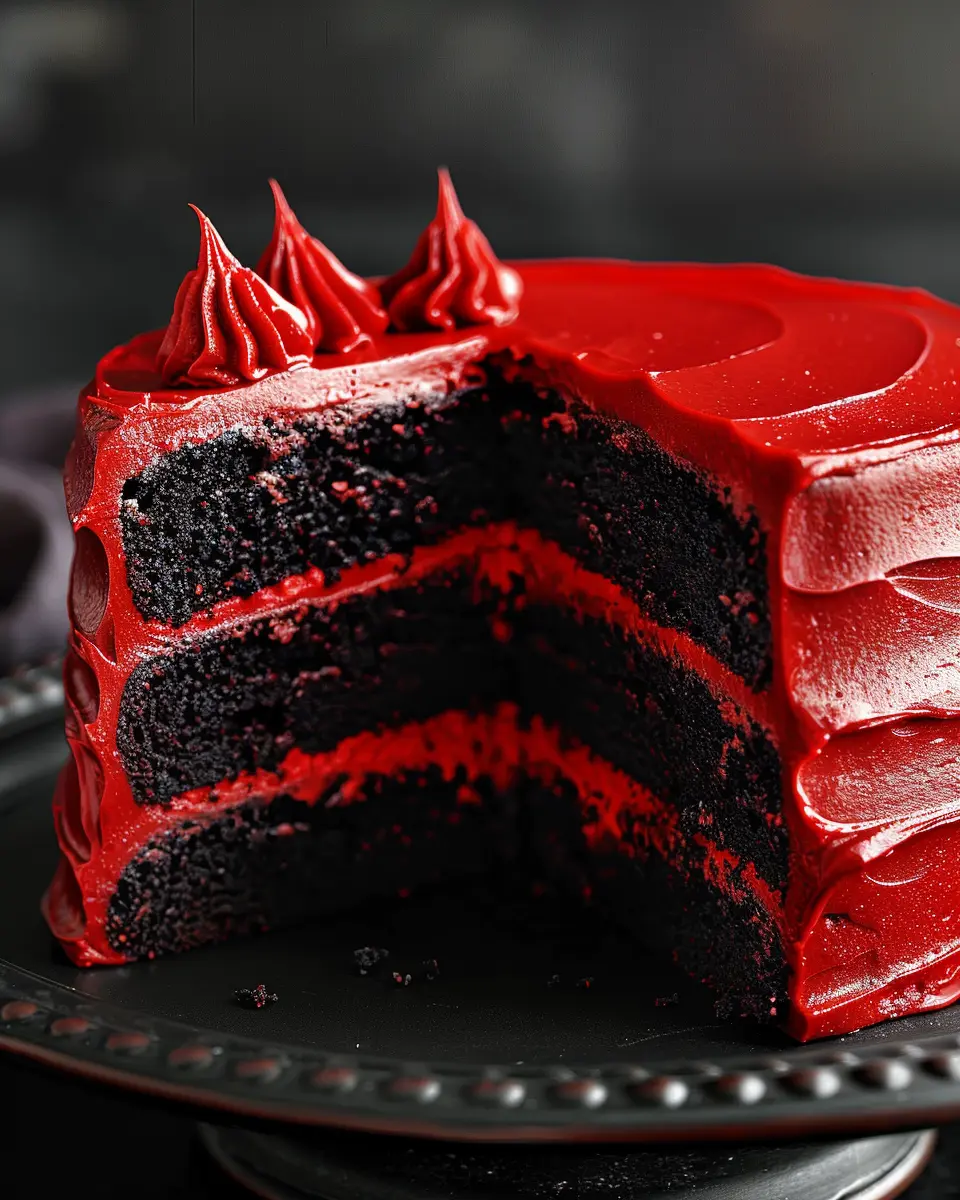
Frosting Matters
A perfectly fluffy cream cheese frosting pairs wonderfully with red velvet cake. Make sure your cream cheese and butter are at room temperature for easy mixing.
Bake at the Right Temperature
Avoid opening the oven door too soon, as this can cause your cake to sink. Bake at a consistent temperature, and invest in an oven thermometer for accuracy.
For more baking tips that can elevate your dessert game, check out this guide on cake baking basics. Enjoy your baking adventure and embrace the art of creating the best red velvet cake!
Time Breakdown for the Best Red Velvet Cake
Preparation Time
Creating the best red velvet cake starts with a quick preparation phase, which typically takes about 20-30 minutes. This includes gathering your ingredients like cocoa powder, vanilla extract, and buttermilk. Trust me, having everything ready makes the process smoother and more enjoyable. Plus, you’re less likely to forget any ingredients!
Baking Time
Once you’ve prepped, it’s time for the magic to happen. The baking phase usually requires around 25-30 minutes, depending on your oven. Keep an eye on it; a toothpick inserted in the center should come out clean when it’s ready. If you want a super moist cake, it’s better to slightly under-bake rather than over-bake.
Cooling Time
After baking, let the cake cool for about 30-45 minutes in the pan before transferring it to a wire rack. This cooling time is essential for achieving that soft texture we all love. Remember, patience is key—it’ll be worth the wait!
For more detailed steps, feel free to check out resources like Taste of Home for pro baking tips!
Nutritional Facts for the Best Red Velvet Cake
When indulging in a slice of the best red velvet cake, it’s good to know what you’re savoring! Let’s break down the key nutritional facts so you can enjoy every bite guilt-free.
Calories
A typical serving of this cake packs about 350–450 calories. It’s rich, so a smaller slice can give you all the satisfaction without overindulging!
Sugar
This delightful dessert contains approximately 30–40 grams of sugar per slice. While sweet, it’s essential to enjoy in moderation, especially if you’re watching your sugar intake.
Fats
With around 15–20 grams of fat per slice, the richness comes from butter and cream cheese frosting. Opt for a lighter frosting if you’re looking to cut back.
For more in-depth information on cake nutrition, visit the USDA’s FoodData Central. Enjoy your baking journey with the best red velvet cake!
FAQs about the Best Red Velvet Cake
Can I make this cake ahead of time?
Absolutely! One of the great things about the best red velvet cake is its ability to stay moist and delicious, even when prepared a day in advance. Once your cake has cooled completely, you can wrap it tightly in plastic wrap or store it in an airtight container for up to three days at room temperature. For longer storage, consider refrigerating or freezing it. If frozen, remember to properly thaw it before serving for that luscious texture!
What can I substitute for buttermilk?
If you find yourself short on buttermilk, don’t fret! There are several easy substitutes you can use:
- Milk and vinegar or lemon juice: For every cup of buttermilk needed, mix 1 cup of milk with 1 tablespoon of vinegar or lemon juice. Let it sit for about 5 minutes, and you’ve got a perfect stand-in.
- Plain yogurt: Use plain yogurt instead of buttermilk in equal amounts. It’ll still give you that nice, tangy flavor.
- Sour cream: Another great substitute, just use it in the same quantity as buttermilk.
Can I use a different frosting?
Definitely! While cream cheese frosting is the classic choice for the best red velvet cake, feel free to experiment. Here are some tasty alternatives:
- Buttercream frosting: A smooth and sweet option that pairs wonderfully with red velvet.
- Whipped cream: For a lighter touch, whipped cream can add a fresh element.
- Ganache: If you’re feeling adventurous, a rich chocolate ganache offers a decadent contrast to the cake’s flavor.
Don’t be afraid to get creative! The beauty of baking is all about experimenting and finding what you love. For more tips on frosting options, check out this helpful guide.
By addressing these common questions, I hope you feel more prepared to bake your own best red velvet cake and share it with friends and family!
Conclusion on the Best Red Velvet Cake
In the quest for the best red velvet cake, it’s all about the right balance of flavors and textures. This cake should be soft and moist, thanks to the perfect blend of ingredients. When you indulge in a slice, the tangy cream cheese frosting elevates the experience even further.
Whether you’re preparing for a gathering or just treating yourself, this cake is sure to impress. Don’t forget to experiment with various decorating techniques to personalize it! If you’re still looking for inspiration, check out sites like Serious Eats for tips on creating stunning cakes. Enjoy baking!
PrintBest Red Velvet Cake Recipe: Soft, Moist, and Truly Easy to Bake
This Best Red Velvet Cake is soft, moist, and incredibly easy to bake. Perfect for any occasion!
- Prep Time: 20 minutes
- Cook Time: 35 minutes
- Total Time: 55 minutes
- Yield: 12 servings
- Category: Dessert
- Method: Baking
- Cuisine: American
- Diet: Vegetarian
Ingredients
- 2 1/2 cups all-purpose flour
- 1 1/2 cups granulated sugar
- 1 teaspoon baking soda
- 1 teaspoon salt
- 1 tablespoon unsweetened cocoa powder
- 1 1/2 cups vegetable oil
- 1 cup buttermilk
- 2 large eggs
- 2 tablespoons red food coloring
- 1 teaspoon vanilla extract
- 1 teaspoon white vinegar
Instructions
- Preheat the oven to 350°F (175°C) and grease two 9-inch round cake pans.
- In a large bowl, whisk together the flour, sugar, baking soda, salt, and cocoa powder.
- In another bowl, mix the vegetable oil, buttermilk, eggs, food coloring, vanilla extract, and vinegar.
- Combine the wet and dry ingredients and mix until smooth.
- Pour the batter evenly into the prepared pans.
- Bake for 30-35 minutes or until a toothpick comes out clean.
- Let the cakes cool before decorating.
Notes
- For an extra moist cake, consider using cake flour instead of all-purpose flour.
- Top with cream cheese frosting for the perfect finishing touch.
Nutrition
- Serving Size: 1 slice
- Calories: 350
- Sugar: 25g
- Sodium: 350mg
- Fat: 18g
- Saturated Fat: 2g
- Unsaturated Fat: 14g
- Trans Fat: 0g
- Carbohydrates: 45g
- Fiber: 1g
- Protein: 4g
- Cholesterol: 50mg