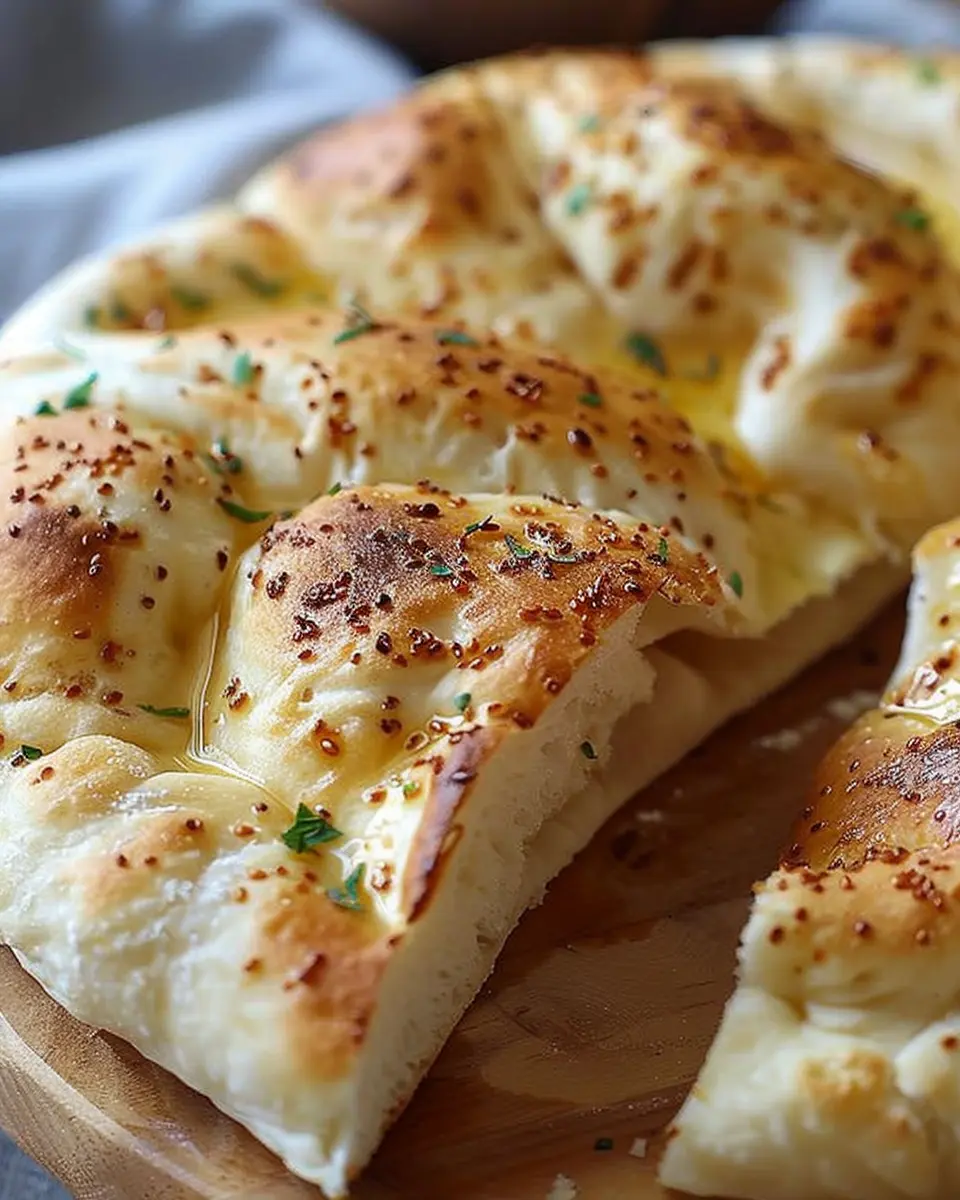
Introduction to No-Knead Turkish Bread
If you’re a young professional, balancing work and personal life can be a juggling act. Amidst the hustle, the idea of baking bread might seem daunting. Enter no-knead Turkish bread, or Bazlama—a delightful solution for anyone looking to add a homemade touch to their meals without dedicating hours to the kitchen.
Why No-Knead Turkish Bread is a Game-Changer for Young Professionals
Imagine coming home after a long day, craving something warm and comforting. The beauty of no-knead Turkish bread is that it’s incredibly simple to prepare. With just a handful of ingredients—flour, water, yeast, and salt—you can whip up a batch that’s perfect for sandwiches, sides, or even a light snack.
What makes this recipe a real winner is the minimal effort involved. No need for extensive kneading or fancy equipment. The dough can be mixed together in minutes and left to rise while you tackle your to-do list or relax. According to a study by the Harvard Business Review, more than 70% of professionals prefer convenience in meal preparation. This bread fits the bill perfectly.
When you take your first bite into fluffy, soft Bazlama, you’ll understand why it’s celebrated in Turkish cuisine. This bread is not only delicious but also versatile. It pairs wonderfully with various toppings—think Turkey bacon, avocado, or even a spread of hummus. The options are pretty much endless! You can even pop it on the grill for a quick char, adding a smoky flavor that’s hard to resist.
Plus, the satisfaction of producing homemade bread, even while maintaining a packed schedule, can’t be overstated. You’ll impress friends at dinner parties or enjoy a personal treat after a long week.
If you’ve been hesitant to dive into the world of baking, this no-knead Turkish bread is the perfect starter recipe. Why not give it a try? Trust me; your future self will thank you! For some expert tips on bread-making, check out resources from King Arthur Flour or Bon Appétit to elevate your skills even further.
Ingredients for No-Knead Turkish Bread
Essential Ingredients You’ll Need
To create your delicious no-knead Turkish bread, also known as Bazlama, you’ll need a few simple and fresh ingredients:
- All-purpose flour: This is the backbone of the dough. Aim for high-quality flour for the best texture.
- Warm water: Helps activate the yeast. It should feel pleasantly warm to the touch but not hot.
- Instant yeast: Make sure it’s fresh! This allows your bread to rise beautifully without any kneading.
- Salt: Enhances flavor and strengthens the dough.
- Olive oil: Adds richness and moisture to your bread.
Pro tip: Using an unbleached flour can improve the flavor and texture, as suggested by experts at King Arthur Baking.
Optional Toppings to Elevate Your Bread
Why not take your no-knead Turkish bread to the next level? Consider adding:
- Sesame seeds: For a delightful crunch and appealing look.
- Fresh herbs (like rosemary or thyme): Bring in a burst of flavor and aroma.
- Garlic powder: A sprinkle can infuse your bread with savory goodness.
- Cheese: A touch of crumbled feta or shredded mozzarella can add creaminess.
Don’t be afraid to experiment! Imagine how wonderful your kitchen will smell. What’s your favorite topping?
Step-by-Step Preparation of No-Knead Turkish Bread
If you’ve ever savored the delightful taste of Bazlama, the traditional Turkish flatbread, you’ll agree that it’s a perfect complement to various meals—or simply enjoyed on its own with some olive oil and herbs. Luckily, making no-knead Turkish bread is easier than you might think. Let’s break it down step by step so you can impress your friends at your next gathering!
Mixing the Wet Ingredients
First things first, let’s start with the two main wet ingredients—water and yogurt. Mixing these correctly sets the stage for a fluffy bread.
- Gather Your Ingredients: You’ll need about 1 cup of warm water (around 110°F) and 1/3 cup of plain yogurt.
- Combine: In a medium-sized mixing bowl, combine the warm water and yogurt. Stir gently until mixed. You want to create a creamy texture that’ll blend well with the dry ingredients later.
Tip: Using yogurt not only gives the bread a delightful tang but also makes it super soft!
Combining with Dry Ingredients
Once your wet ingredients are mixed, it’s time to bring in the dry ingredients:
- Ingredients: For your flour base, you’ll need 4 cups of all-purpose flour, 1.5 teaspoons of salt, and 1 teaspoon of instant yeast.
- Blend it Together: Gradually add the dry ingredients to the wet mixture. Use a wooden spoon or spatula for this—no need for a whisk! Gently fold everything until you see no dry flour remaining. The consistency should be sticky but cohesive.
Here’s a pro tip: You can always adjust the flour if the dough feels too wet. The key is to embrace that sticky texture; after all, it’s no-knead Turkish bread for a reason!
Letting the Dough Rise
Now that your dough is combined, it’s time to give it a little rest:
- Cover the Dough: Transfer the dough to a lightly oiled bowl, then cover it with a kitchen towel or plastic wrap.
- Rise Time: Allow it to rest at room temperature for about 1 to 2 hours, or until it doubles in size. This rise is crucial for developing those lovely bubbles that give your bread that airy structure.
Tip: If your kitchen is cooler than usual, consider placing the bowl in a warm area or even the oven (turned off) to help it rise faster.
Forming the Dough Balls
After the dough has risen beautifully, it’s time to shape it:
- Prepping the Work Surface: Lightly flour your countertop. This will help prevent sticking as you work.
- Divide and Shape: Using a spatula, gently scrape the dough from the bowl and turn it onto the floured surface. Divide the dough into equal portions—about 8 pieces work well.
- Shape Into Balls: Lightly shape each portion into a ball without deflating them too much. Keep that airy texture intact!
Tip: Remember, don’t worry about perfection—all shapes will turn out deliciously!
Cooking in a Pan
Now, onto the fun part—cooking your no-knead Turkish bread:
- Preheat Your Pan: Heat a non-stick skillet or pan over medium-high heat. Avoid any oil, as you want the natural flavor to shine through.
- Cook Each Side: Place a dough ball in the pan and press it gently to flatten it out. Cook for about 2-3 minutes on each side, or until you see golden brown spots.
Tip: Keep an eye on the bread while it cooks; once you see those lovely bubbles forming, it’s a sure sign that it’s classically flavorful!
Adding Finishing Touches
Once cooked, the last step is adding those personal touches:
- Cooling: Transfer your bread to a cooling rack. This keeps it from getting soggy.
- Flavor Enhancements: Brush a little olive oil or melted butter on top, and sprinkle with salt or your favorite herbs. You can even experiment with spices like za’atar or sumac for an extra twist.
Now enjoy your warming bread as a side to a hearty meal or as a base for sandwiches featuring turkey bacon or chicken ham!
With these straightforward steps, you’ll be able to create no-knead Turkish bread that’s not only delicious but also a fun project. This recipe opens up a world of culinary possibilities; why not experiment with various toppings or dips next time? Happy cooking!
Variations of No-Knead Turkish Bread
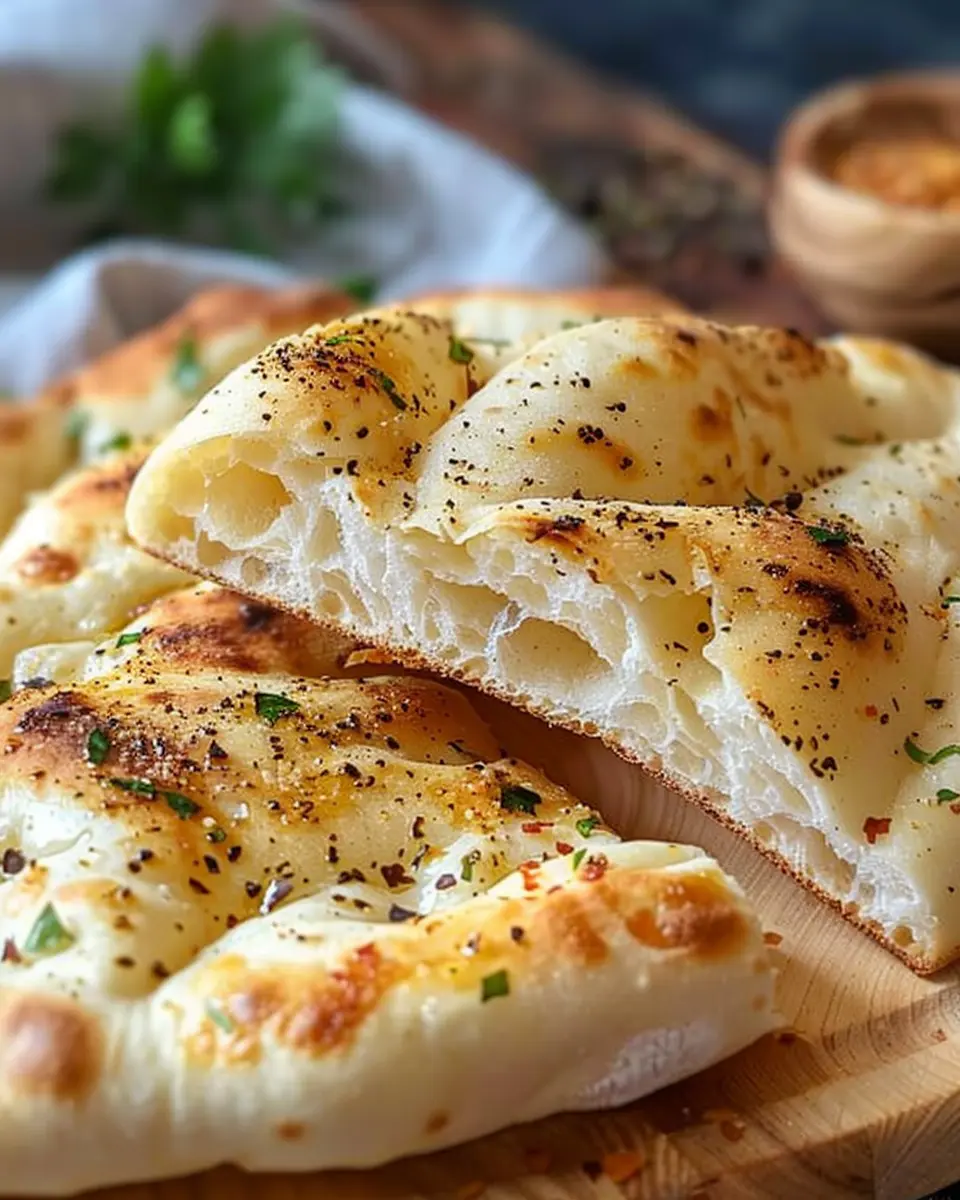
Classic Bazlama Twist
Let’s kick things off with the traditional no-knead Turkish bread, or bazlama. At its core, this is a fluffy, flatbread that’s perfect for mopping up stews or making sandwiches. To achieve the classic flavor, you’ll want to stick to the basics: flour, yeast, salt, and lukewarm water. The beauty of bazlama lies in its simplicity, but here’s a fun twist!
After you shape the dough, consider adding a sprinkle of sesame seeds or nigella seeds on top before baking. This small step not only enhances the visual appeal but also elevates the flavor. Your friends will be curious about how you made such a delightful treat!
Flavorful Herb-Infused Options
For those looking to take their no-knead Turkish bread to the next level, herb-infused variations can be a game-changer. Think about incorporating fresh herbs like rosemary, thyme, or even dill into the dough. Not only do these add a fragrant aroma, but they also provide a burst of flavor that works wonderfully with dips or spreads.
You can also get creative by mixing in some finely chopped sun-dried tomatoes or olives to give your bazlama a Mediterranean flair. If you want to explore a healthier option, consider adding whole grains like spelt or oat flour.
Curious about different herbs to experiment with? Check out this guide on herb pairings that could inspire your next kitchen adventure.
With these variations, your no-knead Turkish bread will not only impress at your next dinner party, but it’s sure to become a household favorite!
Cooking Tips and Notes for No-Knead Turkish Bread
Common Mistakes to Avoid
When diving into making your no-knead Turkish bread, there are a few pitfalls you’ll want to dodge. First, don’t rush the resting period; letting the dough sit for at least 12 hours is crucial for developing flavor and texture. Another common mistake is using dried yeast that’s past its prime. Always check the expiration date! Lastly, avoid the temptation to add too much flour while shaping the dough, as this can lead to a tough loaf.
Tools That Make the Process Easier
Investing in the right tools can make your no-knead Turkish bread adventure smooth sailing. A large mixing bowl is essential for dough expansion, while a sturdy dough scraper can help you manage sticky textures. You might also consider a cast-iron skillet or a baking stone; both provide excellent heat retention, which gives your bread that perfect crust. Don’t forget to use a kitchen scale for precise measurements—baker’s percentages can be a game-changer!
For more bread-making tips, check out King Arthur Baking for expert advice. Happy baking!
Serving Suggestions for No-Knead Turkish Bread
Perfect Pairings for Dipping
This no-knead Turkish bread is divinely versatile, making it an excellent choice for all sorts of dips. Think about serving it with zesty hummus or creamy tzatziki. For a twist, try it with spicy muhammara—a flavorful red pepper and walnut dip. These combinations not only enhance the bread’s natural flavors but also offer a delightful textural contrast. Don’t forget to drizzle some high-quality olive oil for a simple yet elegant touch. According to a recent study, fresh bread and dips create a tantalizing appetizer that keeps guests coming back for more (source: Food & Wine).
Creative Ways to Use Turkish Bread in Meals
No-knead Turkish bread can elevate your meals in countless ways. For a quick breakfast, layer it with slices of avocado and a sprinkle of chili flakes for an energizing start. Feeling like a wrap? Use the bread to envelop your favorite fillings, like turkey bacon, fresh greens, and a squeeze of lemon—it’s a game-changer! Additionally, consider using it as a base for your next sandwich. Whether it’s chicken ham or grilled veggies, the soft yet sturdy texture holds everything together perfectly.
These ideas are just the beginning. There are endless possibilities to explore with this delightful bread, ensuring every meal is special.
Time Breakdown for No-Knead Turkish Bread
Preparation Time
Getting ready to make your no-knead Turkish bread (Bazlama) is a breeze! You’ll need about 10-15 minutes for mixing the ingredients and prepping your dough. This is a fantastic opportunity to clear your countertops, maybe even play your favorite podcast in the background.
Cooking Time
Once the dough has rested, the actual cooking time is roughly 15-20 minutes. You’ll love how a few minutes of sizzling on the stovetop transforms these simple ingredients into a delicious golden-brown bread.
Total Time
In total, you’re looking at around 3-4 hours. This includes resting time for the dough, which is mostly hands-off. That means you can tackle your to-do list while your dough works its magic. Perfect for busy young professionals!
For more cooking tips and insights, check out The Kitchn and Serious Eats for a wealth of culinary knowledge that will elevate your cooking game!
Nutritional Facts for No-Knead Turkish Bread
When you whip up a batch of no-knead Turkish bread, you’re not just creating a delicious treat; you’re also putting together a wholesome addition to your meals. Let’s dive into the nutritional profile of this lovely bread.
Calories
A typical serving of no-knead Turkish bread contains around 150-200 calories. This makes it a flexible choice for various diets, whether you’re looking to indulge or stay mindful of your intake.
Carbohydrates
In each serving, you’ll find approximately 30 grams of carbohydrates. These primarily come from the flour, providing the energy boost you need for a busy day of work or play.
Fiber
Fiber is essential, and no-knead Turkish bread has about 1-2 grams per serving. While it may not seem significant, every bit counts towards reaching your daily goals! Pair it with hearty spreads or toppings for added fiber.
As you enjoy your no-knead Turkish bread, remember that you can explore more about healthy eating habits on platforms like Healthline or Eatright.org to enrich your culinary journey.
FAQs About No-Knead Turkish Bread
Can I Substitute Ingredients?
Absolutely! One of the beauties of making no-knead Turkish bread (Bazlama) is its flexibility. You can easily swap out some ingredients based on what you have on hand. For instance:
- Flour: While all-purpose flour is the go-to, you can mix in whole wheat flour for a healthier twist.
- Yogurt: If you’re out of yogurt, unsweetened almond milk or buttermilk can work as replacements.
- Salt: Experiment with flavored salts for a unique taste profile. Pink Himalayan or garlic salt can add a delightful twist.
Feel free to play around, but keep the ratios consistent for the best results!
How Should I Store Leftover Bread?
Storing your leftover no-knead Turkish bread properly will help retain its mouthwatering softness. Once the bread has completely cooled, wrap it in a clean kitchen towel or plastic wrap and place it in an airtight container. Alternatively, you can store it in a zip-top bag—just ensure you squeeze out the air to avoid staleness. This way, it can last for about 2-3 days on your countertop.
Is This Bread Suitable for Freezing?
Yes! Freezing is a fantastic option if you want to enjoy your no-knead Turkish bread later. Slice the bread first and then wrap each slice tightly in plastic wrap or aluminum foil. You can store them in a freezer-safe bag for up to three months. When you’re ready to indulge, simply toast the slices directly from the freezer or let them thaw in the refrigerator overnight.
Interested in more baking tips? Check out King Arthur Baking for expert insights!
Conclusion on No-Knead Turkish Bread
Embracing the Homemade Revolution
No-knead Turkish bread is more than just a recipe; it’s a delicious journey into the heart of homemade goodness. By embracing this simple yet effective method, you not only engage your culinary skills but also invite the warmth of homemade flavors into your home. The rhythm of making this bread requires minimal effort but yields maximum satisfaction, making it perfect for busy professionals looking to elevate their cooking without the fuss.
So why not gather a few friends or family members, enjoy beautiful moments in the kitchen, and savor the aroma of freshly baked Bazlama? After all, there’s nothing quite like sharing a loaf of no-knead Turkish bread and good conversation around the table. For more about traditional Turkish cuisine, check out resources from Anatolian Kitchen or The Spruce Eats. Happy baking!
PrintNo-Knead Turkish Bread: The Easy Way to Master Bazlama at Home
Learn how to easily make traditional No-Knead Turkish Bread (Bazlama) at home with minimal effort and delicious results.
- Prep Time: 15 minutes
- Cook Time: 30 minutes
- Total Time: 12 hours 45 minutes
- Yield: 8 pieces
- Category: Bread
- Method: No-Knead
- Cuisine: Turkish
- Diet: Vegetarian
Ingredients
- 4 cups all-purpose flour
- 1 ½ cups warm water
- 1 packet instant yeast
- 1 tablespoon sugar
- 2 teaspoons salt
- 2 tablespoons olive oil
Instructions
- In a large bowl, mix the flour, yeast, sugar, and salt together.
- Add warm water and olive oil, stirring until a shaggy dough forms.
- Cover the bowl with a damp cloth and let it rest for 8-12 hours at room temperature.
- After the resting period, dust your work surface with flour and transfer the dough onto it.
- Divide the dough into equal-sized pieces and shape each into a ball.
- Flatten each ball gently with your hands.
- Preheat a skillet over medium heat and cook each flattened dough for 2-3 minutes on each side until golden brown.
- Serve warm and enjoy your homemade Bazlama!
Notes
- Try adding herbs or spices to the dough for extra flavor.
- This bread is best enjoyed fresh, but can be stored for a few days.
Nutrition
- Serving Size: 1 piece
- Calories: 150
- Sugar: 1g
- Sodium: 300mg
- Fat: 4g
- Saturated Fat: 0.5g
- Unsaturated Fat: 3.5g
- Trans Fat: 0g
- Carbohydrates: 26g
- Fiber: 1g
- Protein: 4g
- Cholesterol: 0mg