Introduction to Red Velvet Cake
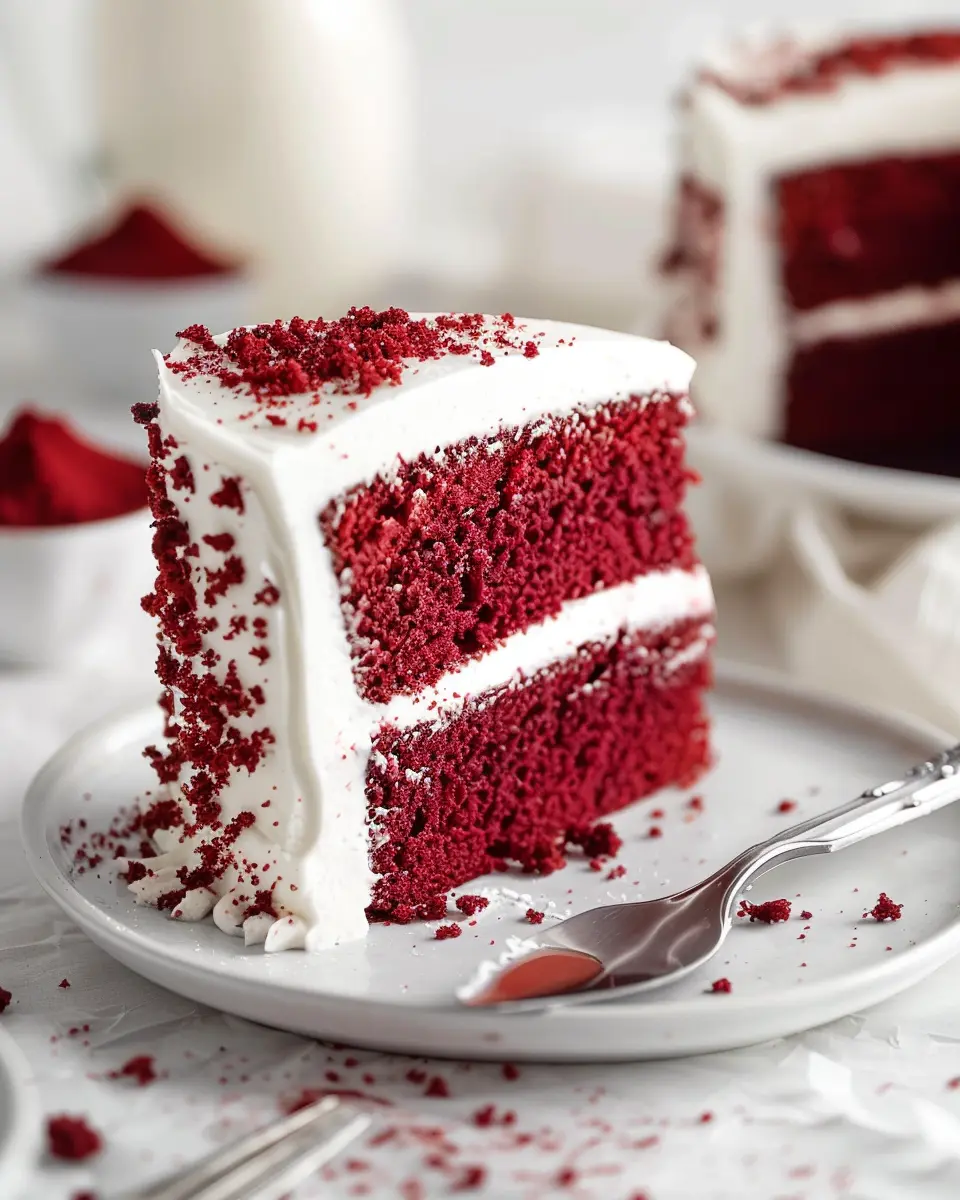
Red Velvet Cake is one of those desserts that brings a sense of occasion, isn’t it? Its rich, velvety texture and striking red color make it a favorite choice for celebrations, from birthdays to weddings. But have you ever wondered why Red Velvet Cake has become such an iconic dessert?
Why is Red Velvet Cake so iconic?
The allure of Red Velvet Cake goes beyond its vibrant hue. Historically, this cake traces its origins back to the early 20th century, with theories suggesting it became popular in the Southern United States. One explanation for its name relates to the cake’s unique combination of cocoa powder and vinegar, which creates a subtle red color, especially when using certain types of cocoa. This cake was often thought to have a “velvety” texture, hence the charming moniker.
Moreover, the cake gained a pop culture boost when it was featured in culinary shows and social media platforms. It’s no wonder that today, a simple slice of Red Velvet Cake can be found on cafe menus and festive tables alike.
Here are a few interesting facts that underline its popularity:
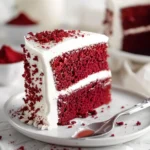
- The cake’s vibrant color really pops in photographs, making it an Instagram-worthy indulgence.
- Red Velvet Cake is often paired with cream cheese frosting, which perfectly balances sweetness with a tangy bite, elevating the flavor profile.
- The cake’s versatility has led to many creative interpretations, including cupcakes, pancakes, and even brownies!
When you bite into a slice, you’re not just enjoying cake; you’re participating in a delicious story that spans decades. Many bakers have their unique take on this classic recipe, which means you can find variations to suit any palate. Whether you’re opting for the traditional cream cheese frosting or trying a buttercream alternative, the possibilities are as delightful as they are numerous.
Curious to dive deeper into the world of Red Velvet Cake? For even more fun history and tips, you can check out resources like The Spruce Eats or Food52 for some culinary inspiration.
So, are you ready to learn how to whip up this iconic dessert yourself? Let’s get started on baking a piece of history!
Ingredients for Red Velvet Cake
Creating a delicious Red Velvet Cake begins with gathering the right ingredients. Let’s break it down into two essential components: the cake and the frosting.
Essential Ingredients for the Cake
To make a rich, velvety cake that stands out, you’ll need:
- All-purpose flour: This forms the base of your cake.
- Granulated sugar: For that sweet touch and perfect texture.
- Cocoa powder: Just a hint to give it that chocolatey undertone.
- Vegetable oil: Keeps the cake moist and adds richness.
- Buttermilk: This ingredient adds that distinct tangy flavor, plus it helps the cake rise beautifully.
- Eggs: Essential for binding the ingredients and adding moisture.
- Red food coloring: What makes it a Red Velvet Cake!
- Baking soda and vinegar: These work together to create a lovely rise.
You can find more about these ingredients on Food Network’s Guide.
Key Ingredients for the Cream Cheese Frosting
No Red Velvet Cake is complete without its signature frosting! Here are the star components:
- Cream cheese: The heart of the frosting, offering a creamy texture and tangy taste.
- Butter: Enhances the smoothness and richness.
- Confectioners’ sugar: Sweetens the frosting while ensuring it’s spreadable.
- Vanilla extract: Just a dash adds depth to the flavors.
With these ingredients at hand, you’re on your way to whipping up a mouthwatering Red Velvet Cake that will impress friends and family alike!
Preparing Red Velvet Cake
Creating a delicious Red Velvet Cake is a delightful experience that can infuse your day with sweetness and joy. With a few simple steps, you’ll find yourself on your way to baking a showstopper. Let’s dive into the preparation process, making it easier for you to whip up this classic dessert.
Gather and Prepare All Ingredients
Before you embark on your baking journey, it’s essential to gather all your ingredients. This way, you won’t be scrambling mid-recipe. Here’s what you need:
- Flour – about 2 ½ cups all-purpose
- Granulated sugar – 1 ½ cups
- Baking soda – 1 teaspoon
- Cocoa powder – 1 tablespoon
- Vegetable oil – 1 cup
- Buttermilk – 1 cup (you can make your own by mixing milk with vinegar)
- Eggs – 2 large, room temperature
- Red food coloring – about 1 ounce (you can adjust to your desired color)
- Vanilla extract – 1 teaspoon
- Salt – 1 teaspoon
- Vinegar – 1 teaspoon (apple cider vinegar works well)
Make sure your oven is preheating at 350°F (175°C) to ensure a perfectly baked cake.
Mix the Dry Ingredients
Now that you have everything ready, let’s turn our attention to the dry ingredients. In a large mixing bowl, combine:
- Flour
- Baking soda
- Cocoa powder
- Salt
Whisk these together until evenly blended. This step helps to ensure that your Red Velvet Cake has a uniform texture. You want those dry bits fully distributed to avoid any clumps that can spoil the fine crumb of your cake.
Cream the Butter, Oil, and Sugar
In a separate bowl, it’s time to cream your butter (or use just oil if you prefer). Combine:
- Granulated sugar
- Butter (if using)
- Vegetable oil
Beat these at medium speed until the mixture is light and fluffy. This step is crucial as it helps to incorporate air into the batter, making your cake light and airy as it bakes.
Incorporate the Eggs and Food Coloring
Add the eggs one at a time, mixing well after each addition. Follow this with the red food coloring and vanilla extract, continuing to mix until everything is well combined. The vibrant color is what makes your Red Velvet Cake truly stand out. You’ll see the rich hue start to take shape!
Combine the Wet and Dry Ingredients
Next, alternate adding the dry ingredients and buttermilk to your creamed mixture. Start with a third of the dry ingredients, mixing just until combined, then add half of the buttermilk. Repeat this process, ending with the dry ingredients. Avoid overmixing, as this could lead to a dense cake.
Bake the Cakes to Perfection
Divide the batter evenly among two greased and floured cake pans. Bake for approximately 25 to 30 minutes, or until a toothpick inserted into the center comes out clean. As those cakes bake, you’ll start to fill your kitchen with the wonderful aroma of decadent chocolate.
Make the Creamy Frosting
While your cake cools, it’s time to whip up a velvety cream cheese frosting. Here’s what you’ll need:
- Cream cheese – 8 ounces, softened
- Unsalted butter – ½ cup, softened
- Powdered sugar – 4 cups
- Vanilla extract – 1 teaspoon
Beat the cream cheese and butter together, then gradually add the powdered sugar and vanilla until smooth and creamy.
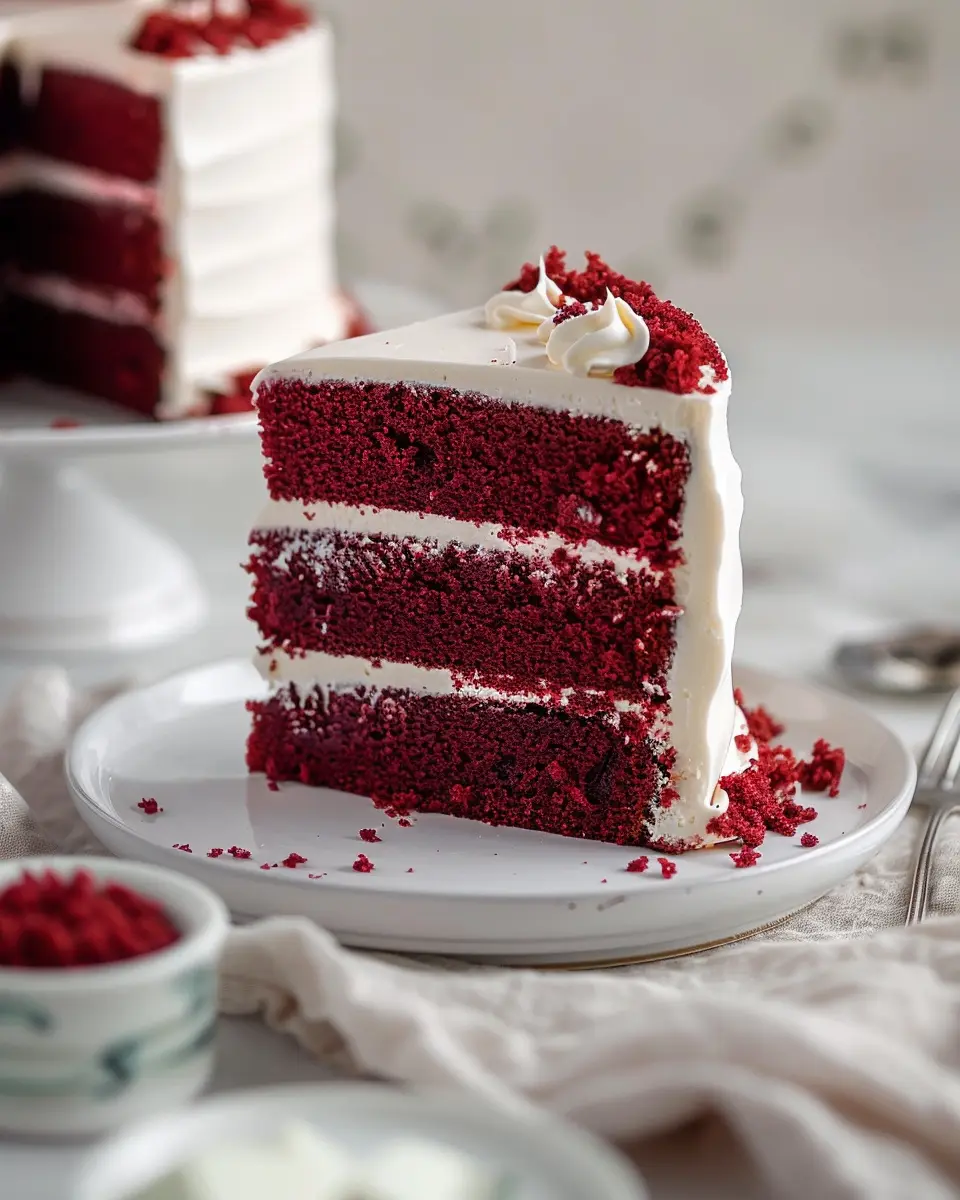
Assemble the Red Velvet Cake
Once your cakes are completely cooled, it’s time to assemble. Place one layer on a plate or cake stand, spread a generous amount of frosting, then top with the second layer. Finally, spread frosting over the top and sides for a beautiful finish.
Voila! Your Red Velvet Cake is ready to impress. Cut a slice, serve, and enjoy the array of compliments that are bound to come your way. For more decorating tips or variations on this classic cake, check out Food Network or BBC Good Food for inspiration. Happy baking!
Variations on Red Velvet Cake
Red Velvet Cake is a beloved classic with its deep color and rich flavor. If you’re interested in exploring some delightful variations, consider these options that cater to different dietary needs and preferences!
Gluten-free Red Velvet Cake
For those on a gluten-free diet, creating a delicious Red Velvet Cake is easier than you might think! Substitute standard flour with a gluten-free blend. Many brands, like Bob’s Red Mill, offer great choices. Additionally, ensure that the cocoa powder you use is free from gluten cross-contamination; this will keep your cake tasty and safe for everyone. You’ll find that the texture remains rich and moist, making it a stunning centerpiece for any occasion.
Chocolate Red Velvet Cake
If you can’t decide between red velvet and chocolate, why not combine them? A Chocolate Red Velvet Cake embraces the traditional red aesthetic while providing an extra layer of chocolatey goodness. Simply add ¼ cup of cocoa powder to your favorite red velvet recipe. The result? A more decadent experience that chocolate lovers will adore. Imagine serving this at your next gathering — guaranteed to impress!
Vegan Red Velvet Cake
For a plant-based twist, try a Vegan Red Velvet Cake. Substitute eggs with applesauce or flaxseed meal mixed with water, and opt for almond or coconut milk instead of dairy. Using vegan cream cheese will make for a delicious frosting that complements the cake perfectly. This version shows that indulgence doesn’t have to compromise your values and is perfect for inclusive celebrations.
For more tips on gluten-free baking, check out resources from Gluten-Free Living and for vegan recipes, Minimalist Baker has excellent options. With these variations, your Red Velvet Cake can satisfy a broader range of taste buds and dietary preferences!
Baking notes for Red Velvet Cake
When it comes to baking a stunning Red Velvet Cake, a few common pitfalls can detract from your masterpiece.
Common mistakes to avoid
One mistake is using the wrong type of cocoa powder. Always opt for a high-quality Dutch-processed cocoa instead of regular cocoa for that deep, rich flavor. Additionally, make sure not to overmix your batter. This can lead to a dense cake, rather than the light and fluffy texture we crave. Lastly, avoid skipping the buttermilk; it’s key to achieving that tender crumb!
Tips for perfecting the texture
To ensure your Red Velvet Cake turns out perfectly moist, try these tips:
- Use room temperature ingredients: This helps create an even batter that bakes beautifully.
- Check your oven temperature: An oven thermometer can help ensure accurate baking temperatures. Most home ovens are off by 10-15 degrees.
- Add vinegar: A tablespoon of white vinegar will enhance the cake’s moisture and tenderness.
With these baking notes, you’re well on your way to creating a show-stopping Red Velvet Cake. Happy baking! For more tips, check out resources at King Arthur Baking or America’s Test Kitchen.
Serving suggestions for Red Velvet Cake
Pairing with beverages
When it comes to enjoying your Red Velvet Cake, choosing the right beverage can elevate the entire experience. Instead of reaching for traditional options like wine, consider delightful alternatives:
- Coffee: A smooth brew can beautifully enhance the rich flavors of cake.
- Herbal tea: Flavors like chamomile or peppermint can provide a refreshing contrast.
- Milkshakes: A creamy vanilla milkshake adds a fun, nostalgic touch.
These pairings not only complement the cake’s texture but also bring out its subtle notes of cocoa.
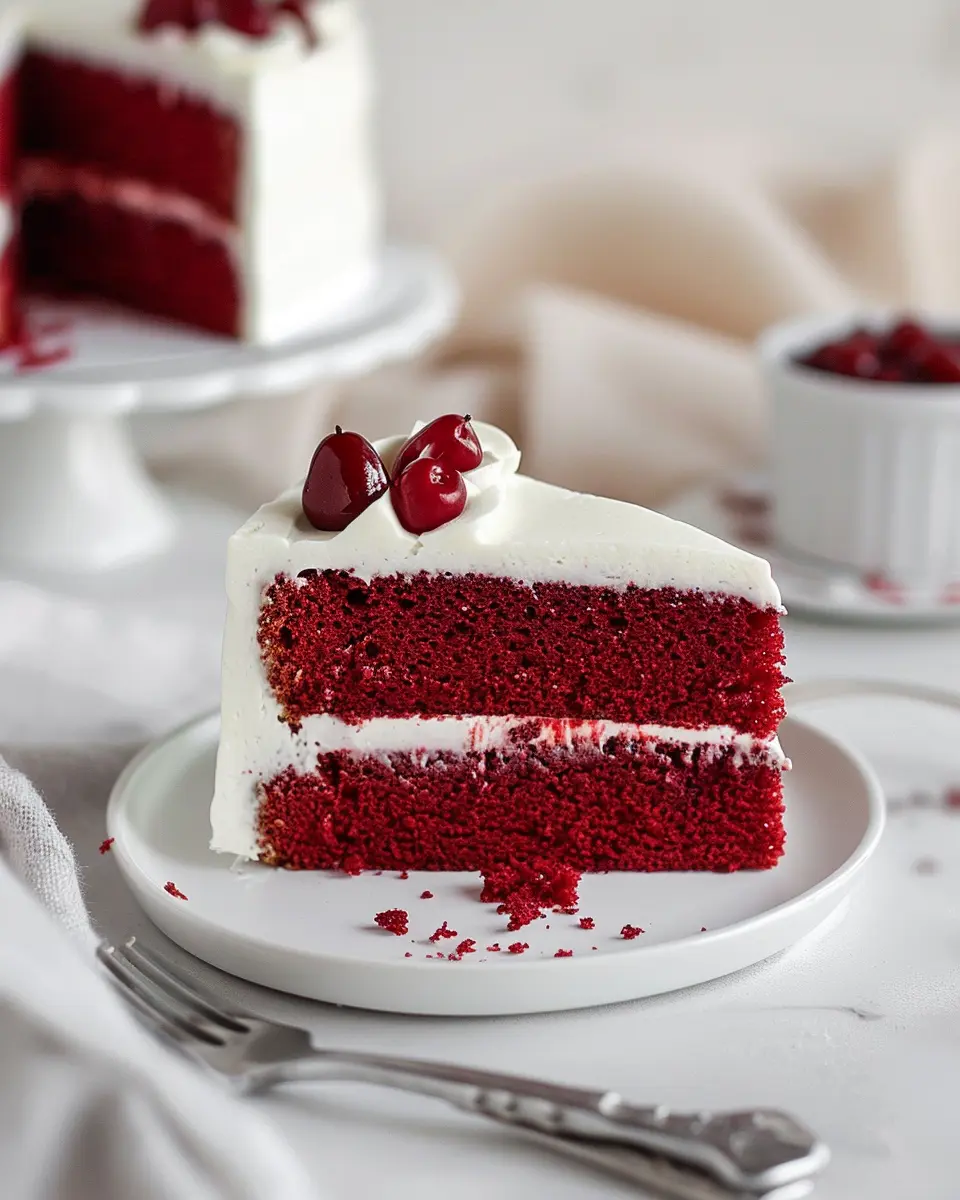
Creative serving ideas
Serving Red Velvet Cake can be a fun opportunity to get creative! Here are some ideas to impress your guests:
- Mini cakes: Bake smaller portions in ramekins for individual servings that are perfect for parties.
- Layered desserts: Crumble the cake and layer it with whipped cream, berries, and chocolate sauce in a glass for a stunning parfait.
- Ice cream sandwich: Use cake slices as a cookie alternative, sandwiching your favorite ice cream between them for a unique twist.
Why not explore more serving backgrounds and ideas at The Spruce Eats to inspire your own creations? With these suggestions, your Red Velvet Cake is bound to be a hit!
Tips for Making the Best Red Velvet Cake
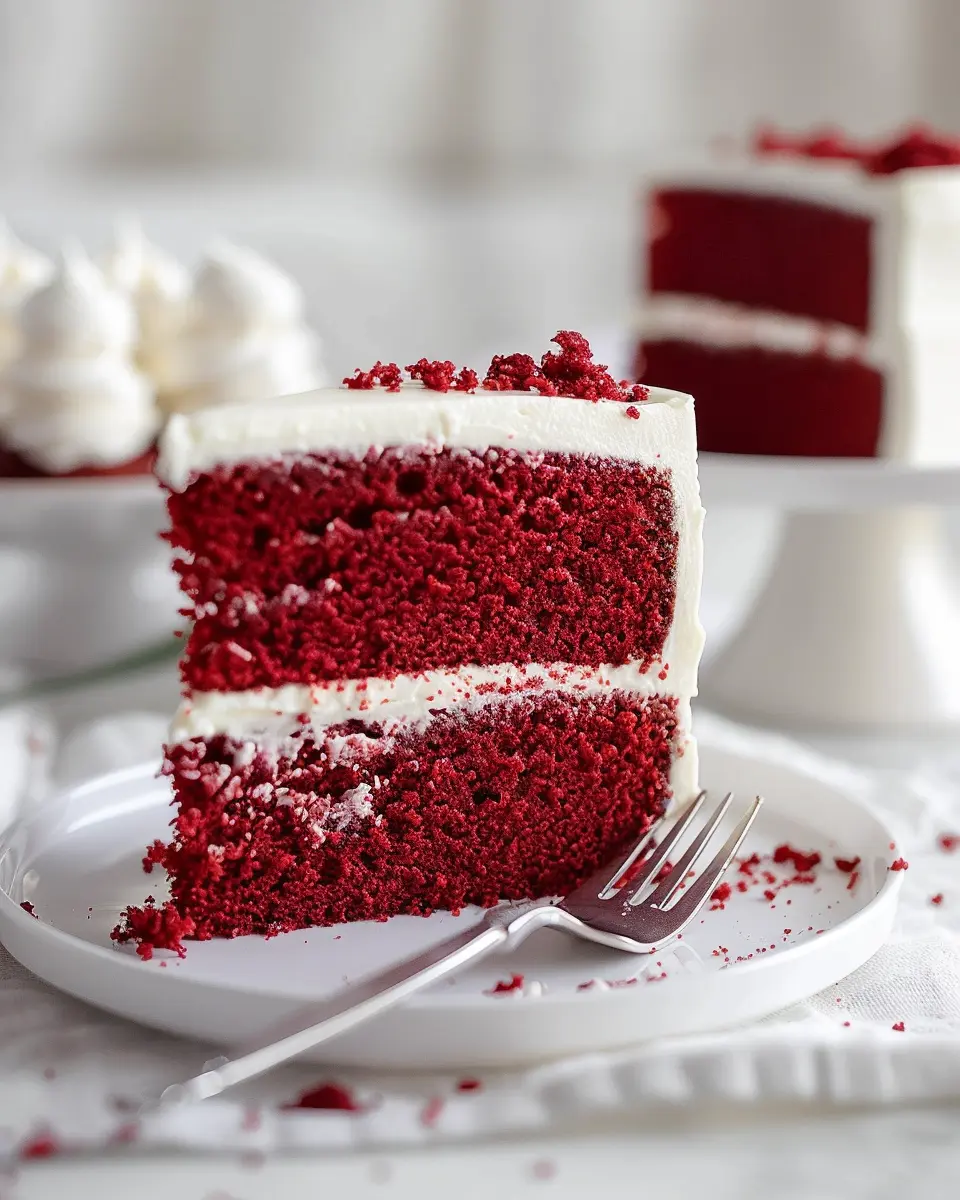
How to achieve the perfect color
Getting that stunning, vibrant hue in your Red Velvet Cake is key to its allure. The classic shade is achieved through a combination of cocoa powder and red food coloring. Here are some tips to nail it:
- Quality Cocoa: Use high-quality unsweetened cocoa powder for the best contrast against the red.
- Red Coloring: Don’t skimp on the food coloring! Gel food coloring is preferred over liquid due to its intensity. Aim for about two tablespoons for an electric red.
- Kissing the Acid: Add vinegar or buttermilk to your batter. The acidity reacts with the cocoa and helps the cake achieve that lovely color.
For more detailed insights, check out this resource from [The Spruce Eats](https://www.thes spruceeats.com).
Cooling and frosting techniques
Once your Red Velvet Cake has baked to perfection, the fun begins! Proper cooling and frosting techniques will elevate your dessert game.
- Cool Completely: Let your cakes cool in the pan for about 10 minutes, then transfer them to a wire rack. Cooling completely prevents your frosting from melting off.
- Frosting: Use a creamy cream cheese frosting to complement the cake. Apply a crumb coat first—this thin layer of frosting seals in crumbs, ensuring a clean final layer.
- Decorative Finish: For a polished look, smooth the frosting with a spatula or use a cake scraper for straight edges.
By focusing on these details, you’ll impress friends and family with your beautifully crafted Red Velvet Cake!
Time details for Red Velvet Cake
Making a delicious Red Velvet Cake is both rewarding and a delightful experience. Here’s a breakdown of the time you’ll need to set aside for your baking adventure.
Preparation time
You’ll need about 30 minutes to gather your ingredients, mix your batter, and prepare your cake pans. Don’t rush this part; taking the time to do it right leads to the best results.
Baking time
The actual baking time for your cake is around 25 to 30 minutes. Keep an eye on it as ovens can vary. A toothpick should come out clean when it’s done.
Total time
In total, you’re looking at roughly 1 hour, including prep and baking. Once you taste your moist, flavorful Red Velvet Cake, you’ll agree it was worth every minute! For more tips on baking, check out The Kitchn for helpful kitchen hacks.
Nutritional Information for Red Velvet Cake
When diving into a slice of Red Velvet Cake, it’s good to understand what you’re indulging in! Here’s a quick rundown of its nutritional content to keep you informed.
Calories
A typical slice of Red Velvet Cake (about 1/12 of a standard cake) contains approximately 350 calories. This delightful dessert isn’t the lightest option, but it certainly can brighten up any celebration.
Sugar Content
You’ll find that a slice packs in roughly 27 grams of sugar. This is where the sweetness comes from, so if you’re watching your sugar intake, just remember that moderation is key.
Allergens
Red Velvet Cake usually contains common allergens such as gluten (from flour), dairy (from butter and cream cheese), and eggs. If you’re baking for someone with dietary restrictions, consider alternatives like gluten-free flour or dairy-free substitutes.
To learn more about Red Velvet Cake recipes or for alternatives to classic ingredients, check out sources like The Kitchn for some creative variations! Enjoy your slice while keeping these facts in mind!
FAQs about Red Velvet Cake
What makes Red Velvet Cake red?
Wondering why your Red Velvet Cake has that iconic hue? Originally, the red color came from a reaction between cocoa powder and acidic ingredients like vinegar or buttermilk. Nowadays, most recipes include food coloring to enhance that vibrant shade. If you prefer a natural method, consider using beet juice—it adds a subtle earthiness along with the beautiful color!
Can I use regular frosting?
Absolutely! While traditional Red Velvet Cake is often paired with cream cheese frosting for a tangy balance, you can absolutely use regular buttercream or even whipped cream. The key is to choose a frosting that complements the rich flavors of the cake. If you’re feeling adventurous, why not try a chocolate ganache for a decadent twist? The options are endless!
How do I store leftover cake?
To make sure your delicious Red Velvet Cake stays fresh, store it in an airtight container at room temperature for up to three days. If you want to keep it longer, refrigerate it for up to a week. You can also freeze pieces wrapped in plastic wrap for about 2-3 months. Just be sure to let it thaw in the fridge overnight before enjoying it again!
For more tips on cake storage and decorating techniques, check out sites like The Kitchn or Serious Eats where you can find a wealth of baking knowledge!
Conclusion on Red Velvet Cake
Embracing Homemade Desserts
Crafting a delicious Red Velvet Cake at home not only indulges your sweet tooth but also fosters creativity in the kitchen. This cake, with its striking color and velvety texture, is sure to impress anyone lucky enough to receive a slice. Baking from scratch allows you to experiment with personalized flavors—why not add a hint of orange zest or a sprinkle of coconut for a unique twist?
By embracing homemade desserts like this, you not only enjoy a fresh treat but also a moment of joy and accomplishment. Remember, every great baker started just like you—experimenting and savoring the process. So, roll up your sleeves and enjoy the delightful journey of baking!
PrintRed Velvet Cake: The Best Indulgent Recipe for Home Bakers
Indulge in the rich flavors of Red Velvet Cake with this easy recipe designed for home bakers.
- Prep Time: 20 minutes
- Cook Time: 30 minutes
- Total Time: 50 minutes
- Yield: 12 servings
- Category: Dessert
- Method: Baking
- Cuisine: American
- Diet: Vegetarian
Ingredients
- 2 cups all-purpose flour
- 1 1/2 cups granulated sugar
- 1 cup vegetable oil
- 1 cup buttermilk
- 2 large eggs
- 2 tablespoons cocoa powder
- 1 teaspoon vanilla extract
- 1 teaspoon baking soda
- 1 teaspoon white vinegar
- 1 tablespoon red food coloring
Instructions
- Preheat the oven to 350°F (175°C) and grease two round cake pans.
- In a large mixing bowl, combine the flour, sugar, cocoa powder, and baking soda.
- In another bowl, mix the oil, buttermilk, eggs, vanilla, vinegar, and food coloring.
- Slowly add the wet ingredients to the dry ingredients and mix until smooth.
- Pour the batter evenly into the prepared pans and bake for 30-35 minutes.
- Once baked, let the cakes cool before frosting.
Notes
- For a cream cheese frosting, mix cream cheese and powdered sugar.
- Ensure the cake layers are completely cool before frosting to avoid melting.
Nutrition
- Serving Size: 1 slice
- Calories: 350
- Sugar: 25g
- Sodium: 300mg
- Fat: 18g
- Saturated Fat: 3g
- Unsaturated Fat: 14g
- Trans Fat: 0g
- Carbohydrates: 45g
- Fiber: 1g
- Protein: 4g
- Cholesterol: 30mg