Introduction to Red Velvet Cake
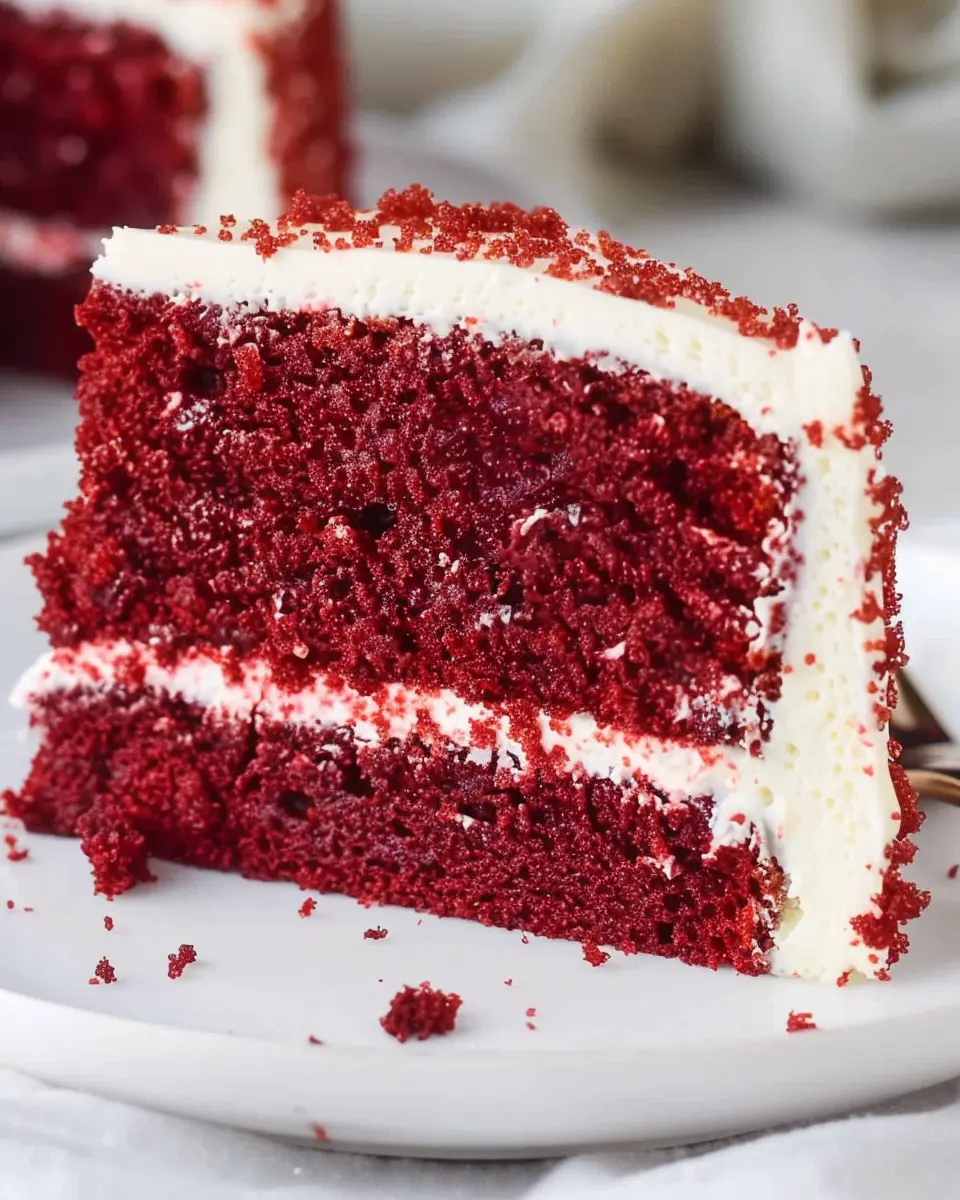
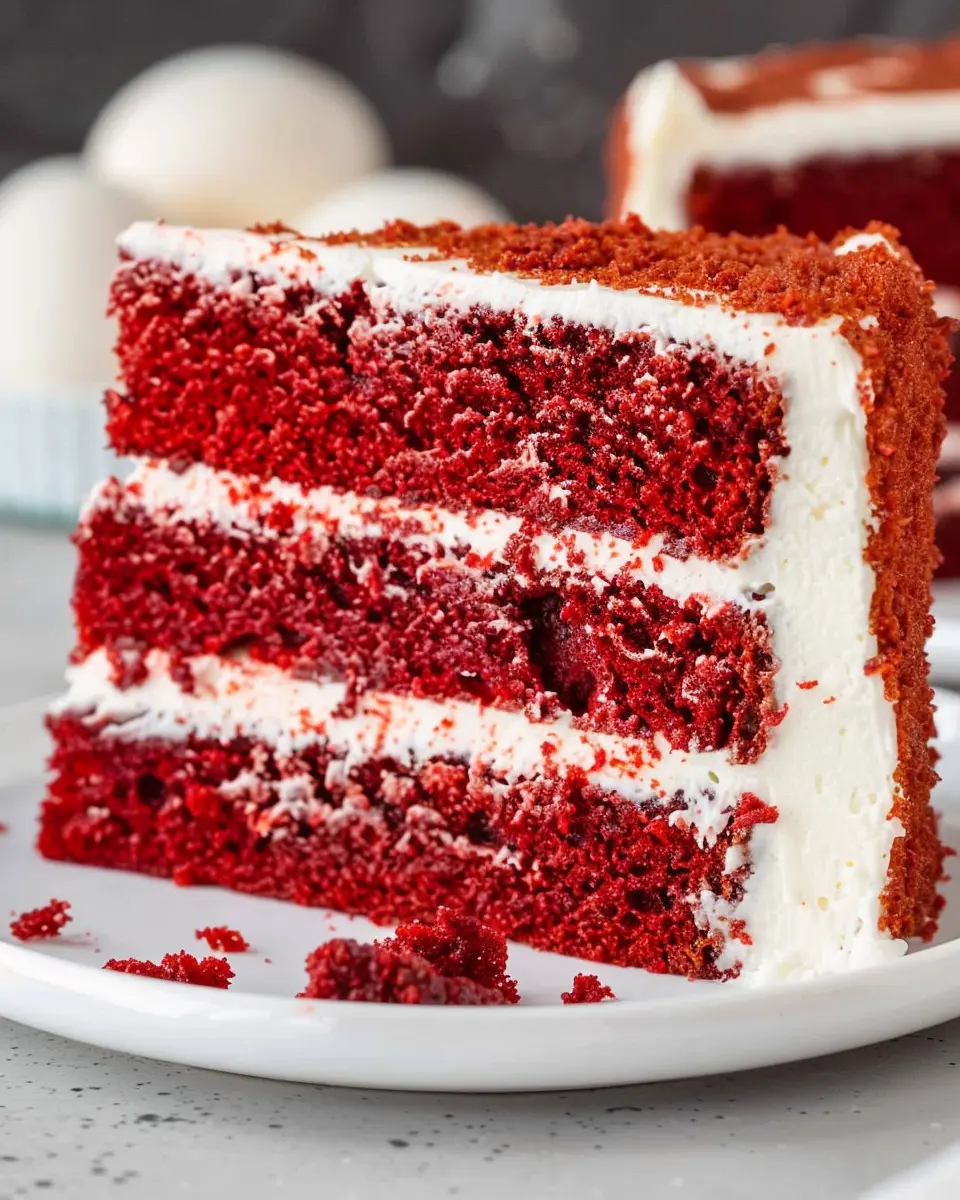
Red velvet cake is more than just a dessert; it’s a stunning centerpiece of any celebration. This cake’s vibrant red color, contrasting with a smooth cream cheese or buttercream frosting, makes it an irresistible choice for birthdays, weddings, or a cozy dinner with friends. But what exactly is red velvet cake?
Essentially, it’s a rich, velvety cake with a subtle chocolate flavor, thanks to the addition of cocoa powder. The cake’s color comes from either red food coloring or natural ingredients like beet juice. This distinction not only makes the cake visually striking but also adds to its unique taste. Since its rise to popularity in the early 20th century, particularly in the Southern United States, red velvet cake has captured the hearts and taste buds of many.
One of the reasons this cake is a favorite among young professionals and home bakers is its versatility. The classic red velvet cake recipe can be easily adapted to create cupcakes, cake pops, or even brownies. Plus, the moist texture and creamy frosting make it a delight for anyone with a sweet tooth. As you whip up this indulgent treat, you may find yourself reminiscing about special moments shared with family and friends.
Did you know that nearly 50% of Americans enjoy baking at home, often opting for tried-and-true recipes like red velvet cake? This cake often garners compliments at gatherings and can serve as a conversation starter. If you’re new to baking, it’s comforting to know that even a novice can successfully create this beautiful dessert with just a few simple ingredients.
For those looking to take their red velvet cake skills further, I encourage you to explore resources like The Culinary Institute of America or Serious Eats for expert tips and tricks that can elevate your baking game.
So, whether you’re celebrating a special occasion or just treating yourself, red velvet cake is a fantastic choice that never disappoints. Get ready to dive into a deliciously fun adventure as we explore this iconic recipe!
Ingredients for Red Velvet Cake
Essential ingredients for the cake
To achieve that signature red velvet cake flavor and texture, gathering the right ingredients is crucial. Here’s what you’ll need:
- All-purpose flour: This will form the base of your cake.
- Granulated sugar: For sweetness that balances the flavors.
- Cocoa powder: Just a bit for a subtle chocolate undertone, enhancing the cake’s richness.
- Baking soda and baking powder: These leavening agents give your cake that perfect rise.
- Vegetable oil: Keeps your cake moist and tender.
- Buttermilk: Adds tanginess and contributes to a soft crumb.
- Eggs: Help with the structure and richness.
- Vinegar: Reacts with the baking soda to create a wonderful lift and is key to that classic red velvet taste.
- Red food coloring: Of course, this gives it that iconic hue!
Key components for cream cheese frosting
Now, to elevate your red velvet cake recipe, the cream cheese frosting is a must. Here’s what you’ll need:
- Cream cheese: The star of the frosting! It gives that delightful tangy flavor.
- Butter: Adds creaminess and richness.
- Powdered sugar: For sweetness without grittiness.
- Vanilla extract: Enhances the overall flavor and aroma.
With these ingredients in hand, you’re well on your way to baking a crowd-pleasing dessert! For additional tips on ensuring your cake turns out perfectly, check out reputable baking resources like King Arthur Baking or Bon Appétit. Happy baking!
Step-by-step Preparation for Red Velvet Cake
Are you ready to make a delightful red velvet cake that impresses at any gathering? Let’s dive into the preparation process step by step, ensuring you have all the essentials and tips you need to bake like a pro!
Gathering your ingredients
First things first, let’s talk about the key ingredients you’ll need for this delicious red velvet cake recipe. Typically, you’ll want to gather:
- 2 ½ cups all-purpose flour
- 1 ½ cups granulated sugar
- 1 cup vegetable oil
- 1 cup buttermilk (for that moist texture)
- 3 large eggs
- 2 tablespoons cocoa powder
- 1 tablespoon red food coloring (or a natural substitute!)
- 1 teaspoon vanilla extract
- 1 teaspoon baking soda
- 1 teaspoon white vinegar
- ½ teaspoon salt
Having everything on hand before you start baking makes the process smoother and helps you avoid surprises. Plus, it’s always nice to feel organized, isn’t it?
Prepping the cake pans
While you’re gathering your ingredients, it’s a good idea to prep your cake pans. You’ll need two 9-inch round cake pans. Grease them with a bit of butter or cooking spray, and then add a dusting of flour. This step will help ensure your cakes don’t stick, making removal a breeze. Alternatively, consider using parchment paper for even easier release.
Mixing dry ingredients
Now it’s time to mix your dry ingredients. In a mixing bowl, combine:
- 2 ½ cups all-purpose flour
- 1 ½ cups granulated sugar
- 2 tablespoons cocoa powder
- ½ teaspoon salt
Whisk these together until they are evenly mixed. If you want to enhance your baking skills, check out expert tips on ingredient mixing at King Arthur Baking.
Blending liquid ingredients
In another bowl, whisk together your liquid ingredients. Combine:
- 1 cup vegetable oil
- 1 cup buttermilk
- 3 large eggs
- 1 tablespoon red food coloring
- 1 teaspoon vanilla extract
Mix until everything is well-blended. The color will be vibrant, and that’s what makes our red velvet cake stand out!
Combining wet and dry mixtures
Once both mixtures are ready, it’s time to combine them. Gradually add the liquid ingredients into the dry ingredients, mixing continuously until just combined. Be careful not to over-mix; a few lumps are perfectly fine! This is critical in achieving that fluffy texture we all adore.
Baking the cake layers
Preheat your oven to 350°F (175°C). Once your batter is ready, divide it evenly between the prepared cake pans. Pop those pans in the oven and bake for 25-30 minutes, or until a toothpick comes out clean. While your cakes are baking, take a moment to brew a nice cup of tea or coffee!
Cooling the cake
After baking, allow your cakes to cool for 10 minutes in the pans before transferring them to a wire rack. It’s essential to let them cool completely before frosting; otherwise, your frosting may melt into a gooey mess, and we definitely don’t want that!
Preparing the frosting
As your cakes cool, it’s the perfect time to prepare a luscious cream cheese frosting. Mix together softened cream cheese, butter, powdered sugar, and a splash of vanilla until you achieve that perfect creamy consistency. A go-to for many bakeries can be found at Delish.
Decorating your cake
Finally, layer the cakes with the frosting in between and cover the top and sides. Feel free to add extra decorations like sprinkles or fresh berries for a pop of color. Don’t forget to make it your own—this cake is all about creativity!
Baking a red velvet cake isn’t just about the destination; it’s about enjoying the process too. So gather those ingredients and get ready for a delicious journey! Happy baking!
Variations on Red Velvet Cake
When it comes to red velvet cake, there’s no need to stick just to the classic form. Let’s explore some fun and delicious variations that can elevate your next baking adventure!
Delight in Red Velvet Cupcakes
Who said cake must always be in slices? Red velvet cupcakes are a modern twist that allows for easy serving and personal portions. Simply transform your favorite red velvet cake recipe into a cupcake masterpiece. Top each with a smooth cream cheese frosting or a delightful swirl of whipped cream for a touch of elegance. These portable treats are perfect for birthday parties, potlucks, or even a cozy night in. Plus, they make just the right amount for sharing (or not)!
Gluten-Free Red Velvet Cake
For those following a gluten-free lifestyle, fear not! You can still enjoy this vibrant cake. Many alternatives to traditional flour exist today, such as almond flour or a gluten-free all-purpose blend. Make sure to adjust the wet and dry ingredients as needed to achieve that sought-after moist texture. Recipes like these can be found on reliable sites such as Gluten Free Baking. Your gluten-sensitive friends will appreciate the effort!
Layered Red Velvet Desserts
Taking it a step further, consider crafting layered red velvet desserts. Imagine alternating layers of red velvet cake, cream cheese filling, and velvety whipped cream in a clear glass dish. Not only does this look stunning, but it also allows everyone to enjoy every bite. You could even add a twist by incorporating fruits, such as raspberries or strawberries, for some freshness. Perfect for entertaining, these layered delights are visually impressive and utterly scrumptious!
These variations provide a fresh spin to the beloved red velvet cake recipe. Whether you’re whipping up cupcakes, a gluten-free version, or layered delights, you’re destined to impress your friends and family!
Baking Tips and Notes for Red Velvet Cake
Common Pitfalls to Avoid
Baking a red velvet cake recipe might seem simple, but there are a few common pitfalls that can turn your masterpiece into a disaster. Firstly, overmixing your batter can lead to a dense cake; gently fold your wet and dry ingredients together. Secondly, don’t skimp on the red food coloring—an authentic red velvet cake should have that signature crimson hue. Lastly, ensure your oven temperature is accurate; using an oven thermometer can help avoid underbaking.
Ingredient Substitutions
Need to tweak your ingredients? No problem! If you’re out of buttermilk, you can make a quick substitute with regular milk and a splash of vinegar or lemon juice. For a dairy-free option, switch to almond or soy milk. If you’re looking to cut down on sugar, consider using a sugar substitute that’s suitable for baking, ensuring the ratios are appropriate for the sweetener you choose.
Baking a red velvet cake is a delightful experience, and with these tips, you’ll be on your way to achieving that perfect bake! For more tips, you might find this guide on baking essentials helpful.
Serving Suggestions for Red Velvet Cake
Creative Plating Ideas
When it comes to presenting your red velvet cake, think beyond the ordinary! One stunning option is to layer slices of cake with creamy white frosting in a glass dessert cup. This not only highlights the vibrant colors but also adds an exciting twist. You can also sprinkle some crushed nuts or edible flowers around the plate for a chic touch.
For a rustic feel, place a whole cake on a wooden board, surrounded by fresh berries. This brings out the cake’s rich texture and color, making it a centerpiece on any table. Check out more creative plating ideas on The Kitchn.
Pairing with Beverages
Finding the perfect drink to complement your red velvet cake recipe can elevate the experience. Consider serving your cake with a refreshing glass of cold brew coffee or a rich hot cocoa. Both beverages can enhance the cake’s richness while adding a comforting warmth.
For a crisp option, a sparkling lemonade or homemade ginger tea can bring a delightful contrast to the cake’s sweetness. These choices not only taste great but also provide a fun break from traditional pairings. Whether hosting a small gathering or just indulging solo, these beverage companions will surely impress!
Time Breakdown for Red Velvet Cake
Preparation time
Making a delightful red velvet cake starts with the preparation phase, which takes about 20-25 minutes. This includes gathering your ingredients, greasing the pans, and mixing the batter. It’s an exciting time where you can really dive into the baking experience—so don’t rush!
Cooking time
The cooking time for your red velvet cake recipe is around 25-30 minutes. Keep an eye on your cakes as they bake, and use a toothpick test for that perfect moisture without being undercooked.
Total time
In total, you’re looking at about 45-55 minutes from start to finish, not including cooling and frosting. A quick and rewarding timeline, don’t you think? For more tips on managing your time in the kitchen, you can check out resources like Serious Eats for helpful cooking strategies!
Whether you’re preparing for a special event or just want to treat yourself, this timeline makes it easy to fit baking into your day.
Nutritional Facts for Red Velvet Cake
When indulging in a slice of red velvet cake, it’s good to be aware of the nutrition that comes with it.
Calories per slice
On average, a standard slice of red velvet cake contains around 350 to 400 calories. This can vary based on serving size and ingredients, especially if the cake is frosted generously with cream cheese icing.
Key nutrients to be aware of
While it’s a delicious treat, knowing its nutritional content can help you enjoy it even more:
- Carbohydrates: A typical serving has about 47 grams, providing quick energy.
- Fats: Expect around 20 grams, mostly from the cream cheese frosting.
- Protein: You’ll get about 5 grams, mainly from any eggs used in the recipe.
For more detailed insights on cake nutrition and alternatives, check out Healthline. Balancing your red velvet cake recipe with some healthier meals can make your dessert moments even more joyful!
FAQs about Red Velvet Cake
What gives red velvet cake its color?
The striking red hue of red velvet cake comes primarily from a reaction between cocoa powder and acidic ingredients like buttermilk and vinegar. In the earlier days, bakers would use raw cocoa, which had a stronger red tint. Nowadays, many recipes lean on food coloring for that perfect shade. Curious about its history? Check out more on the origins of red velvet cake here.
Can I make red velvet cake ahead of time?
Absolutely! If you’re planning a gathering but want to minimize stress on the big day, baking your red velvet cake in advance is a solid choice. Just bake, cool, and wrap your layers in plastic wrap before refrigerating them. This will keep them fresh for up to three days. When it’s time to serve, you can whip up the cream cheese frosting and assemble your cake in no time!
What’s the best way to store leftovers?
Storing leftover red velvet cake correctly is crucial for maintaining its soft, moist texture. Simply cover it with plastic wrap or place it in an airtight container. You can keep it in the fridge for up to five days. If you have a lot of leftovers, consider freezing individual slices. Just wrap them tightly in plastic wrap and place them in a freezer bag. Enjoy your delicious cake for up to three months!
For more tips and creative frosting ideas, don’t hesitate to explore related articles on baking!
Conclusion on Red Velvet Cake
Celebrating with Red Velvet Cake
Nothing quite compares to the joy of serving a homemade red velvet cake at gatherings. This delightful dessert, with its rich, velvety texture and subtle cocoa flavor, is perfect for any occasion—from birthdays to anniversaries. Imagine the smiles as you present that stunning red layer, topped with cream cheese frosting.
Whether you’re a seasoned baker or a novice, this red velvet cake recipe empowers you to create something special. Don’t hesitate to share your cake-making adventures on social media or bake alongside friends for a fun bonding experience! For more baking inspiration, check out King Arthur Baking or Serious Eats. Your sweet journey starts here!
PrintRed Velvet Cake Recipe: The Best Indulgent Treat for Any Occasion
Indulge in the rich flavors of this classic red velvet cake, perfect for any celebration!
- Prep Time: 20 minutes
- Cook Time: 30 minutes
- Total Time: 50 minutes
- Yield: 12 servings
- Category: Desserts
- Method: Baking
- Cuisine: American
- Diet: Vegetarian
Ingredients
- 2 1/2 cups all-purpose flour
- 1 1/2 cups granulated sugar
- 1 teaspoon baking soda
- 1 teaspoon fine sea salt
- 1 teaspoon cocoa powder
- 1 1/2 cups vegetable oil
- 1 cup buttermilk, room temperature
- 2 large eggs, room temperature
- 2 tablespoons red food coloring
- 1 teaspoon vanilla extract
- 1 teaspoon white vinegar
Instructions
- Preheat your oven to 350°F (175°C). Grease and flour two 9-inch round cake pans.
- In a large mixing bowl, sift together the flour, sugar, baking soda, salt, and cocoa powder.
- In another bowl, whisk together the oil, buttermilk, eggs, food coloring, vanilla, and vinegar.
- Combine the wet and dry ingredients, mixing until just smooth.
- Divide the batter evenly between the prepared pans.
- Bake for 25-30 minutes or until a toothpick comes out clean.
- Let the cakes cool in the pans for 10 minutes, then transfer to a wire rack to cool completely.
Notes
- For a richer flavor, add an extra teaspoon of vanilla extract.
- Pair with cream cheese frosting for an indulgent treat.
Nutrition
- Serving Size: 1 slice
- Calories: 350
- Sugar: 30g
- Sodium: 300mg
- Fat: 18g
- Saturated Fat: 3g
- Unsaturated Fat: 12g
- Trans Fat: 0g
- Carbohydrates: 42g
- Fiber: 1g
- Protein: 4g
- Cholesterol: 40mg