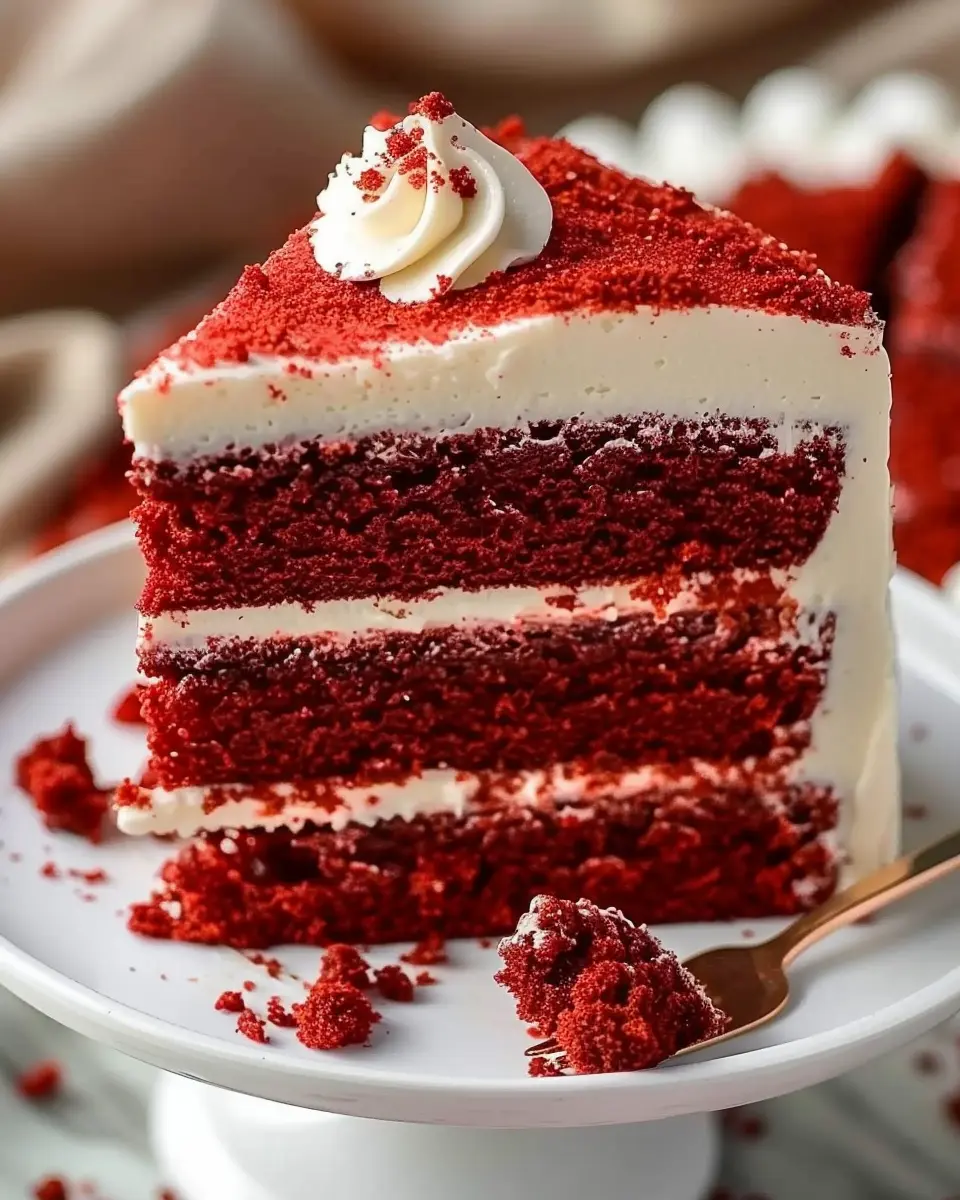
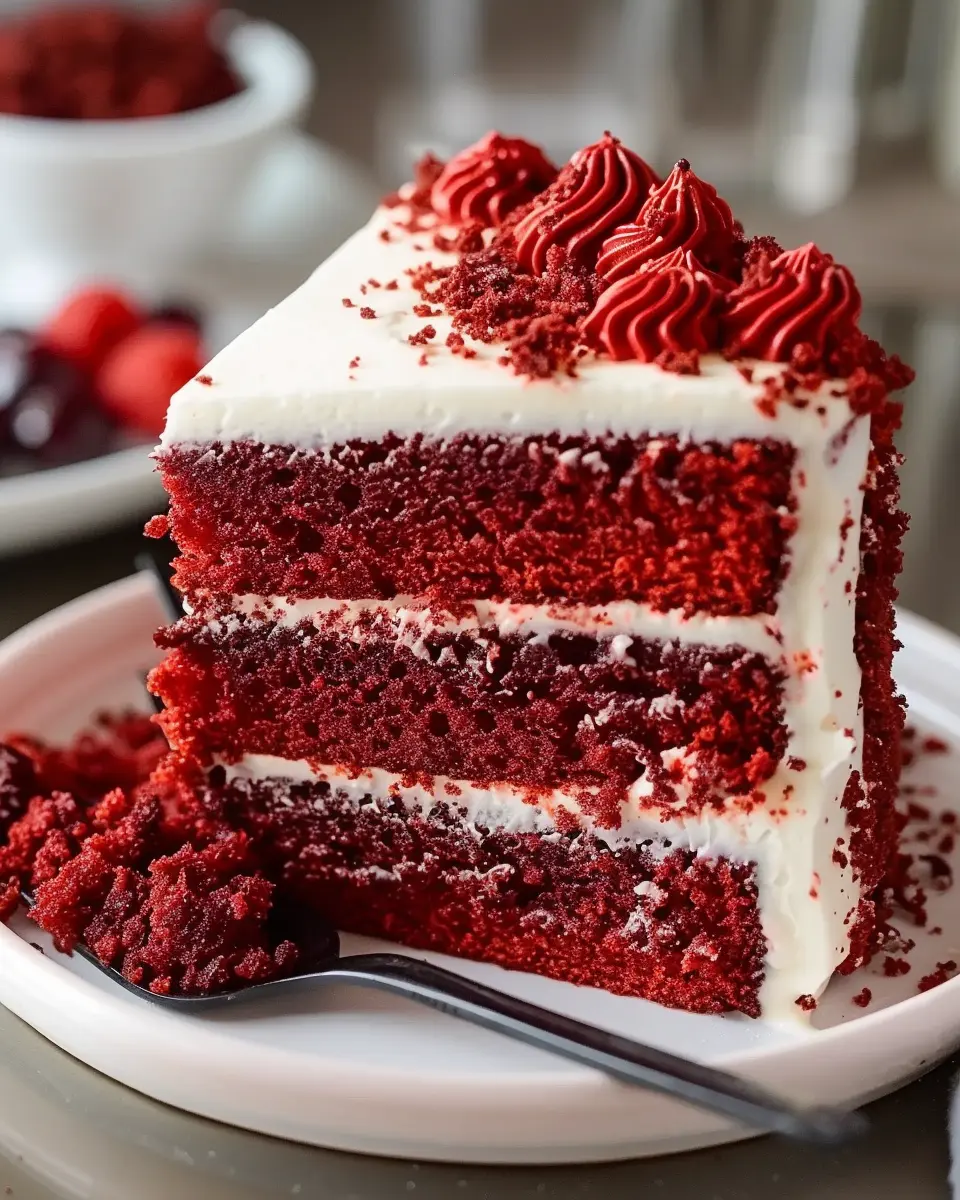
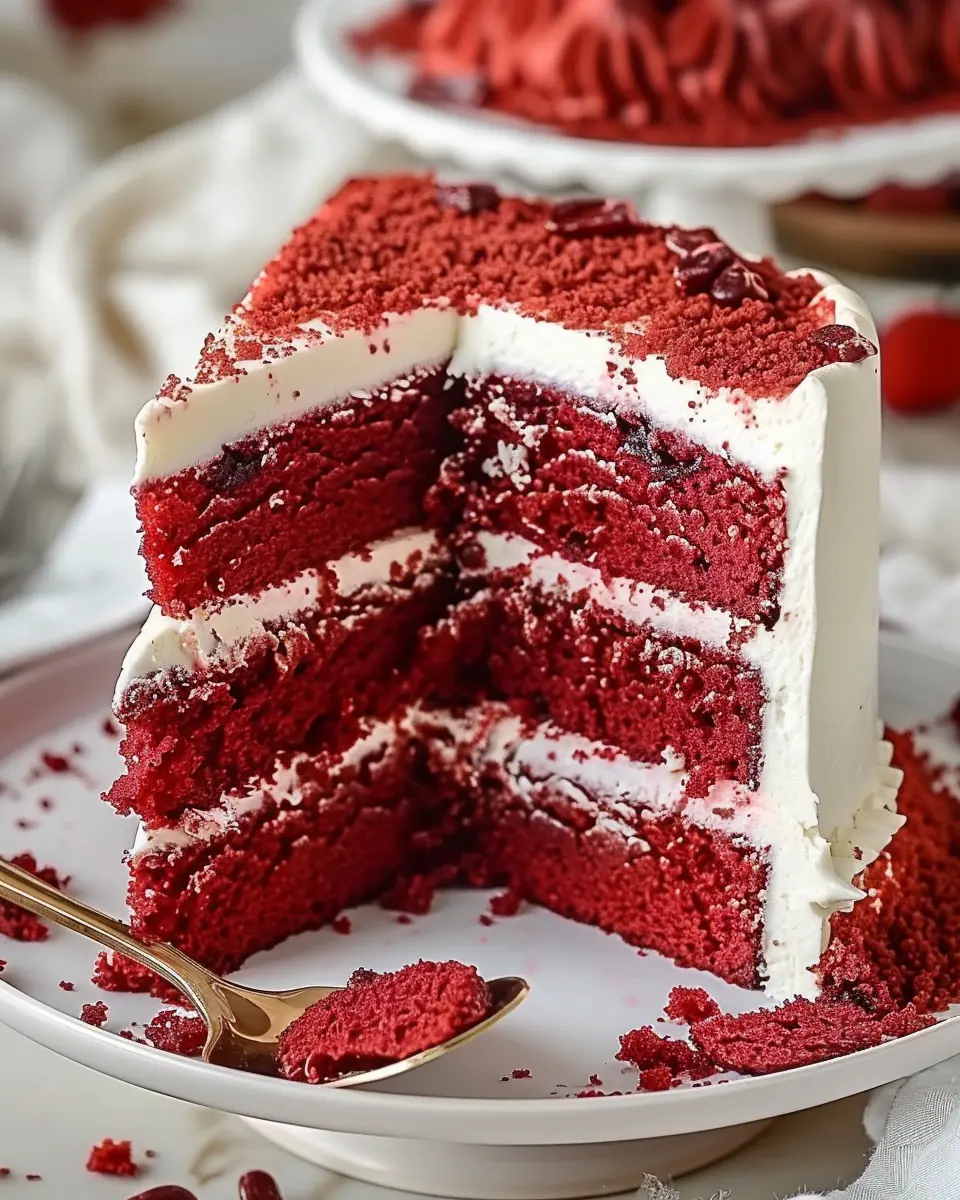
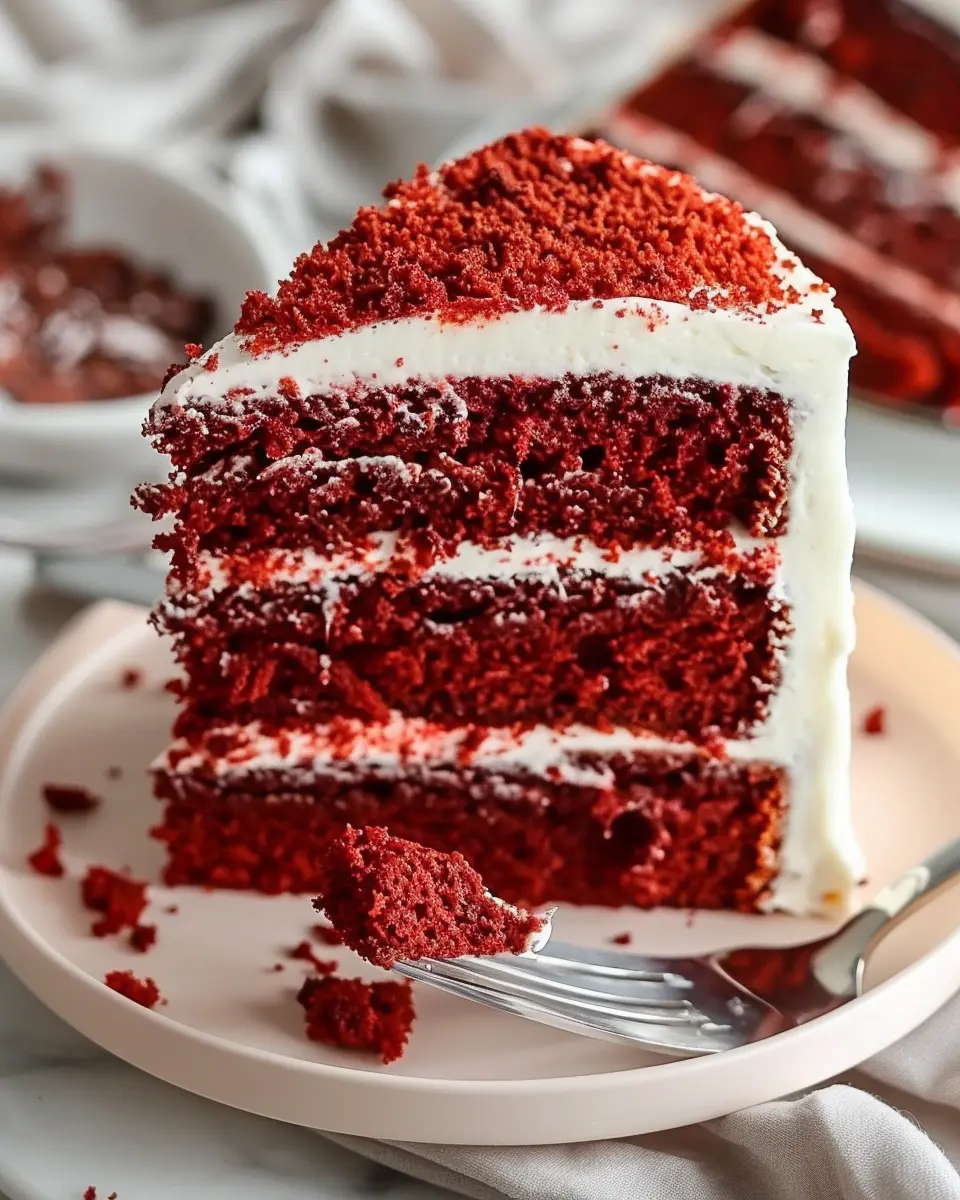
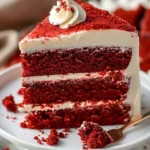
Introduction to Red Velvet Dream Cake
When you think about indulgent desserts, it’s hard not to imagine the stunning allure of a red velvet cake. This classic creation combines rich, velvety texture with a striking deep red color that not only mesmerizes your taste buds but also makes for a show-stopping centerpiece at any gathering. The red velvet dream cake takes this beloved dessert to the next level, offering a decadent experience that’s both satisfying and memorable.
The Allure of Red Velvet Cake: Why It’s a Classic
So, what makes red velvet cake such an enduring favorite? The answer lies in its unique flavor profile. Traditionally, this cake is a delightful blend of cocoa powder and vanilla, giving it a subtle chocolate taste that pairs beautifully with its signature buttermilk and cream cheese frosting. It’s a versatile dessert that fits seamlessly into any occasion—whether it’s a cozy birthday celebration or a chic wedding.
One interesting fact you may not know is that the vibrant red hue of this cake originally came from a reaction between cocoa powder and acidic ingredients in the batter, creating a naturally red tone. Over time, bakers started to use red food coloring to enhance this effect, making it more visually appealing.
Besides its great taste, the red velvet dream cake is celebrated for its aesthetic qualities. The striking contrast between the rich red cake and white frosting makes it irresistibly photogenic, perfect for sharing on social media. It’s no wonder that it has become a favorite on platforms like Instagram and Pinterest, where dessert aesthetics are just as important as flavor.
As you prepare to embark on making your own red velvet dream cake, remember that the journey is just as rewarding as the final product. The mixing, pouring, and decorating culminate in a celebration of flavors that speaks to your creativity and skill as a baker. If you’re looking for tried-and-true techniques and tips, check out Serious Eats for some expert guidance.
Are you ready to dazzle your friends with your baking prowess? Let’s start exploring the delightful world of the red velvet dream cake, ensuring your next baking adventure is nothing short of extraordinary!
Ingredients for Red Velvet Dream Cake
Essential ingredients for the perfect cake
To whip up a red velvet dream cake that captures the hearts of your friends and family, gather the following essentials:
- All-purpose flour: 2 ½ cups
- Granulated sugar: 2 cups
- Cocoa powder: 1 tablespoon
- Baking powder: 1 teaspoon
- Salt: 1 teaspoon
- Vegetable oil: 1 cup
- Buttermilk: 1 cup
- Large eggs: 2
- Red food coloring: 2 tablespoons
- Vanilla extract: 1 teaspoon
- White vinegar: 1 teaspoon
Each ingredient plays a crucial role in creating a moist, tender cake with that signature velvety texture. You can find high-quality ingredients at your local grocery store or even order them online from sites like King Arthur Baking for the best results.
Optional additions for extra flavor
Looking to elevate your red velvet dream cake? Consider these delightful additions:
- Chocolate chips: For a sweet surprise in every bite.
- Cream cheese: This can be used in the frosting or as an ingredient to add richness.
- Cinnamon or nutmeg: A pinch can give your cake an unexpected warmth.
Remember, baking is all about experimenting. Don’t hesitate to mix it up! What’s your favorite addition?
Step-by-step Preparation of Red Velvet Dream Cake
Baking a red velvet dream cake may seem a bit daunting, but with the right steps and a little patience, you’ll be well on your way to impressing your friends or family. Let’s dive into the process, ensuring you have everything you need for this indulgent treat.
Gather your ingredients
Before you start, it’s crucial to line up your ingredients. Here’s what you’ll need:
-
Dry Ingredients:
-
2 ½ cups all-purpose flour
-
1 ½ cups granulated sugar
-
1 tsp baking powder
-
1 tsp baking soda
-
1 tsp salt
-
1 tbsp unsweetened cocoa powder
-
Wet Ingredients:
-
1 ½ cups vegetable oil
-
1 cup buttermilk (you can make your own by adding 1 tbsp vinegar to 1 cup of milk)
-
2 large eggs
-
1 tbsp vanilla extract
-
2 tbsp red food coloring (gel works best)
-
For Frosting:
-
1 cup unsalted butter, softened
-
4 cups powdered sugar
-
8 oz cream cheese, softened
-
1 tbsp vanilla extract
-
Optional: sprinkles or decorative toppings
Have these ready so you can flow smoothly through the steps. If you’d like more tips on ingredient alternatives, check out this guide.
Preheat the oven and prepare your pans
Now that you’ve gathered all your ingredients, it’s time to preheat your oven to 350°F (180°C). This step ensures that your cake bakes evenly.
While your oven is warming up, prepare your cake pans. Grease two 9-inch round cake pans with butter or a non-stick spray and lightly dust them with flour. This helps your cake layers release easily after baking.
Mixing the dry ingredients
In a large mixing bowl, sift together the dry ingredients—flour, sugar, baking powder, baking soda, salt, and cocoa powder. Sifting not only combines these ingredients but also aerates the flour, which is essential for a light texture. You want a smooth and even mix at this point.
Combining the wet ingredients
In another bowl, whisk together your wet ingredients: vegetable oil, buttermilk, eggs, vanilla extract, and red food coloring. Combining these separately ensures that your cake batter is smooth and incorporates the food coloring evenly throughout.
It’s fascinating how just a little bit of red food coloring can transform a simple cake into a red velvet dream cake, don’t you think?
Merging wet and dry ingredients for a smooth batter
Now comes the fun part! Gradually pour the wet ingredients into the dry ingredients. Use a spatula or a mixer on low speed to combine them. Mix until just combined—overmixing can lead to a dense cake, and no one wants that!
Baking the cake layers
Once your batter is ready, it’s time to pour it evenly into your prepared cake pans. Bake them in your preheated oven for about 25-30 minutes, or until a toothpick inserted into the center comes out clean.
While they’re baking, keep an eye on them—this is a great time to tidy up your workspace or prepare your frosting ingredients.
Cooling before frosting
Once baked, remove the cake layers from the oven and let them cool in the pans for about 10 minutes. Then, carefully take them out and transfer to wire racks to cool completely. This step is crucial—frosting a warm cake can lead to a melty mess.
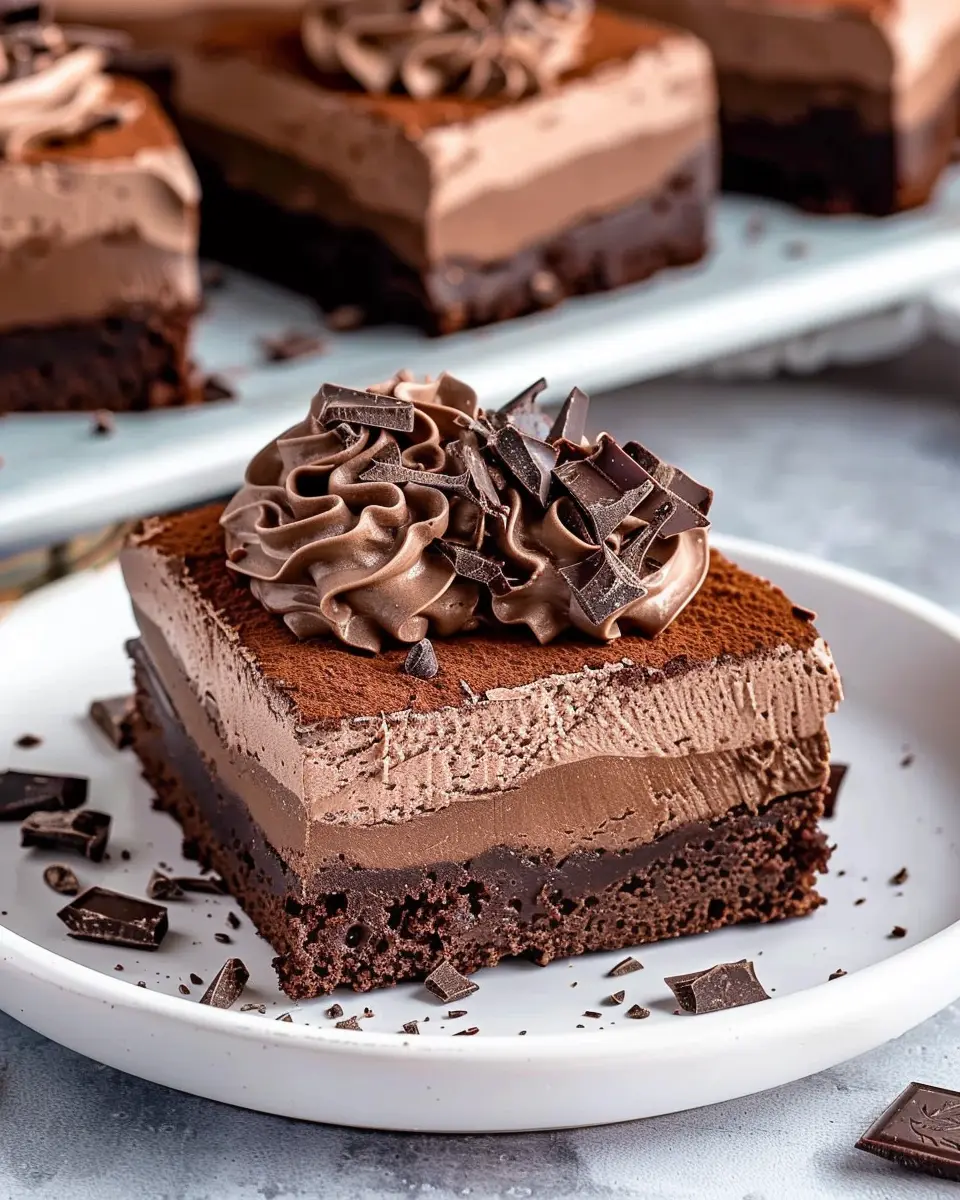
Frosting your Red Velvet Dream Cake
Once your cake layers are completely cool, it’s time to bring your red velvet dream cake to life with frosting! In a mixing bowl, beat the softened butter and cream cheese together until creamy. Gradually add the powdered sugar and vanilla extract, mixing until smooth.
Place one cake layer on a serving platter, spread a generous amount of frosting on top, then add the second layer. Finish by frosting the top and sides of the cake. Don’t be shy with the frosting; it’s a key part of that indulgent experience! You can use decorative toppings or sprinkles to make it visually appealing.
And there you have it! Your red velvet dream cake is ready to be served and savored. Believe me, the effort is worth the delight on everyone’s faces when they take that first bite. Enjoy your baking adventure!
Variations on the Red Velvet Dream Cake
Red velvet dream cake is a classic that many have come to adore, but did you know that there are quite a few delightful variations you can try? Here are some great twists on this indulgent dessert!
Red Velvet Cupcakes
If you’re a fan of portion control or hosting a gathering, red velvet cupcakes are a charming choice. These individual treats allow you to showcase your creative touches—think delicious cream cheese frosting swirls topped with edible glitter or festive sprinkles. Perfect for birthdays or casual get-togethers, these mini cakes pack all the flavor of the original while being ultra-portable. You can even make them gluten-free by substituting flour with a blend like almond or oat flour.
Chocolate Red Velvet Cake
For chocolate lovers, why not elevate the traditional red velvet dream cake by adding an extra layer of cocoa? The luxurious combination of chocolate and red velvet creates a rich, indulgent dessert that’s sure to impress. To make this variation, simply mix in a bit of cocoa powder with your red velvet batter. You’ll end up with a moist, decadent cake that’s perfect for any special occasion.
Vegan Red Velvet Dream Cake
Don’t let dietary restrictions hold you back from enjoying this deliciousness! A vegan red velvet dream cake is just as flavorful and colorful as its traditional counterpart. By swapping eggs for flaxseed meal and buttermilk for a simple mix of almond milk and vinegar, you can whip up a scrumptious vegan version without sacrificing taste. Plus, it’s a fantastic way to impress friends who embrace plant-based diets!
For more ideas and tips, check out Love and Lemons for fresh recipes that align with your lifestyle. Remember, the joy of baking is all about experimenting, so feel free to mix and match these variations to create something uniquely yours!
Baking Tips and Notes for Red Velvet Dream Cake
Tips for achieving the perfect texture
Creating the ultimate red velvet dream cake hinges on achieving that light and fluffy texture everyone craves. Start by ensuring your butter is at room temperature—this will help it cream better with the sugar, resulting in a beautifully aerated batter. Also, be careful not to overmix once you add the flour; mixing just until combined preserves that soft, moist crumb. Remember to use buttermilk instead of regular milk; its acidity will not only lend a tangy flavor but also enhance the cake’s moisture.
Common mistakes to avoid
Even seasoned bakers can stumble over a few common pitfalls. One major mistake is using the wrong type of cocoa powder. Dutch-processed cocoa can make your cake a bit too dense, so stick with natural cocoa for that classic red velvet taste. Additionally, don’t skip the red food coloring; it’s not just for looks—it plays a role in achieving that signature flavor. Finally, make sure your oven is preheated and level; an uneven temperature can result in a lopsided cake.
By following these tips, you’ll create a red velvet dream cake that’s sure to impress. Don’t forget to check out this article on baking fundamentals for more baking advice!
Serving Suggestions for Red Velvet Dream Cake
Ideal Pairings with Beverages
When it comes to enjoying your red velvet dream cake, selecting the right beverages can elevate your experience. Opt for:
- Rich Brewed Coffee: The boldness of coffee complements the cake’s sweetness beautifully. Consider a medium roast for a balanced flavor.
- Creamy Hot Chocolate: For a cozy touch, serve your cake with a cup of creamy hot chocolate—a match made in dessert heaven.
- Mint Infused Iced Tea: If you’re looking for something refreshing, a mint-infused iced tea can provide a lovely contrast to the cake’s richness.
Presentation Ideas for Special Occasions
Presentation is everything, right? Here are some delightful ways to showcase your red velvet dream cake for special events:
- Layered Elegance: Use a cake stand to present your masterpiece at varying heights, highlighting its layers.
- Fresh Berries: Garnish with raspberries or strawberries for a pop of color and a fresh taste that balances the cake’s richness.
- Elegant Toppers: Add decorative elements like edible flowers or themed cake toppers to make your dessert pop during celebrations.
For more tips on cake decoration, check out Pinterest’s cake decoration ideas. This can inspire your flavor pairings and presentation styles!
Elevate your dessert game and impress your friends with these serving suggestions. Your red velvet dream cake is bound to steal the spotlight at any gathering!
Time Breakdown for Red Velvet Dream Cake
Preparation time
Getting started on your red velvet dream cake is a breeze! Set aside about 30 minutes to gather your ingredients, measure everything out, and start mixing that vibrant batter. Don’t forget to preheat your oven while you’re at it—trust me, it makes a world of difference in achieving that perfect rise.
Baking time
Once your batter is ready and your oven is hot, it’s time to bake. The red velvet cake layers typically take about 25 to 30 minutes to bake. You’ll know they’re done when a toothpick inserted into the center comes out clean.
Total time
In total, you’re looking at roughly 1 hour for the whole process from prep to baking. If you’re planning to add the frosting and any finishing touches, set aside another 30 minutes. So, in just about an hour and a half, you’ll have a stunning dessert that’s ready to impress!
For more insights on making the most of your baking time, check out Baking Basics for expert tips!
Nutritional Facts for Red Velvet Dream Cake
Calories per slice
Each slice of this delightful red velvet dream cake contains approximately 350 calories. It’s an indulgence, but when you’re treating yourself (and perhaps sharing with friends), those calories are well worth the experience!
Macronutrients overview
When diving into the macronutrients, you’ll find:
- Carbohydrates: About 45g, primarily from the sugar and flour, giving the cake its sweetness and structure.
- Fats: Roughly 15g, primarily from the butter and cream cheese in the frosting, which adds that rich flavor.
- Proteins: Around 5g, coming from the eggs and milk, providing a bit of nourishment.
While it’s not a health food, enjoying a slice occasionally can fit into a balanced diet. If you’re keen on more nutritional insights, check out the USDA Food Data Central for comprehensive details. So, how do you like to enjoy your red velvet dream cake—with coffee or tea?
FAQs about Red Velvet Dream Cake
How do I store leftover cake?
Storing your leftover red velvet dream cake properly is essential to keep it fresh and tasty for as long as possible. If you have any leftovers, here are some tips:
- Refrigerate: Cover the cake with plastic wrap or store it in an airtight container. It can last up to a week in the fridge.
- Freeze: If you want to store it for an extended period, slice individual pieces and wrap them tightly in plastic wrap before placing them in a freezer bag. This method preserves the cake for about three months.
Can I make this cake ahead of time?
Absolutely! Making your red velvet dream cake ahead of time is not only possible but often convenient. You can:
- Bake the cake layers a day or two in advance. Let them cool completely before wrapping them tightly in plastic and refrigerating.
- Prepare the frosting in advance as well. Just make sure to store it in an airtight container in the fridge until you’re ready to assemble the cake.
What can I substitute for buttermilk?
If you find yourself short on buttermilk, don’t worry! You can easily make a substitute with items you likely already have at home:
- Milk + Vinegar: Add one tablespoon of white vinegar or lemon juice to a cup of milk and let it sit for about 10 minutes. Voila! You have buttermilk.
- Plain Yogurt: For a thicker texture, you can use plain yogurt, thinned with a little milk to achieve the desired consistency.
With these tips, your red velvet dream cake will be a hit every time! For more storage tips, check out this guide on How to Store Cake Properly. If you’re looking for more cake inspiration, this resource offers incredible variations!
Conclusion on Red Velvet Dream Cake
Recap of Why This Cake is a Must-Try
In a world of desserts, the red velvet dream cake truly stands out as a heavenly treat that offers both flavor and visual appeal. The rich cocoa undertones, light texture, and luxurious cream cheese frosting combine for an unforgettable experience.
This cake isn’t just for special occasions; it can brighten any gathering or offer a well-deserved indulgence after a long week. Plus, baking it yourself adds a personal touch that store-bought options simply can’t replicate.
If you’ve been searching for a showstopper dessert, look no further—this cake is your ticket to sweet success! Consider checking out this guide on perfecting your cake decoration for extra inspiration.
PrintRed Velvet Dream Cake: An Indulgent Homemade Delight to Savor
Enjoy the rich and velvety goodness of a homemade red velvet cake that is perfect for any occasion.
- Prep Time: 20 minutes
- Cook Time: 35 minutes
- Total Time: 1 hour 30 minutes
- Yield: 12 servings
- Category: Dessert
- Method: Baking
- Cuisine: American
- Diet: Vegetarian
Ingredients
- 2 cups all-purpose flour
- 1 1/2 cups granulated sugar
- 1 cup vegetable oil
- 1 cup buttermilk
- 2 large eggs
- 1 teaspoon vanilla extract
- 1 tablespoon cocoa powder
- 1 teaspoon baking soda
- 1 teaspoon white vinegar
- 1 teaspoon salt
- Red food coloring (to desired color)
Instructions
- Preheat your oven to 350°F (175°C) and grease two 9-inch round cake pans.
- In a large bowl, combine flour, sugar, cocoa powder, baking soda, and salt.
- In another bowl, whisk together oil, buttermilk, eggs, vanilla, and red food coloring.
- Gradually add the wet ingredients to the dry ingredients and mix until smooth.
- Divide the batter evenly between the prepared cake pans.
- Bake for 30-35 minutes, or until a toothpick inserted in the center comes out clean.
- Allow the cakes to cool completely before frosting.
- Frost with cream cheese frosting and enjoy!
Notes
- For an extra touch, sprinkle cocoa powder between layers before frosting.
- This cake pairs beautifully with vanilla ice cream.
Nutrition
- Serving Size: 1 slice
- Calories: 350
- Sugar: 30g
- Sodium: 250mg
- Fat: 18g
- Saturated Fat: 3g
- Unsaturated Fat: 14g
- Trans Fat: 0g
- Carbohydrates: 45g
- Fiber: 1g
- Protein: 4g
- Cholesterol: 50mg