Introduction to Signature Red Velvet Cake
The allure of red velvet cake
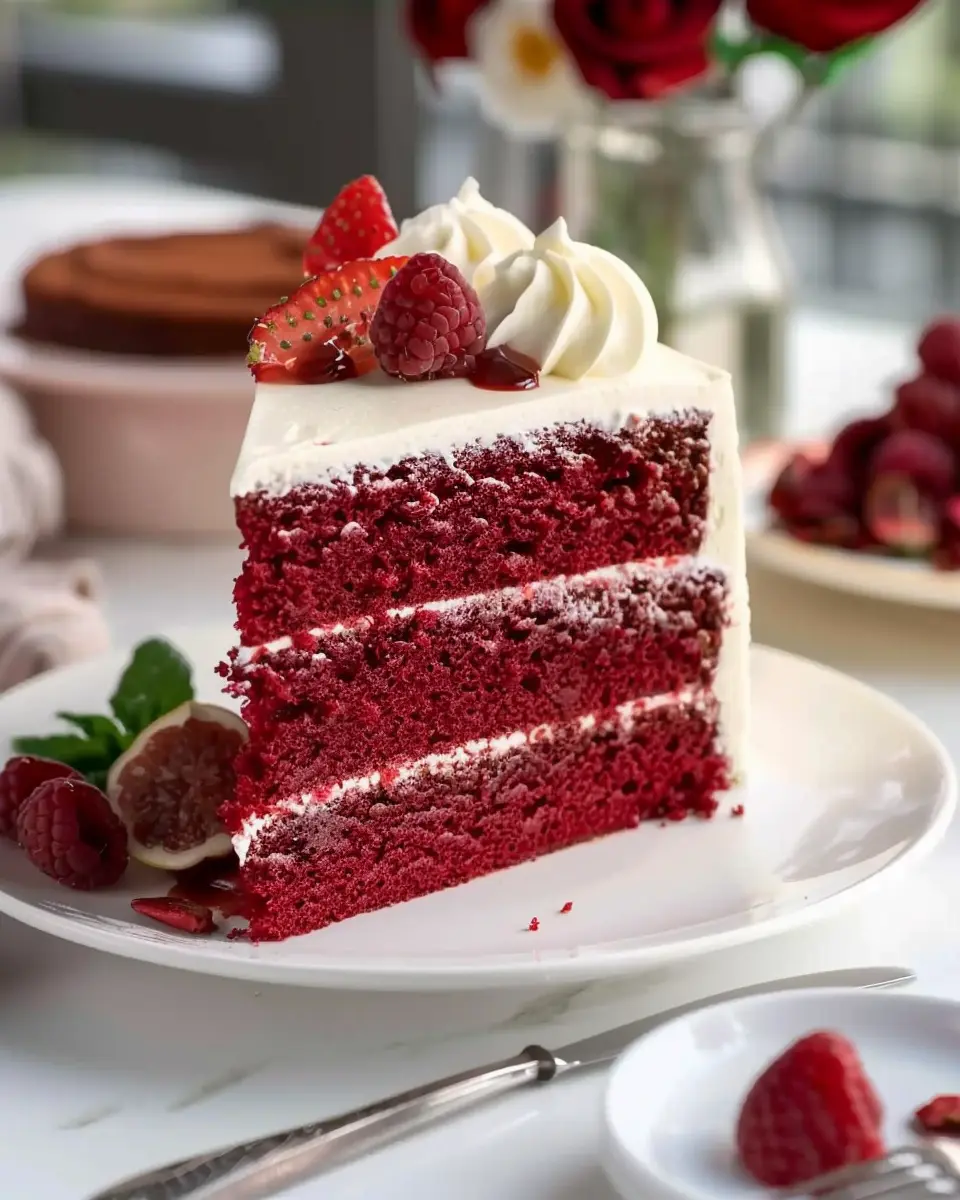
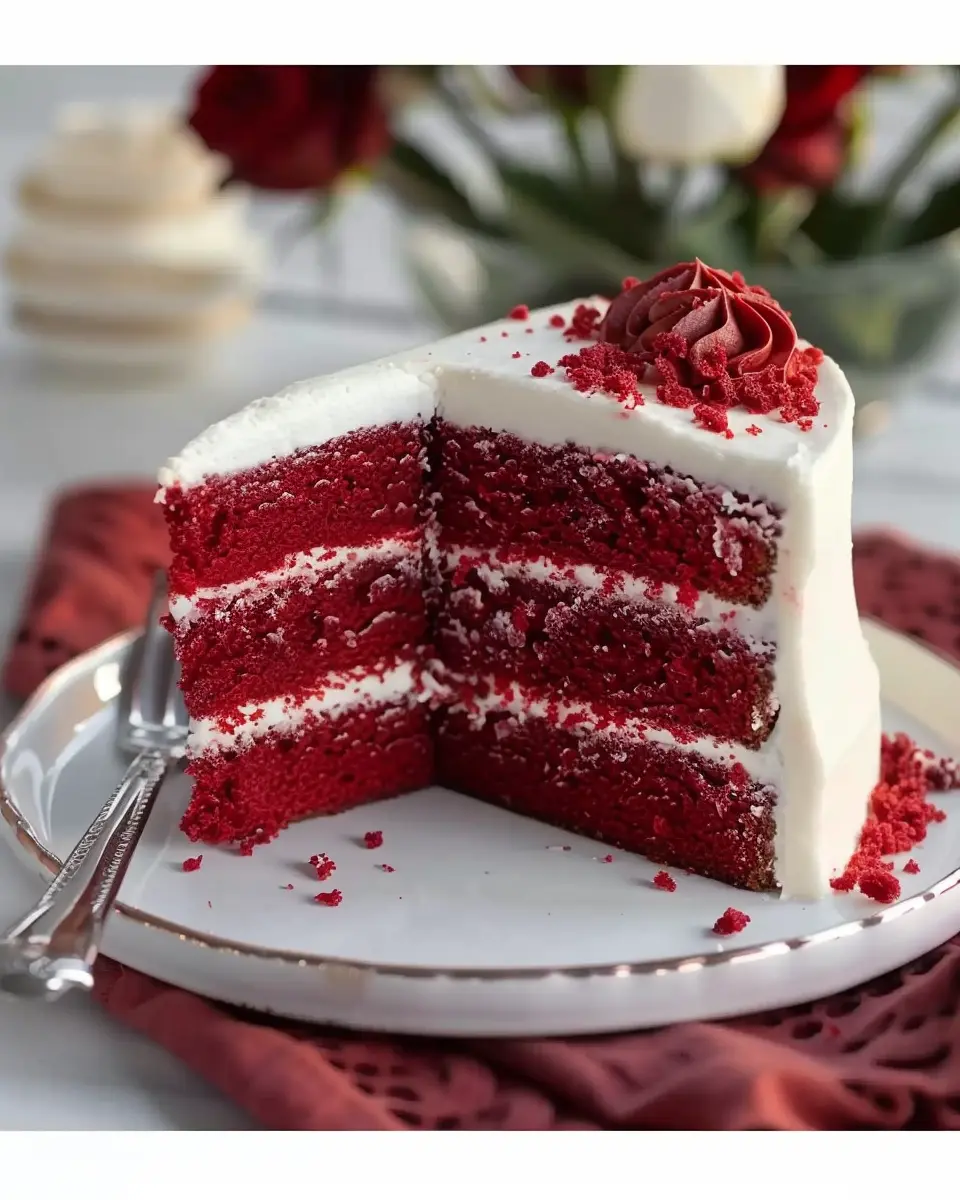
There’s something captivating about signature red velvet cake that draws people in. With its striking crimson hue and velvety texture, it’s not just a dessert; it’s an experience. This iconic cake, often layered with cream cheese frosting, has roots deep in Southern baking traditions. According to some historians, the name “red velvet” may have originated from chefs experimenting with cocoa powder, leading to the cake’s unique color and flavor combination.
What makes red velvet cake so special? It’s the perfect marriage of flavors—rich chocolate balanced with a subtle tanginess from buttermilk and vinegar. And let’s not forget the frosting. The creamy, sweet cream cheese or buttercream icing serves as the perfect complement, resulting in a delightful range of textures and flavors. No wonder it’s a favorite for birthdays, weddings, and even casual gatherings!
To understand why this cake holds such a revered place in many hearts, we can’t miss mentioning its eye-catching appearance. The bold red color, contrasted against the white frosting, is a visual treat that makes any occasion feel extra special. According to food styling experts, presenting food in an aesthetic way can enhance our overall enjoyment of the meal, making signature red velvet cake not just tasty but also a feast for the eyes.
If you’re planning to bake one yourself, consider this: the cake’s flavor improves with time. Many bakers recommend chilling the cake overnight before serving. This not only enhances the taste but also helps solidify the layers. Imagine sinking your fork into a slice of cake that’s been tempered by a night in the fridge—pure bliss!
Whether you’re a seasoned baker or just someone looking to impress at the next potluck, red velvet cake is a fantastic option. Don’t miss out on this classic; it’s a timeless treat that wonderfully blends simplicity and sophistication. Ready to whip up your own? Let’s dive into the recipe for this signature red velvet cake that promises to be the star of your dessert table!
Ingredients for Signature Red Velvet Cake
Creating the perfect signature red velvet cake begins with a handful of essential ingredients. Each one plays a crucial role in crafting that signature color and flavor profile we all love.
Essential Ingredients for the Cake
- All-purpose flour: This forms the base of your cake, providing structure.
- Granulated sugar: Sweetness is key; you’ll want just the right amount to balance the cocoa.
- Cocoa powder: A touch of unsweetened cocoa powder gives the cake a subtle chocolate flavor.
- Baking soda and baking powder: These leavening agents ensure your cake rises beautifully.
- Vegetable oil: Keeps the cake moist and tender.
- Buttermilk: Adds richness and acidity, activating the cocoa powder’s color.
- Eggs: Essential for binding and structure.
- Vinegar: A secret ingredient that enhances the red color.
- Red food coloring: The bold hue that turns a simple cake into a striking masterpiece.
Essential Ingredients for the Frosting
- Cream cheese: The star of the frosting, adding tanginess and creaminess.
- Butter: Softened to create a smooth texture.
- Powdered sugar: For sweetness and structure, it blends beautifully with the other ingredients.
- Vanilla extract: A splash adds warmth and depth to the frosting flavor.
Ready to dive into this delightful baking adventure? Check out King Arthur Baking for more baking tips and tricks!
Step-by-step Preparation of Signature Red Velvet Cake
Creating a signature red velvet cake might feel like a daunting challenge, but with the right approach, you’ll find it’s a delightful experience. Whether you’re celebrating a birthday, an anniversary, or simply treating yourself, this cake will surely impress. So, let’s dive into the step-by-step preparation and make a cake that not only looks stunning but tastes divine!
Preheat and prepare cake pans
Start your baking adventure by preheating your oven to 350°F (175°C). While the oven is warming up, it’s time to prep your cake pans. Grease two 9-inch round cake pans with butter or a non-stick spray, then line the bottoms with parchment paper. This extra step will ensure your cake layers come out effortlessly and maintain their perfect shape.
Sift and mix dry ingredients
In a medium bowl, sift together the following ingredients:
- 2 ½ cups all-purpose flour
- 1 ½ cups granulated sugar
- 1 teaspoon baking soda
- 1 teaspoon salt
- 1 tablespoon cocoa powder
Sifting helps incorporate air into the flour, making your cake light and fluffy. Take a moment to admire the rich crimson hue of the cocoa powder—a hint of what’s to come!
Combine wet ingredients and sugar
In a large mixing bowl, whisk together the wet ingredients. You’ll need:
- 1 cup vegetable oil
- 1 cup buttermilk (for creaminess)
- 2 large eggs
- 2 tablespoons red food coloring (the star of this signature red velvet cake)
- 1 teaspoon vanilla extract
- 1 teaspoon white vinegar
Once combined, gradually add in your sugar, mixing until everything is well blended. The vibrant color of the batter is incredibly tempting—don’t worry; this is just a preview of the beauty that lies ahead!
Mix in dry ingredients
Now, it’s time to add the previously sifted dry ingredients to your wet mixture. Do this gradually, folding the mixture until just combined. Be careful not to overmix; you want to keep that lovely light texture. A gentle touch goes a long way here!
Incorporate hot water and vinegar
Here’s the game-changer! With your batter ready, carefully stir in 1 cup of hot water. This will thin the batter, creating that signature moist texture that every red velvet cake is known for. Add in another splash of vinegar to increase tenderness—your cake will thank you later for it.
Bake the layered cake
Pour the batter evenly into your prepared cake pans and smooth the tops with a spatula. Pop them into your preheated oven and bake for 25-30 minutes, or until a toothpick inserted in the center comes out clean. During this time, your kitchen will start to smell heavenly; it’s one of the best parts of baking!
Cool and prepare the frosting
Once baked, remove the cake layers from the oven and let them cool in the pans for about 10 minutes. Then, gently transfer them to wire racks to cool completely. While waiting, prepare your cream cheese frosting. For a classic touch, blend:
- 1/2 cup unsalted butter (softened)
- 8 ounces cream cheese (softened)
- 4 cups powdered sugar
- 1 teaspoon vanilla extract
Beat until the mixture is fluffy and ready for spreading!
Assemble and frost the cake
Here’s the fun part! Place one cake layer on a serving platter. Spread a generous layer of cream cheese frosting over the top. Carefully position the second layer on top, and then frost the top and sides of your cake to your liking. Don’t be afraid to go a bit overboard; this is a cake worth celebrating!
As you slice into your stunning signature red velvet cake, remember the memories you created while making it. It’s not just about the flavor—it’s about the joy in baking and sharing it with others. Consider serving it alongside a steaming cup of coffee or tea; it’s a match made in heaven!
Happy baking!
Variations of Signature Red Velvet Cake
Exploring the delightful world of signature red velvet cake is a treat that can be enjoyed in various forms. Whether you’re planning a party or simply indulging in a weekend baking session, these variations add an exciting twist.
Red Velvet Cupcakes
Red velvet cupcakes are a fun and portable version of the classic signature red velvet cake. Perfect for parties or as a sweet afternoon snack, these mini cakes boast the same rich flavor and eye-catching color. Simply reduce the baking time, and you’ll have fluffy, bite-sized treats. Top them off with a luscious cream cheese frosting or even a simple buttercream for an irresistible finish. Check out more cupcake tips here.
Red Velvet Cake with Fruit Fillings
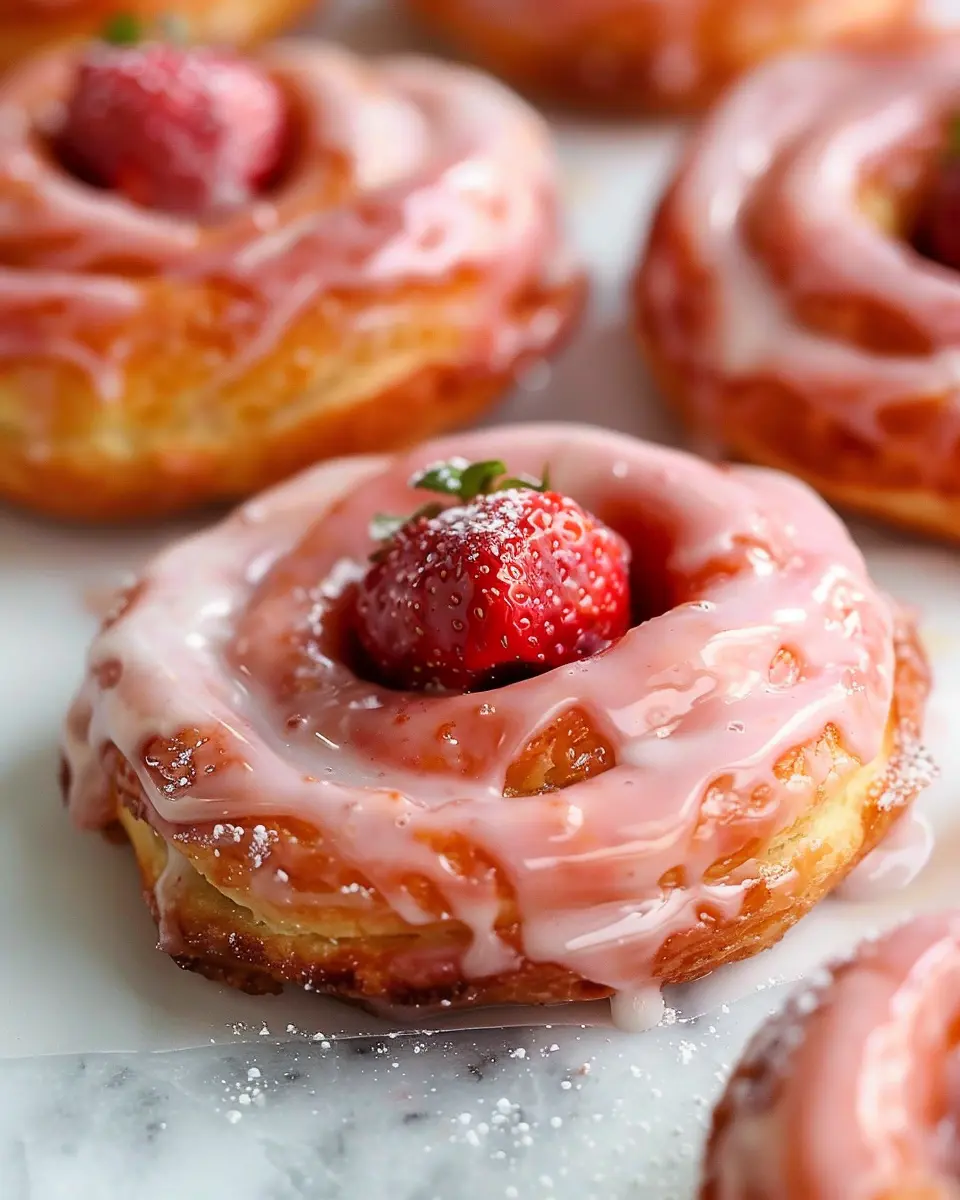
Elevate your signature red velvet cake by incorporating fruit fillings. Imagine a layer of tangy raspberry or sweet strawberry jam nestled between layers of rich cake. Not only does this pairing add a fresh twist, but it creates a flavor combination that dances on your palate. If you’re feeling adventurous, you could even enhance the frosting with crushed berries for a beautiful presentation.
Gluten-Free Version of Red Velvet Cake
For those with dietary restrictions, a gluten-free signature red velvet cake is entirely achievable. Using gluten-free 1:1 flour or almond flour as substitutes means everyone can enjoy this classic dessert. Be sure to check out this article which lays out expert tips on achieving the perfect texture without gluten.
Exploring these variations allows you to enjoy the timeless appeal of red velvet cake in new ways. What will you try first?
Cooking Tips and Notes for Signature Red Velvet Cake
Choosing the Right Food Coloring
When it comes to making a signature red velvet cake, selecting the perfect food coloring is key. Opt for a high-quality gel food coloring rather than liquid varieties. Gel colorings provide a more vibrant hue without altering the batter’s consistency. A common choice is red gel coloring, but you can also experiment with natural alternatives, like beet juice for a more subtle red hue. Do a little test – a drop will give you a good idea of the intensity you’ll achieve.
Storing Tips for Freshness
To keep your signature red velvet cake fresh, store it in an airtight container at room temperature for up to three days. If you want to maintain its moistness longer, refrigerate it—just make sure to wrap it tightly. You can also freeze slices for up to three months; just be sure to wrap them in plastic wrap and then in foil. When you’re ready to enjoy, let it thaw in the fridge overnight. For more tips on cake storage, check out this guide.
Wondering how to elevate your cake further? Consider topping it with cream cheese frosting for the ultimate balance of flavors!
Serving Suggestions for Signature Red Velvet Cake
Creating the perfect signature red velvet cake is just the beginning; serving it up is where the fun really starts. Here are some engaging ideas to elevate your dessert game!
Perfect pairings for your cake
The classic flavors of red velvet cake can shine even brighter with the right pairings. Consider these delightful suggestions:
- Cream cheese frosting: The iconic topping that complements the cake’s moist texture.
- Fresh berries: Raspberries or strawberries add a tart contrast—plus, they look stunning.
- Coffee or herbal tea: A nice warm cup can enhance the cake’s richness and create a cozy atmosphere.
- Whipped cream: A dollop on the side offers a light, airy balance to the cake’s density.
For more inspiration, check out this article on food pairings.
Creative ways to serve
Think outside the box when it comes to presentation:
- Layered desserts: Cut your signature red velvet cake into cubes, layer with whipped cream and berries in a glass for a fun twist.
- Cake pops: Crumble leftover cake, mix with frosting, and form into bites for a unique party treat.
- Mini cakes: Bake in small ramekins to create individual servings that are perfect for gatherings.
With these serving suggestions, your signature red velvet cake will surely steal the show!
Time Breakdown for Signature Red Velvet Cake
Planning a baking session can sometimes feel overwhelming, but knowing the time breakdown for your signature red velvet cake can help. Here’s a simple guide to organizing your baking schedule.
Preparation Time
Getting your ingredients together and mixing everything just right will take about 20 minutes. This is your chance to embrace the art of baking! Make sure to have your tools ready and ingredients pre-measured for a smooth process.
Baking Time
Once your cake is in the oven, it will require about 30 to 35 minutes to bake. Use this time wisely! Feeling overwhelmed? Check out The Kitchn for tips on perfect baking temperatures.
Total Time
In total, you’re looking at approximately 1 hour for your entire signature red velvet cake session. Isn’t it great to know that, with just a bit of preparation, you can have a delicious dessert ready to impress your friends or family? Enjoy this little moment—a delicious cake is just around the corner!
Nutritional Facts for Signature Red Velvet Cake
Calories per slice
When you indulge in a slice of signature red velvet cake, it’s essential to be mindful of your calorie intake. Typically, a standard slice contains around 350-400 calories. While this is a delightful treat for special occasions, moderation is key to enjoying this flavor-packed dessert without the guilt.
Key nutrients
This luscious cake isn’t just about the sweetness; it packs some key nutrients that can enhance your dessert experience:
- Carbohydrates: Providing a quick energy boost, each slice has about 50-60 grams. This makes it a fun pick-me-up during a busy workday.
- Fats: It typically contains around 15-20 grams of fat, primarily from the cream cheese frosting, which adds richness.
- Protein: With about 4-6 grams, it delivers a small protein punch—perfect for a balanced dessert.
Interestingly, red velvet cake often features buttermilk and cocoa powder, introducing calcium and antioxidants into the mix. So, next time you slice up a piece, remember that you’re not just savoring a treat; you’re enjoying a little burst of nutrition. If you’re curious about the health benefits of cocoa, articles from Healthline and Medical News Today highlight some impressive findings.
What’s your favorite way to enjoy this classic dessert?
FAQs about Signature Red Velvet Cake
What makes red velvet cake different from chocolate cake?
At first glance, signature red velvet cake might seem like just another chocolate cake, but it has distinct characteristics. The primary difference lies in the ingredients and texture. Red velvet cake is made with cocoa powder, but it’s the addition of buttermilk and vinegar that gives it a tangy flavor and a beautifully soft crumb. The vibrant red color comes from food coloring, which adds to its visual appeal. Some even say it’s the smooth cream cheese frosting that truly sets it apart!
Can I use substitute ingredients for this recipe?
Absolutely! Baking is all about being creative. If you’re out of buttermilk, simply mix a tablespoon of vinegar or lemon juice with a cup of milk and let it sit for a few minutes. If you prefer a lighter cake, you can replace half the all-purpose flour with cake flour. For vegans or those with dairy allergies, there are great plant-based alternatives for butter and cream cheese that work just as wonderfully in this recipe. Just remember that substitutions may slightly alter the flavor, but that’s all part of the fun of baking!
How do I achieve the perfect frosting consistency?
Getting that creamy, smooth frosting just right is key to enhancing your signature red velvet cake. Start with softened cream cheese and butter, beat them together until fluffy, and gradually add powdered sugar. If your frosting is too thick, add a splash of milk until you reach your desired consistency. Conversely, if it’s too runny, a little extra powdered sugar will do the trick. Don’t hesitate to taste as you go—after all, the best frosting is one you can’t resist!
For more tips on frosting techniques, check out this helpful guide from Sally’s Baking Addiction. Happy baking!
Conclusion on Signature Red Velvet Cake
In summary, the signature red velvet cake is more than just a dessert; it’s a delightful centerpiece for any occasion. With its rich, velvety texture and distinctive color, this cake not only tastes incredible but also adds a touch of elegance to your celebrations. Pair it with cream cheese frosting for the ultimate flavor experience.
Whether you’re baking for a birthday, anniversary, or simply to indulge your sweet tooth, this cake is sure to impress. So roll up your sleeves, gather your ingredients, and start creating that perfect slice of joy. Happy baking, and don’t forget to share your delicious results with friends and family!
For some inspiration, check out Baker’s Illustrated or Food Network for decorating tips and variations on this classic recipe!
PrintSignature Red Velvet Cake: The Best Indulgent Recipe for Home Bakers
This Signature Red Velvet Cake is the ultimate indulgent dessert for any occasion, perfect for home bakers looking to impress.
- Prep Time: 20 minutes
- Cook Time: 30 minutes
- Total Time: 50 minutes
- Yield: 12 servings
- Category: Dessert
- Method: Baking
- Cuisine: American
Ingredients
- 2 cups all-purpose flour
- 1 ½ cups granulated sugar
- 1 teaspoon baking powder
- ½ teaspoon baking soda
- 1 teaspoon salt
- 1 cup vegetable oil
- 1 cup buttermilk, room temperature
- 2 large eggs, room temperature
- 2 tablespoons red food coloring
- 1 teaspoon vanilla extract
- 1 teaspoon white vinegar
Instructions
- Preheat the oven to 350°F (175°C). Grease and flour two 9-inch round cake pans.
- In a large bowl, whisk together the flour, sugar, baking powder, baking soda, and salt.
- In another bowl, combine the vegetable oil, buttermilk, eggs, food coloring, vanilla extract, and vinegar.
- Slowly add the wet ingredients to the dry ingredients, mixing until just combined.
- Divide the batter evenly between the prepared pans.
- Bake for 25-30 minutes, or until a toothpick inserted in the center comes out clean.
- Let the cakes cool in the pans for 10 minutes, then transfer to wire racks to cool completely.
Notes
- For an extra indulgent cake, frost with cream cheese frosting.
- Ensure all ingredients are at room temperature for the best results.
Nutrition
- Serving Size: 1 slice
- Calories: 350
- Sugar: 25g
- Sodium: 300mg
- Fat: 18g
- Saturated Fat: 3g
- Unsaturated Fat: 15g
- Trans Fat: 0g
- Carbohydrates: 40g
- Fiber: 1g
- Protein: 4g
- Cholesterol: 35mg