Introduction to Red Velvet Cake
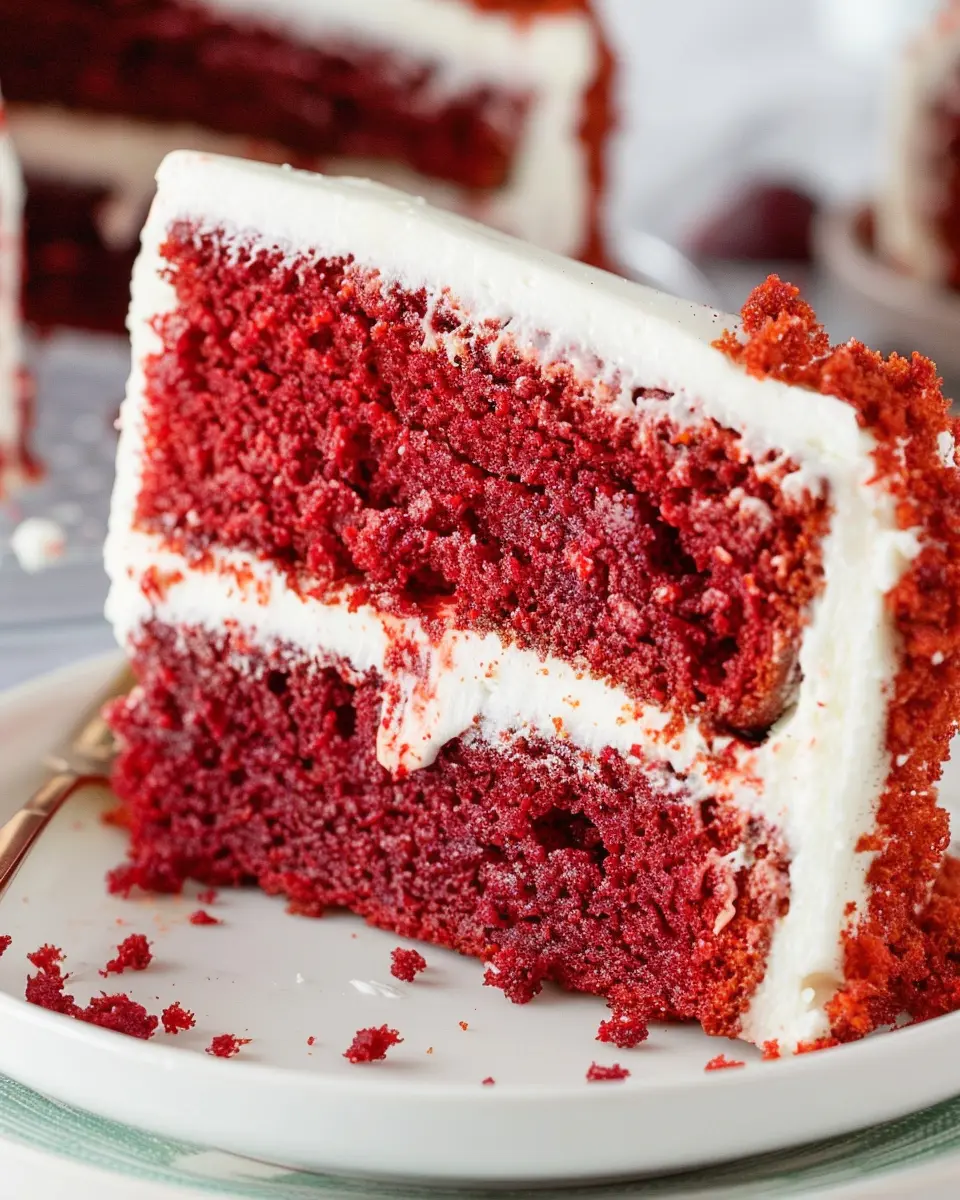
When it comes to desserts, few options elicit as much excitement as a beautifully presented red velvet cake. Whether served at wedding receptions or enjoyed as an afternoon treat, this vibrant cake has carved a special place in the hearts of dessert lovers everywhere. But what makes red velvet cake such a beloved choice?
The Allure of Red Velvet Cake
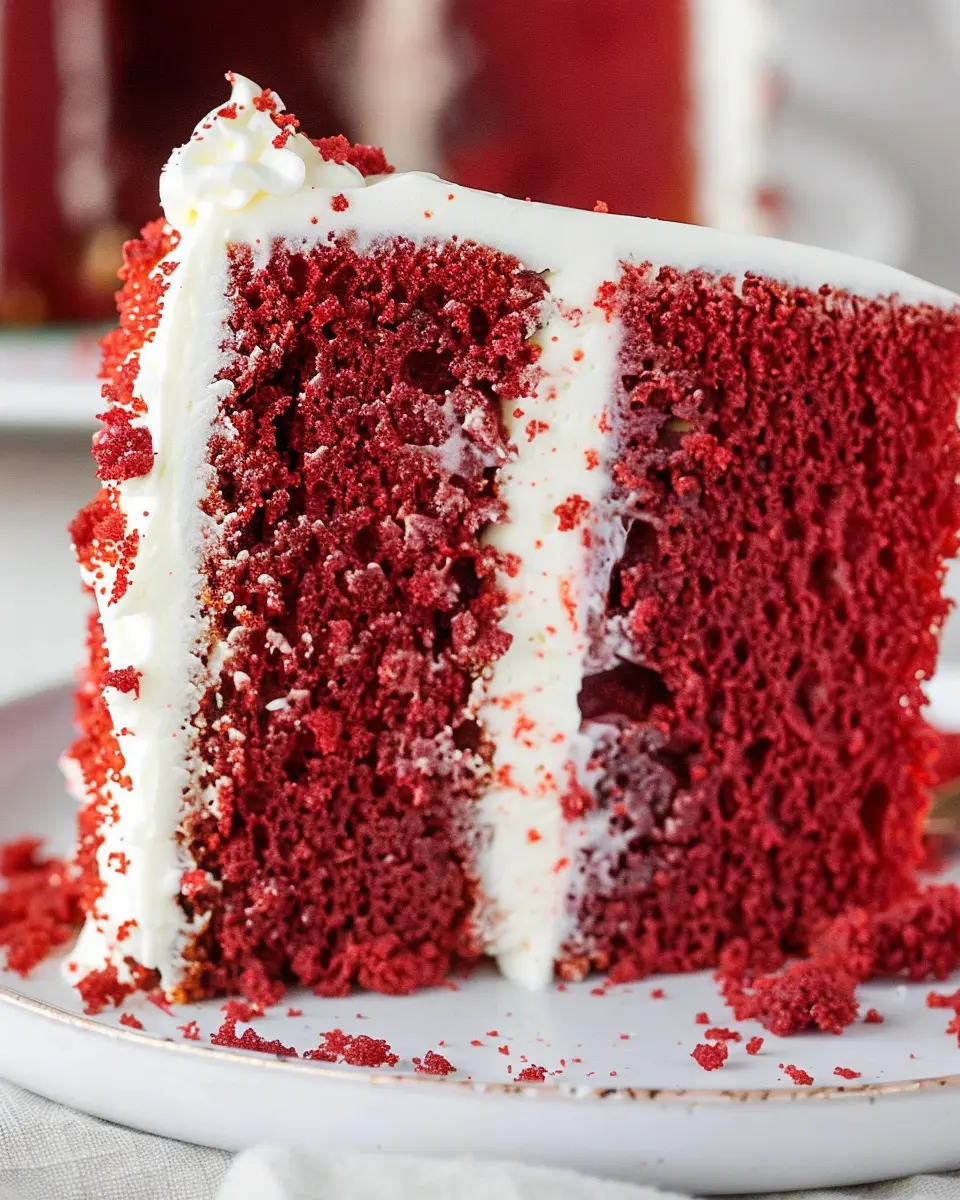
One reason for red velvet cake’s popularity is its striking appearance. The deep red color, often contrasted with a creamy white frosting, makes it visually stunning and a standout on any dessert table. But it’s not just about looks—the flavor profile of red velvet cake is rich yet surprisingly subtle. This delightful blend comes from using cocoa powder, which gives it a slight chocolate flavor balanced by its signature tanginess, contributed by ingredients like buttermilk and vinegar.
Red velvet cake’s history is equally enchanting. Originally thought to have emerged from the Victorian era, some argue it gained immense popularity during World War II, when bakers used cocoa powder to stretch ingredients due to rationing. This fascinating backstory enriches the cake’s appeal, making it feel like a celebration of both culinary ingenuity and festive occasions.
Why You Should Try Out This Red Velvet Cake Recipe
If you’ve never tried making a red velvet cake recipe yourself, now might be the perfect time! Imagine impressing your friends and family with your baking skills while treating them to a classic dessert that’s both timeless and trendy.
- Customization: You can put your spin on the traditional recipe. Consider incorporating flavors like vanilla or almond extract to elevate the taste.
- Occasions: This cake isn’t just for special events; it can add joy to a casual weekday dinner or a relaxed weekend gathering.
In making this cake, you also embrace the joy of baking. According to a study by the American Psychological Association, baking can greatly reduce stress and enhance well-being. So why not roll up your sleeves and dive into a red velvet cake adventure? You’ll be surprised by how rewarding baking can be. For even more inspiration, check out resources like the Joy of Baking for additional tips and tricks.
Get ready to indulge in a slice of this delightful treat!
Ingredients for Red Velvet Cake
When it comes to baking a gorgeous red velvet cake, having the right ingredients is crucial to achieving that iconic flavor and velvety texture. Below, I’ve broken down everything you’ll need for both the cake and the delightful cream cheese frosting.
List of essential ingredients for the cake
- 2 ½ cups all-purpose flour
- 1 ½ cups granulated sugar
- 1 teaspoon baking soda
- 1 teaspoon salt
- 1 teaspoon cocoa powder
- 1 cup vegetable oil
- 1 cup buttermilk, at room temperature
- 2 large eggs
- 2 tablespoons red food coloring
- 1 teaspoon vanilla extract
- 1 teaspoon white vinegar
List of essential ingredients for cream cheese frosting
- 8 ounces cream cheese, softened
- ½ cup unsalted butter, softened
- 4 cups powdered sugar
- 1 teaspoon vanilla extract
- 1-2 tablespoons milk (optional for consistency)
Using quality ingredients can make a big difference in flavor, so consider checking out brands that specialize in baking essentials. You can find great options on King Arthur Baking or Bob’s Red Mill. Remember, a well-made red velvet cake with cream cheese frosting is not just a dessert; it’s an experience!
Step-by-Step Preparation for Red Velvet Cake
Creating a delightful red velvet cake at home is truly an enjoyable experience. The rich color, unique flavor, and creamy frosting make it a standout dessert for any occasion. Let’s walk through the steps that will have you whipping up this classic cake in no time!
Preheat the oven and prepare your baking pans
Before diving into the mixing, preheat your oven to 350°F (175°C). This ensures your cake bakes evenly and comes out perfectly fluffy. While the oven preheats, prepare your baking pans by greasing them with butter or non-stick spray and dusting them with flour. If you’re feeling particularly fancy, you can line the bottoms with parchment paper for easy removal later. This small step can save you a big mess when it’s time to flip the cakes out!
Mix the wet ingredients
Now, let’s jump into the wet ingredients, which are essential for giving your red velvet cake its signature moisture. In a large mixing bowl, start by combining:
- 1 cup of vegetable oil
- 1 cup of granulated sugar
- 1 cup of buttermilk (if you don’t have this, you can make a quick substitute by mixing milk and vinegar)
- 2 large eggs
- 2 tablespoons of red food coloring
- 1 teaspoon of vanilla extract
- 1 teaspoon of white vinegar
Whisk these together until the mixture is smooth and well combined. This is where the red velvet cake recipe really starts to take shape — the vibrant color from the food coloring will have you excited!
Combine the dry ingredients
In another bowl, combine the dry ingredients. This is crucial for ensuring that your cake has the perfect texture. Mix together:
- 2 cups of all-purpose flour
- 1 teaspoon of baking soda
- 1 teaspoon of cocoa powder
- 1 teaspoon of salt
Ensure these ingredients are well mixed, as you want to avoid any clumps. The cocoa will add just a touch of flavor, ensuring that your cake isn’t overly sweet.
Combine wet and dry ingredients
Time to bring it all together! Gradually add the dry ingredient mixture into the bowl with your wet ingredients. You can do this in parts, folding gently with a spatula. Aim for a smooth batter, but be careful not to over-mix; you want your red velvet cake to be tender!
Bake the cake layers
Once your batter is ready, distribute it evenly between your prepared baking pans. You can use a kitchen scale to ensure equal portions if you’re aiming for perfectly even layers. Bake for about 25 to 30 minutes or until a toothpick inserted in the center comes out clean. As they bake, the wonderful aroma will fill your kitchen — just wait until you taste them!
Cool the cakes and prepare the frosting
After baking, let the cakes cool in their pans for about 10 minutes. Then, carefully remove them and transfer to a wire rack to cool completely. While waiting, it’s the perfect time to whip up a classic cream cheese frosting. Combine:
- 8 oz of cream cheese, softened
- 1/2 cup of unsalted butter, softened
- 2 cups of powdered sugar
- 1 teaspoon of vanilla extract
Beat until fluffy and creamy. You could even brighten the frosting with a hint of lemon juice to cut through the richness!
Frost and decorate the cake
Once your cakes are completely cooled, it’s time to assemble your masterpiece. Place one layer on a serving plate and spread a nice amount of cream cheese frosting on top. Carefully stack the second layer, and continue frosting the top and sides of the cake. For a lovely finish, consider garnishing with sprinkles or fresh berries. Anyone can appreciate a beautifully frosted cake!
And there you have it! Follow these steps, and you’ll create a stunning red velvet cake sure to impress your friends and family. Enjoy every slice of your hard work and share your creation on social media with friends. Who knows, they may ask for the recipe themselves!
Variations of Red Velvet Cake
Red velvet cake has charmed countless dessert lovers with its striking color and rich flavor. If you’re looking to explore this delicious treat beyond the classic recipe, here are a couple of variations that you might enjoy.
Delectable Red Velvet Cupcakes
Red velvet cupcakes offer a fun, individual twist on the traditional cake. They are perfect for gatherings or when you want just a single serving of that iconic velvety goodness. These mini delights can be topped with cream cheese frosting or a light whipped vanilla frosting for a delightful contrast. You can even infuse your cupcakes with unique flavors, like a hint of espresso or a splash of almond extract, to make them your own. To elevate your cupcake game, consider adding sprinkles or crushed nuts for added texture!
Gluten-Free Red Velvet Cake
For those avoiding gluten, don’t worry—this delicious red velvet cake recipe can easily be adapted! Using a blend of gluten-free flours, like almond flour or coconut flour, can yield a moist and flavorful cake without sacrificing taste. Many bakers find that using a gluten-free all-purpose flour blend works wonderfully, creating a cake that’s just as rich and tender as its traditional counterpart. Be sure to check out resources like the Gluten-Free Baking community for tips and tricks to get that perfect batter consistency.
By experimenting with these variations of red velvet cake, you can indulge in this classic dessert while catering to personal preferences or dietary needs. So, what’s stopping you? Dive in and get baking!
Baking Tips and Notes for Red Velvet Cake
Common Baking Mistakes to Avoid
When working on your red velvet cake recipe, there are a few pitfalls to steer clear of. One common error is not properly creaming your butter and sugar. This step is vital for a light and fluffy texture — so take your time! Additionally, avoid the temptation to skip the buttermilk; it adds that signature tang and moistness. Always check your oven temperature with an oven thermometer, as inconsistencies can lead to over or underbaking.
Importance of Ingredient Measurements
Accurate measurements are the backbone of any successful baking venture. For this red velvet cake recipe, spoon your flour into the measuring cup and level it off with a knife — don’t scoop directly from the bag, or you could end up with too much! Consider using a kitchen scale for precision; it ensures consistent results every time. Curious about how ingredient ratios affect your cake? You can explore the science of baking further with resources like King Arthur Baking.
With these tips in hand, you’ll be well on your way to creating a stunning red velvet cake!
Serving Suggestions for Red Velvet Cake
Best accompaniments for red velvet cake
When it comes to enjoying your delightful red velvet cake, the right accompaniments can elevate your dessert experience. Consider pairing it with:
- Cream Cheese Frosting: The classic, rich flavor complements the cake beautifully.
- Fresh Berries: Strawberries or raspberries add a juicy contrast to the cake’s richness.
- Whipped Cream: Light and fluffy, it balances the density of the cake.
- Coffee or Herbal Tea: Perfect for a cozy afternoon snack, these drinks enhance the flavors of the cake.
For a little extra indulgence, you might even serve a scoop of vanilla ice cream on the side!
Appropriate occasions for serving
A red velvet cake recipe is perfect for various celebrations. Here are some ideas:
- Birthdays: Its vibrant color makes it a festive choice.
- Anniversaries: Share a slice with someone special to commemorate your love.
- Holiday Gatherings: Elevate your dessert table during festive seasons like Christmas or Valentine’s Day.
- Afternoon Teas: Impress your friends with a charming afternoon gathering featuring this stunning cake.
Whatever the occasion, a red velvet cake is sure to add a sweet touch of joy! If you want tips on hosting the perfect tea party, check out this guide on hosting tea parties.
Time Breakdown for Red Velvet Cake
Preparation Time
Getting started on your red velvet cake recipe can be a breeze! Expect to spend about 20-30 minutes gathering your ingredients and mixing the batter. This is the perfect time to preheat your oven and prepare your cake pans for a smooth baking experience.
Baking Time
Once your batter is ready and your oven is hot, you’ll bake your cake for around 25-30 minutes. The aroma of the chocolate and vanilla will fill your kitchen, making it hard to resist checking in on your creation!
Total Time
Combining both preparation and baking times, your total time investment will be approximately 55-60 minutes. With a bit of patience while it cools, you can soon enjoy a delightful slice of homemade red velvet cake! Always remember to refer to expert baking tips for best results, like those from America’s Test Kitchen. Happy baking!
Nutritional Facts for Red Velvet Cake
Calories per serving
When indulging in a slice of red velvet cake, it’s key to know the caloric impact. On average, one slice (about 1/12 of a standard 9-inch cake) contains around 350–400 calories. While the calories can add up, every bite is worth it for a special occasion!
Key nutritional elements
Alongside the delightful taste, understanding the nutritional profile is essential. Each slice typically provides:
- Fat: 15–20 grams, primarily from cream cheese frosting
- Carbohydrates: 45–50 grams, mostly from flour and sugar
- Protein: Approximately 4–6 grams, thanks to eggs and milk used in the recipe
- Vitamins and minerals: Important nutrients like calcium and iron due to dairy products and cocoa powder
Looking for healthier alternatives or modifications? Try swapping some ingredients for lower-calorie options, or check out resources like Healthline for tips! Enjoying a red velvet cake recipe can be a balance of indulgence and nutrition when paired with mindful choices.
FAQs about Red Velvet Cake
What gives red velvet cake its color?
One of the most delightful features of red velvet cake is its striking color. Traditionally, this rich hue comes from a reaction between cocoa powder and acidic ingredients like buttermilk or vinegar. These components enhance the cake’s vibrant red shade, especially when using high-quality cocoa. Nowadays, many bakers prefer to use food coloring for a more intense color. If you’re curious about the history of this cake and its color transformation, you can find more here: The History of Red Velvet Cake.
Can I use natural food coloring instead of gel?
Absolutely! If you’re looking for a more natural alternative to gel food coloring, you can use beet juice or pomegranate juice for that beautiful red tint. However, keep in mind that these natural options may alter the cake’s taste slightly. Always test these alternatives in your red velvet cake recipe to see which flavor profile you prefer!
How to store leftover red velvet cake?
If you find yourself with leftover red velvet cake, you’re in for a treat! To maintain its freshness, wrap it tightly in plastic wrap or place it in an airtight container. It can last up to 3-4 days at room temperature, but if you want to prolong its life, consider refrigerating it. Just ensure you bring it back to room temperature before serving for the best taste and texture. For more tips on cake storage, check out this helpful guide: Cake Storage Tips.
Now that you’re equipped with these FAQs, get ready to whip up a delicious red velvet cake!
Conclusion on Red Velvet Cake
Baking a red velvet cake is more than just a cooking endeavor; it’s an experience filled with joy and creativity. As you whip together the signature red hue and cream cheese frosting, you’re not just making dessert—you’re crafting memories. This red velvet cake recipe invites you to gather friends and family for a special moment, whether it’s for a birthday or a simple weekend treat.
So, why not dive into this delightful baking adventure? You might uncover a new favorite tradition or simply enjoy sharing the irresistible results with your loved ones. For more tips on baking and hosting, check out expert insights from the Baking Association or delve into the world of cake decorating at Wilton. Happy baking!
PrintRed Velvet Cake Recipe: Indulgent Treat for Every Celebration
A classic Red Velvet Cake, rich and flavorful, perfect for every celebration.
- Prep Time: 30 minutes
- Cook Time: 30 minutes
- Total Time: 1 hour
- Yield: 12 servings
- Category: Desserts
- Method: Baking
- Cuisine: American
- Diet: Vegetarian
Ingredients
- 2 cups all-purpose flour
- 1 1/2 cups granulated sugar
- 1 cup vegetable oil
- 1 cup buttermilk
- 3 large eggs
- 2 tablespoons cocoa powder
- 1 teaspoon vanilla extract
- 1 teaspoon baking soda
- 1 teaspoon white vinegar
- 1 teaspoon salt
- 2 tablespoons red food coloring
Instructions
- Preheat your oven to 350°F (175°C).
- Grease and flour two 9-inch round baking pans.
- In a large bowl, mix together the flour, sugar, cocoa powder, baking soda, and salt.
- In another bowl, whisk together the oil, buttermilk, eggs, vanilla, and food coloring.
- Combine the wet and dry ingredients, mixing until just combined.
- Add the vinegar and mix gently.
- Divide the batter between the prepared pans.
- Bake for 25-30 minutes or until a toothpick comes out clean.
- Let the cakes cool in the pans for 10 minutes before transferring to a wire rack.
- Once cooled, frost as desired.
Notes
- For an extra moist cake, add a bit more buttermilk.
- Use a cream cheese frosting for a traditional touch.
Nutrition
- Serving Size: 1 slice
- Calories: 350
- Sugar: 25g
- Sodium: 200mg
- Fat: 15g
- Saturated Fat: 3g
- Unsaturated Fat: 10g
- Trans Fat: 0g
- Carbohydrates: 50g
- Fiber: 2g
- Protein: 4g
- Cholesterol: 40mg