Introduction to Boston Cream Pie
The origin story of Boston Cream Pie
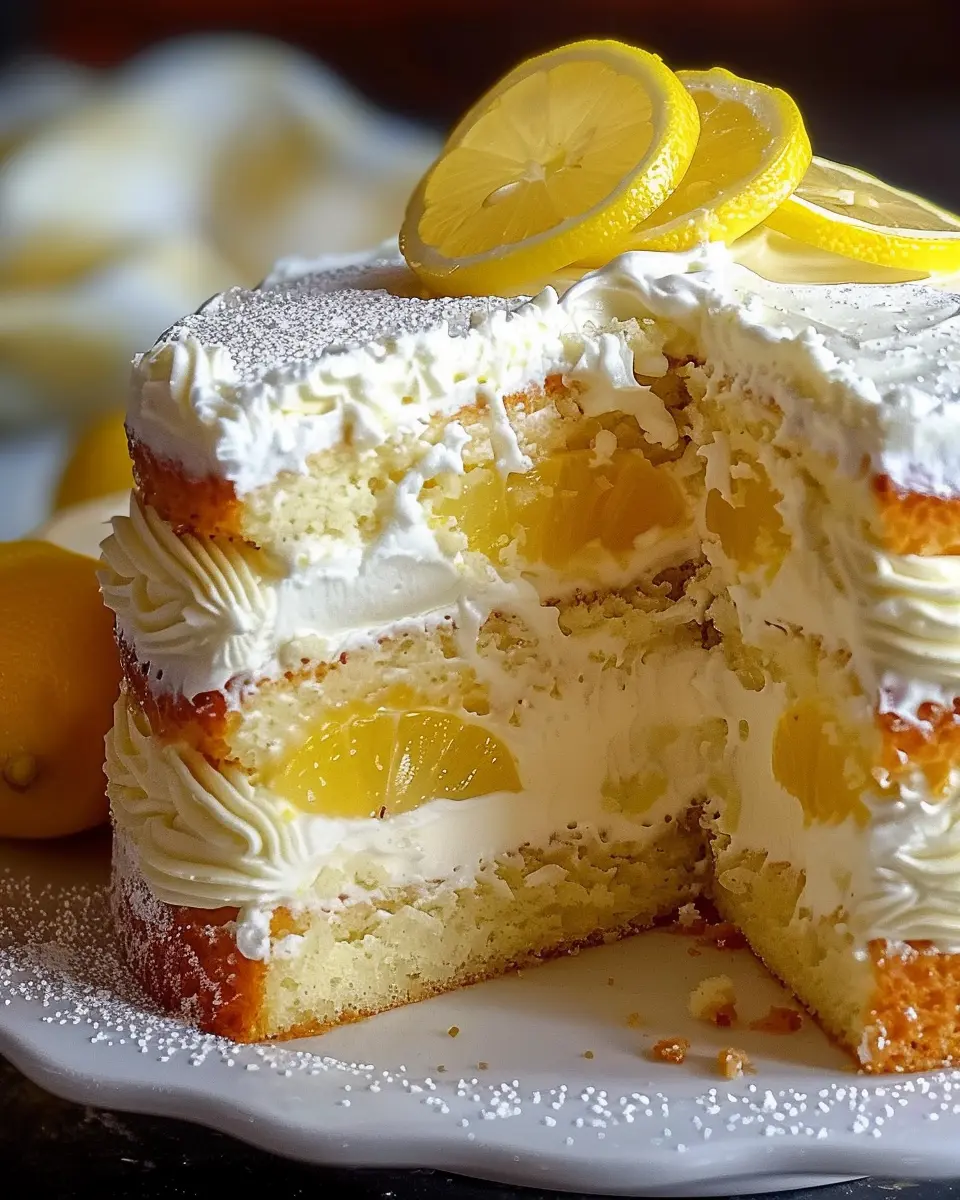
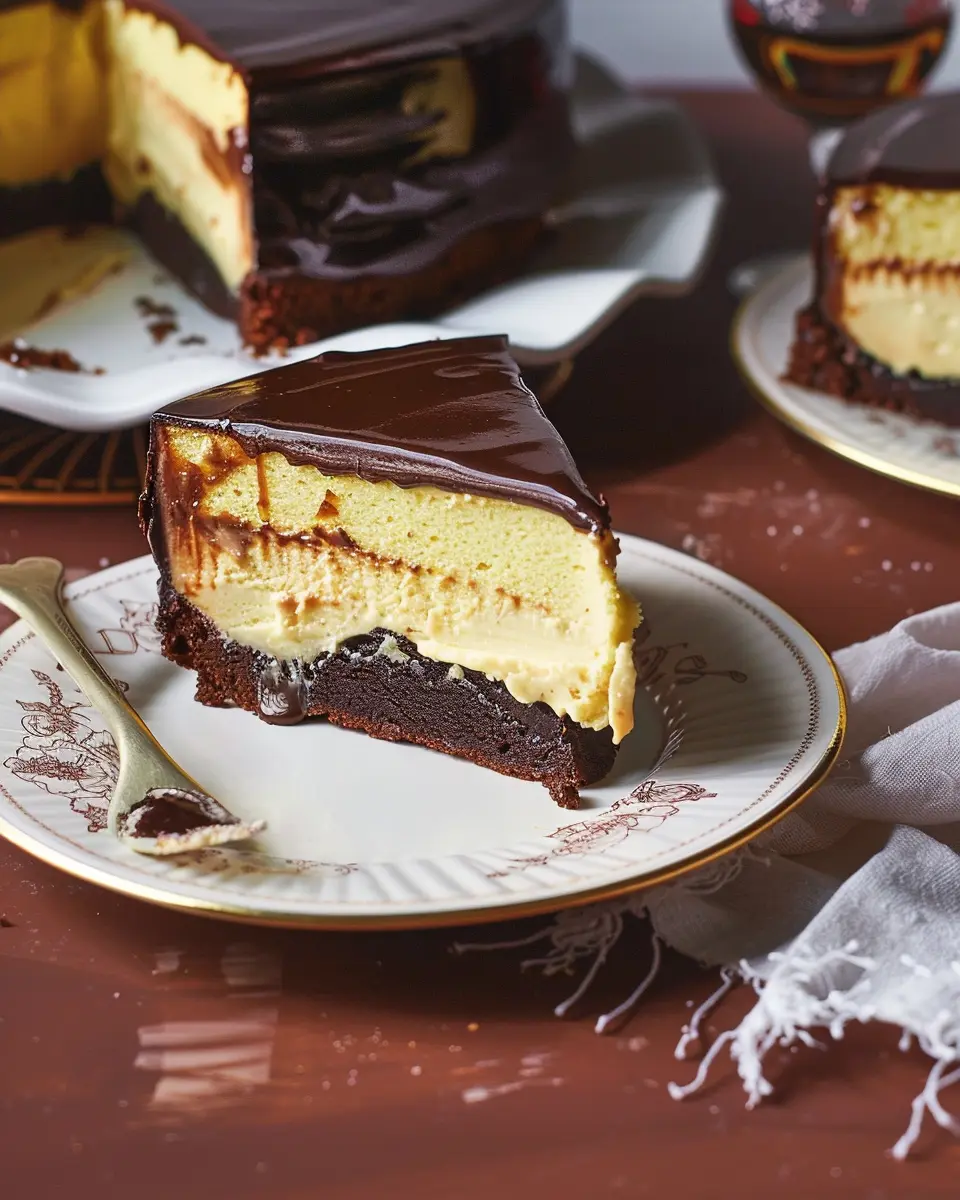
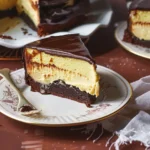
Did you know that Boston Cream Pie isn’t actually a pie? It’s a decadent dessert made of two layers of sponge cake filled with rich vanilla custard and topped with chocolate ganache. This delightful treat originally hailed from Boston in the 1800s, where it was created by French chef M. Lucas at the Parker House Hotel. Legend has it that it was named a “pie” because it was baked in pie tins, which was quite common at the time.
The dessert gained popularity over the years and was declared the official dessert of Massachusetts in 1996. Today, it’s celebrated not only for its delicious flavors but also for the story behind it. If you’re intrigued by food history, consider diving into more about the origins of desserts through articles on culinary history or local Boston food blogs.
Why young professionals are opting for homemade desserts
In a fast-paced world, many young professionals are choosing to whip up Boston Cream Pie and other desserts right in their kitchens. There are several reasons for this trend:
-
Satisfaction of Creation: There’s immense gratification in making something from scratch. With cooking shows and social media hungry for food content, people are inspired to experiment with classic desserts.
-
Health Considerations: Many are opting for homemade treats to better control ingredients. You can choose organic or healthier options, like substituting with less sugar, or even incorporating Turkey bacon for a savory twist in certain desserts.
-
Cost-Effectiveness: Making a Boston Cream Pie at home can be significantly cheaper than purchasing one from a bakery, especially considering the cost of premium ingredients in store-bought versions.
-
Quality Time: Baking can also become a bonding activity. Whether it’s a date night or a get-together with friends, creating a dessert together fosters connection and leads to some sweet memories.
As you consider making your own Boston Cream Pie, think about using fresh ingredients and maybe even inviting a friend to join you in the kitchen. Baking isn’t just about the end product; it’s an experience worth savoring!
For more recipes and tips, check out Epicurious or Bon Appétit for further inspiration!
Ingredients for Boston Cream Pie
Creating a mouthwatering Boston Cream Pie at home is a delightful experience that not only fills your kitchen with irresistible aromas but also allows you to impress friends and family. Here’s a breakdown of the essential ingredients you’ll need to make this classic dessert shine.
Essential ingredients for the cake
To craft the perfect base for your Boston Cream Pie, gather the following:
- All-purpose flour – for that tender, fluffy texture
- Granulated sugar – to provide sweetness and balance
- Baking powder – to help your cake rise beautifully
- Salt – to enhance the flavors
- Unsalted butter – for richness and moisture
- Large eggs – to bind everything together
- Milk – to keep the batter smooth and moist
Key components for the filling
The luscious custard filling is what makes the Boston Cream Pie truly special. You’ll need:
- Whole milk – the creamy base for your custard
- Granulated sugar – to sweeten the filling
- Cornstarch – to thicken your custard to the perfect consistency
- Egg yolks – for a rich, velvety texture
- Vanilla extract – for that delightful hint of flavor
Ingredients for the chocolate ganache
No Boston Cream Pie is complete without its decadent chocolate glaze. For the ganache, gather:
- High-quality semi-sweet chocolate – for a rich, comforting chocolate flavor
- Heavy cream – to achieve that silky smooth finish
By using these fresh ingredients, you’re not just making a dessert; you’re creating an experience that will have everyone asking for seconds. Don’t forget to check out sources like Serious Eats for tips on perfecting your filling and ganache! What’s not to love about a homemade classic?
Preparing Boston Cream Pie
Making a Boston Cream Pie is a delightful culinary journey that combines layers of moist vanilla cake, rich pastry cream, and glossy chocolate ganache. If you’re ready to impress your friends or family with this classic dessert, let’s dive into the essential steps!
Preheat your oven and prepare the pans
First things first, preheating your oven is crucial. Set it to 350°F (175°C). This ensures your cake layers will bake evenly and rise beautifully. While the oven is warming up, take a moment to prepare your baking pans:
- Grease two 9-inch round cake pans with butter or cooking spray.
- Line the bottoms with parchment paper. Trust me; this step is a game-changer for easy removal after baking!
Taking the time to prepare your pans helps prevent any cake disasters, which no one wants!
Mix the cake batter
Now, let’s get to the fun part—mixing the batter for your Boston Cream Pie! In a large mixing bowl, combine:
- 1 ½ cups all-purpose flour
- 1 ½ tsp baking powder
- ½ tsp salt
- ½ cup unsalted butter, softened
- 1 cup granulated sugar
- 2 large eggs
- 1 tsp vanilla extract
- ½ cup whole milk
Using a hand mixer or stand mixer, cream the butter and sugar together until light and fluffy. Then, add in the eggs one by one, followed by the vanilla extract. Gradually incorporate your dry ingredients, alternating with the milk, until everything is smoothly combined.
Remember, scraping down the sides of the bowl will ensure you get an even mix without any floury pockets.
Bake the cake layers
With your batter ready, it’s time to pour it into the prepared pans. Equally distribute the mixture to ensure even baking. Place the pans in your preheated oven and bake for 25-30 minutes, or until a toothpick inserted in the center comes out clean.
Here’s a tip: Resist the urge to open the oven during the first 20 minutes; this helps the cakes rise properly. Once baked, remove them from the oven, let them cool in the pans for about 10 minutes, and then transfer them to a wire rack to cool completely.
Make the pastry cream filling
While your cake layers are cooling, let’s tackle that luxurious pastry cream filling. To whip it up, you’ll need:
- 2 cups whole milk
- ½ cup granulated sugar
- 3 egg yolks
- ¼ cup cornstarch
- 2 tablespoons unsalted butter
- 1 tsp vanilla extract
In a saucepan, heat the milk and half of the sugar over medium heat until just before it boils. In a separate bowl, whisk egg yolks with the remaining sugar and cornstarch. Gradually pour in some of the hot milk mixture, tempering the eggs. Then, return everything to the saucepan and cook, stirring constantly, until thickened.
Once it’s perfectly creamy, stir in the butter and vanilla. Let it cool before using—this is essential for your Boston Cream Pie!
Assemble the cake with filling and ganache
Finally, let’s bring this masterpiece together! Start by leveling the tops of your cooled cake layers if necessary.
- Place one layer on a serving plate.
- Spread the cooled pastry cream on top of the first layer.
- Top with the second cake layer.
- Prepare your chocolate ganache: heat 1 cup of heavy cream until hot but not boiling, then pour it over 8 ounces of chopped semi-sweet chocolate. Stir until melted and smooth.
- Pour the ganache over the top of the assembled cake, letting it drip down the sides for that classic look.
And there you have it—a stunning Boston Cream Pie to share or indulge in yourself. Trust me, the taste will take you straight to dessert paradise!
Don’t forget to snap a picture before digging in—your friends will want the recipe! For more tips on cake decorating and variations of this delightful dessert, check out resources from Bon Appétit and Food Network.
Variations on Boston Cream Pie
Boston Cream Pie is a delightfully indulgent dessert, but who says it has to stick to the classic recipe? Here, we’ll explore some delicious variations that cater to different dietary preferences while keeping that signature flavor alive.
Gluten-Free Boston Cream Pie
For those gluten-sensitive, a gluten-free Boston Cream Pie can still be rich and satisfying. Swap out traditional flour for a gluten-free blend or use almond flour for a nuttier flavor. Be sure to double-check that your baking powder is gluten-free, and you’re good to go! For an extra creamy texture, consider using coconut cream in your custard layer—it’s absolutely divine. You can find gluten-free baking mixes available at your local grocery store or online through trusted retailers.
Vegan Boston Cream Pie
Craving a vegan Boston Cream Pie? No worries! Start with a plant-based cake recipe using coconut milk or almond milk in lieu of dairy. For the custard, mix silken tofu, dairy-free milk, and cornstarch, sweetened with maple syrup. This not only keeps the flavor intact but also provides a satisfying richness. Lastly, don’t forget to top it with a vegan chocolate ganache made from dark chocolate and coconut oil for that decadent finish.
Mini Boston Cream Pies for Portion Control
If you’re looking to indulge but want to keep portions in check, consider making mini Boston Cream Pies. Use a muffin tin to bake individual layers, and layer them like the classic version with custard and chocolate. These bite-sized delights are perfect for gatherings or just a sweet treat after dinner. Plus, they’re adorable and sure to impress your friends!
Experimenting with these variations of Boston Cream Pie not only adds fun and creativity to the kitchen but also ensures that everyone can enjoy a slice!
Baking notes for Boston Cream Pie
When it comes to creating the perfect Boston Cream Pie, a few key tips can elevate your baking game.
Tips for getting the perfect cake texture
To achieve that light, airy texture, remember to:
- Use room temperature ingredients: Bring eggs and milk to room temperature for a smoother batter.
- Beat the batter just right: Mix until just combined to avoid dense cake.
- Sift your dry ingredients: This adds air and helps achieve that ideal lightness.
If you’re feeling adventurous, try incorporating a bit of almond extract for a delightful twist!
Preventing common mistakes
Even seasoned bakers can run into hiccups. Here’s how to sidestep common pitfalls:
- Don’t overmix: Too much mixing can lead to a tough cake.
- Check your oven temperature: An oven thermometer can help ensure even baking.
- Cool completely before frosting: This prevents the chocolate ganache from melting into the cake!
For more troubleshooting tips, check out sources like the Joy of Baking. Happy baking!

Serving Suggestions for Boston Cream Pie
Creative ways to present Boston Cream Pie
When you’re ready to serve your Boston Cream Pie, presentation is everything. Consider these ideas to elevate your dessert:
- Individual Portions: Instead of serving a whole pie, slice it into mini-tarts using muffin tins for a personal touch.
- Layered Parfaits: Layer the cake and cream in a glass with fresh berries for a visually stunning dessert.
- Garnishing: Dust the top with powdered sugar or add a sprinkle of cocoa for a refined finish. Fresh mint leaves also work beautifully for a pop of color.
These simple touches can make your Boston Cream Pie feel even more special for gatherings or just a cozy night in.
Pairing ideas for beverages
What could make your Boston Cream Pie even better? A delightful beverage, of course! Here are some pairing suggestions:
- Coffee: A rich espresso or a creamy latte complements the pie’s sweetness.
- Tea: Brew a cup of Earl Grey or Chamomile for a soothing balance to the dessert.
- Sparkling Water: Infused with lemon or berries, it adds a refreshing contrast without overshadowing the flavors.
These pairings aren’t just delicious; they elevate your entire dessert experience! Want to dive deeper into flavor pairings? Check out Serious Eats for expert tips and more suggestions.
Tips for Making Perfect Boston Cream Pie
Importance of Ingredient Temperature
When it comes to the perfect Boston Cream Pie, the temperature of your ingredients plays a crucial role. Using room temperature eggs and butter can make a significant difference in the texture of your cake. Room temperature ingredients blend more smoothly, creating a lighter, fluffier cake. If you forget to take your eggs out ahead of time, you can quickly warm them in a bowl of warm water for about 10 minutes. Trust me, this small step can elevate your dessert game!
How to Store Leftovers Effectively
Finding the balance between enjoying your homemade Boston Cream Pie and keeping it fresh can be a bit tricky. To store leftovers effectively, first, cover the pie loosely with plastic wrap to prevent sogginess. If you have individual slices, a good method is to place them in an airtight container with a layer of parchment paper between the slices. This keeps them from sticking together while maintaining that delicious, creamy texture.
If you think you won’t finish it within a couple of days, consider freezing slices. Just wrap them tightly in aluminum foil or freezer-friendly plastic wrap. An easy treat to pull out and enjoy later! For more tips on food storage, check out resources from the USDA here.
Time Details for Boston Cream Pie
When you’re gearing up to create the delicious Boston Cream Pie, it’s all about time. Let’s break down the schedule you’ll need!
Preparation Time
Getting everything ready? Set aside about 30 minutes for preparation. This includes measuring ingredients, mixing the batter, and whipping up that luscious pastry cream.
Baking Time
Once you’re ready to bake, the Boston Cream Pie will be in the oven for approximately 25-30 minutes. Keep an eye on it; you want a beautiful golden brown color!
Total Time from Start to Finish
In total, you’re looking at about 1 hour and 15 minutes. This includes resting time for cooling and decorating. Remember, patience is key, as the flavors develop beautifully while you wait.
If you’re curious about more baking tips or classic dessert variations, take a look at this comprehensive guide on enhancing your baking skills!
Nutritional Information for Boston Cream Pie
When indulging in a delicious slice of Boston Cream Pie, it’s good to understand what you’re enjoying.
Estimated calories per slice
Typically, a slice of Boston Cream Pie contains approximately 300–400 calories, making it a delightful treat for special occasions. Moderation is key, especially if you’re keeping an eye on your daily caloric intake.
Breakdown of sugars and fats
In a standard serving, you can expect about 20–30 grams of sugar and 15–20 grams of fat. The sugar largely comes from the cream filling and frosting, while the fat is a result of the cake and ganache. Balancing these with healthier meals throughout the day can help you enjoy your treat guilt-free.
For those looking for more detailed nutritional insights, visit Healthline or the USDA FoodData Central for comprehensive information.
Enjoying your dessert is part of a balanced lifestyle—just take a moment to savor each bite!
FAQs about Boston Cream Pie
What’s the difference between Boston Cream Pie and other cream-filled cakes?
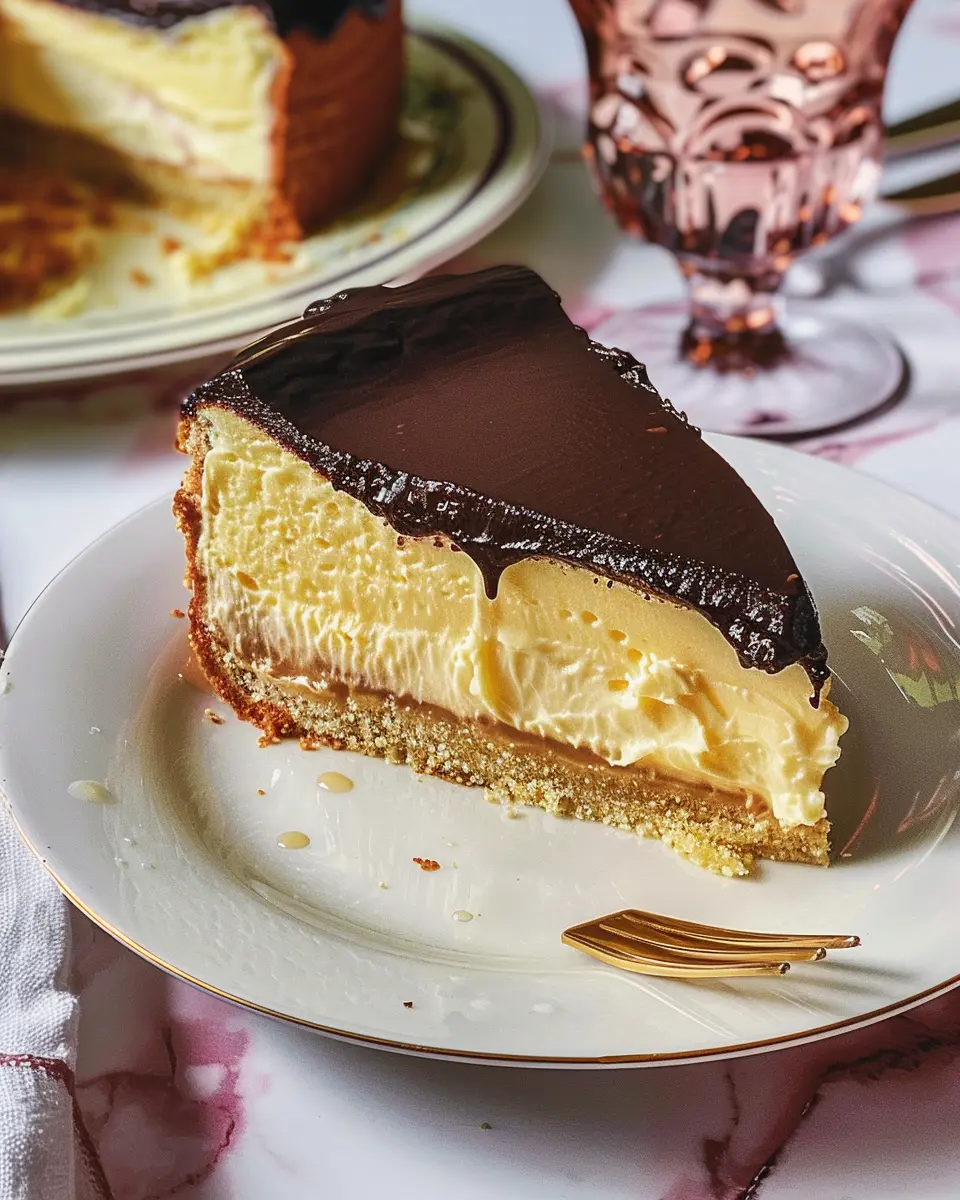
Boston Cream Pie is unique in its preparation and composition. Unlike many cream-filled cakes, which often feature layers of sponge cake or chocolate cake, this dessert is actually a layered creation made with two rounds of vanilla sponge cake filled with a rich custard or pastry cream and topped with a glossy chocolate ganache. This delightful combination offers a perfect blend of textures and flavors. If you’re interested in learning more about the specific characteristics that set Boston Cream Pie apart from other desserts, I recommend reading this article on dessert types.
How can I modify the recipe for dietary restrictions?
No worries if you or your guests have dietary restrictions! Boston Cream Pie can be easily adapted:
- Gluten-Free: Use a gluten-free flour blend instead of all-purpose flour.
- Dairy-Free: Substitute the butter and milk in the sponge with coconut oil and a plant-based milk, respectively. For the cream, almond milk or coconut cream works beautifully.
- Vegan: Replace eggs with flaxseed meal or applesauce and use a vegan custard recipe.
By making these small yet impactful changes, you can enjoy this classic dessert with everyone at your table.
What is the best way to store and serve Boston Cream Pie?
To keep your Boston Cream Pie fresh, store it in the refrigerator, covered lightly with plastic wrap. It’s best enjoyed within 2-3 days for optimal flavor and texture. When serving, slice with a warm knife to achieve clean cuts, allowing the layers to shine through. Pair it with a dollop of whipped cream or fresh fruit for an extra special touch!
Making Boston Cream Pie is a joyful experience, and knowing how to navigate questions like these can ensure your baking adventure is a success!
Conclusion on Boston Cream Pie
Celebrating the Joy of Homemade Desserts
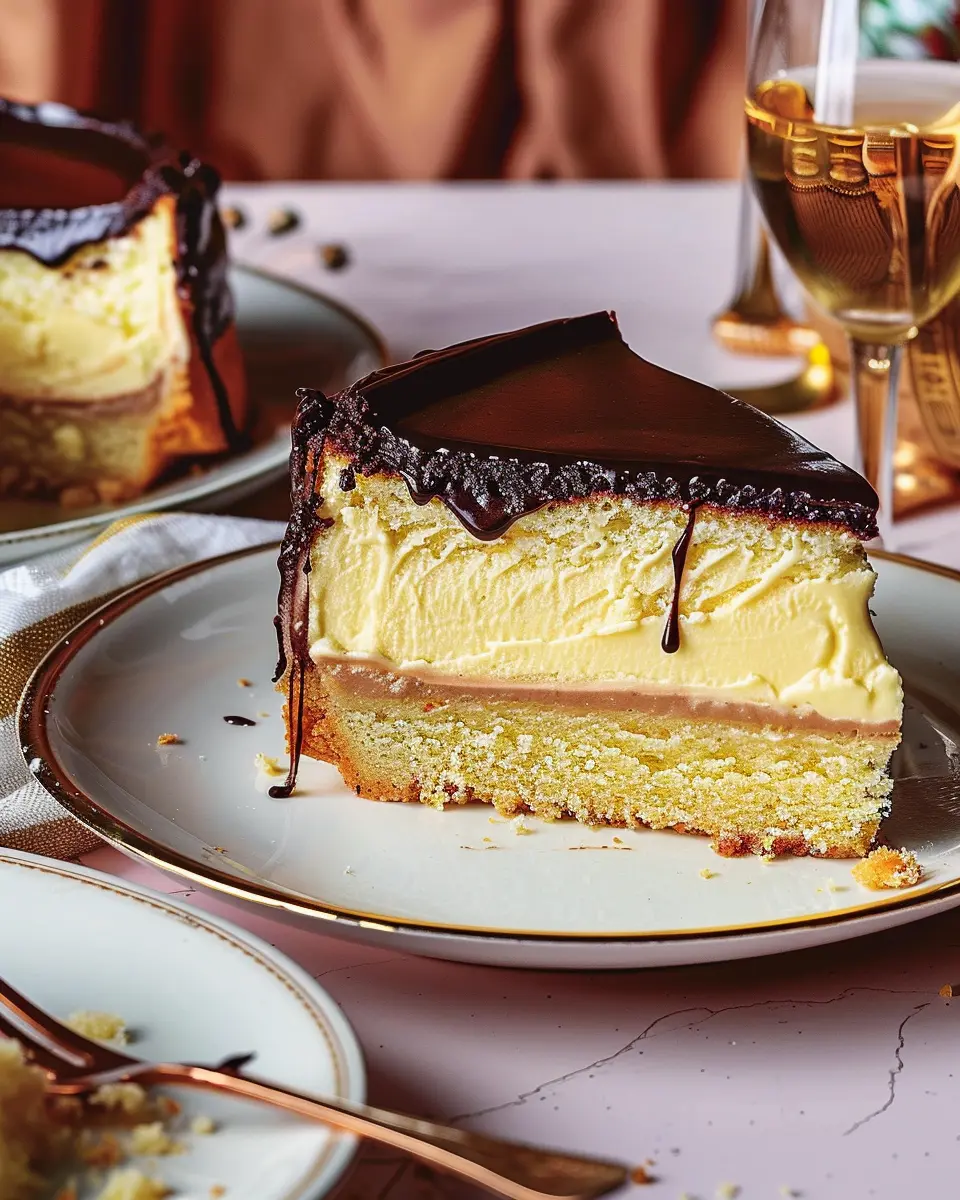
Making Boston Cream Pie is not just about crafting a delicious dessert; it’s about the joy that comes from creating something special in your own kitchen. The rich layers of sponge cake, velvety custard, and smooth chocolate ganache make for an indulgent treat that feels like a warm hug after a long day. With a little time and love, you can bring a slice of nostalgia to your home, reminding you of special occasions and sweet memories.
Try Your Hand at This Delightful Recipe
I encourage you to roll up your sleeves and try this Boston Cream Pie recipe at home. It’s simpler than you might think, and the satisfaction of serving a homemade masterpiece is unrivaled. Whether it’s for a birthday celebration or a quiet weekend treat, you’re sure to impress your friends and family. If you’re new to baking, don’t worry—check out resources like The Spruce Eats for tips on perfecting your skills. Enjoy the process and make it your own!
PrintBoston Cream Pie: The Indulgent Homemade Dessert You’ll Love
Boston Cream Pie is a rich and indulgent dessert that combines layers of sponge cake, creamy custard, and luscious chocolate ganache. Perfect for special occasions or a sweet treat at home!
- Prep Time: 20 minutes
- Cook Time: 30 minutes
- Total Time: 1 hour
- Yield: 8 servings
- Category: Dessert
- Method: Baking
- Cuisine: American
- Diet: Vegetarian
Ingredients
- 1 cup all-purpose flour
- 1 cup granulated sugar
- 1/2 cup unsalted butter
- 2 large eggs
- 1/2 cup milk
- 1 tablespoon baking powder
- 1/4 teaspoon salt
- 1 cup heavy cream
- 2 tablespoons cornstarch
- 1 teaspoon vanilla extract
- 1/2 cup chocolate chips
Instructions
- Preheat your oven to 350°F (175°C).
- In a mixing bowl, cream the butter and sugar together until light and fluffy.
- Add eggs one at a time, mixing well after each addition.
- In a separate bowl, combine flour, baking powder, and salt.
- Gradually add the dry ingredients to the wet mixture, alternating with the milk. Mix until smooth.
- Pour the batter into a greased cake pan and bake for 25-30 minutes.
- While the cake is baking, prepare the custard by heating the milk and whisking in the cornstarch and sugar until thickened.
- Stir in vanilla extract and let the custard cool.
- Once the cake is cool, slice it in half and spread the custard in the middle.
- Melt chocolate chips and combine with heavy cream to make a ganache.
- Pour the ganache over the top of the cake and let set before serving.
Notes
- For an extra touch, you can sprinkle some powdered sugar on top before serving.
Nutrition
- Serving Size: 1 slice
- Calories: 450
- Sugar: 35g
- Sodium: 200mg
- Fat: 25g
- Saturated Fat: 15g
- Unsaturated Fat: 5g
- Trans Fat: 0g
- Carbohydrates: 50g
- Fiber: 2g
- Protein: 6g
- Cholesterol: 70mg